Sign up TODAY for Card Making News! Learn More >
FTC Disclosure - If you make a purchase via a link on this site, Card Making Circle may receive a small commission on the transaction.
Amazon Disclosure - As an Amazon Associate Card Making Circle earns from qualifying purchases.
All at no added cost to you. Thank you!
- Home ›
- Card Making Ideas ›
- Butterfly Greeting Cards
Butterfly Greeting Cards
"I only ask to be free. The butterflies are free"
Charles Dickens
It's that time of the year in the UK when we have our Big Butterfly Count.*
All you need to do is find a sunny spot and spend 15 minutes counting the number of butterflies you see.
There's definitely something restful about watching butterflies fluttering their delicate wings.
The beautiful colours and symmetrical patterns have always fascinated artists and card makers alike.
That's why, butterfly greeting cards are a favourite for spring and summer cards. Especially for birthday cards and spiritual sympathy cards.
*16th July to 8th August 2021
Before starting your cards check out your card sizes and layers.
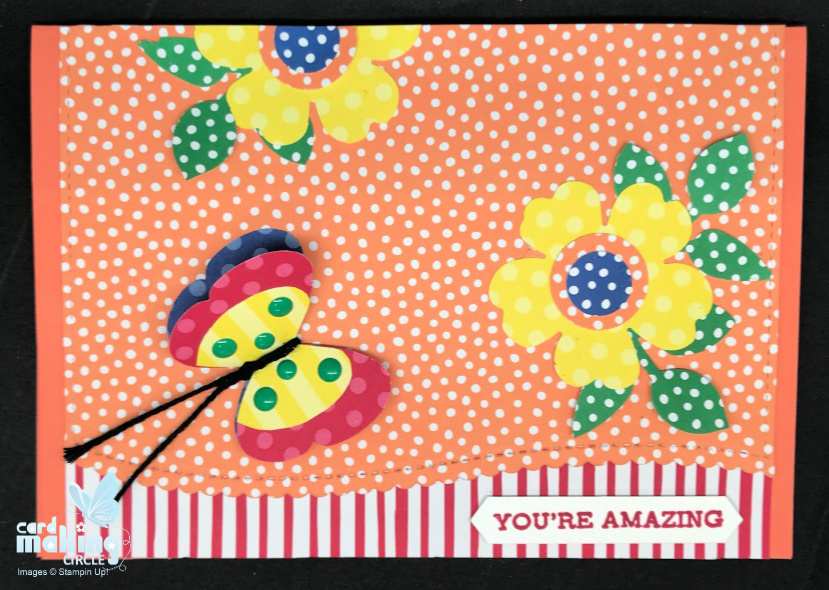
You're Amazing
The first butterfly greeting card is simple and easy to replicate. I used a variety of punches (mainly Stampin Up!) with scraps of patterned paper.
The fun part was moving around the punched shapes and making it into a picture.
Black twine and enamel dots were added to the butterfly's wings.
The card was completed with a punched sentiment strip popped up a foam strip.
Have a look at your supplies and see what you can create with just bits and bobs!
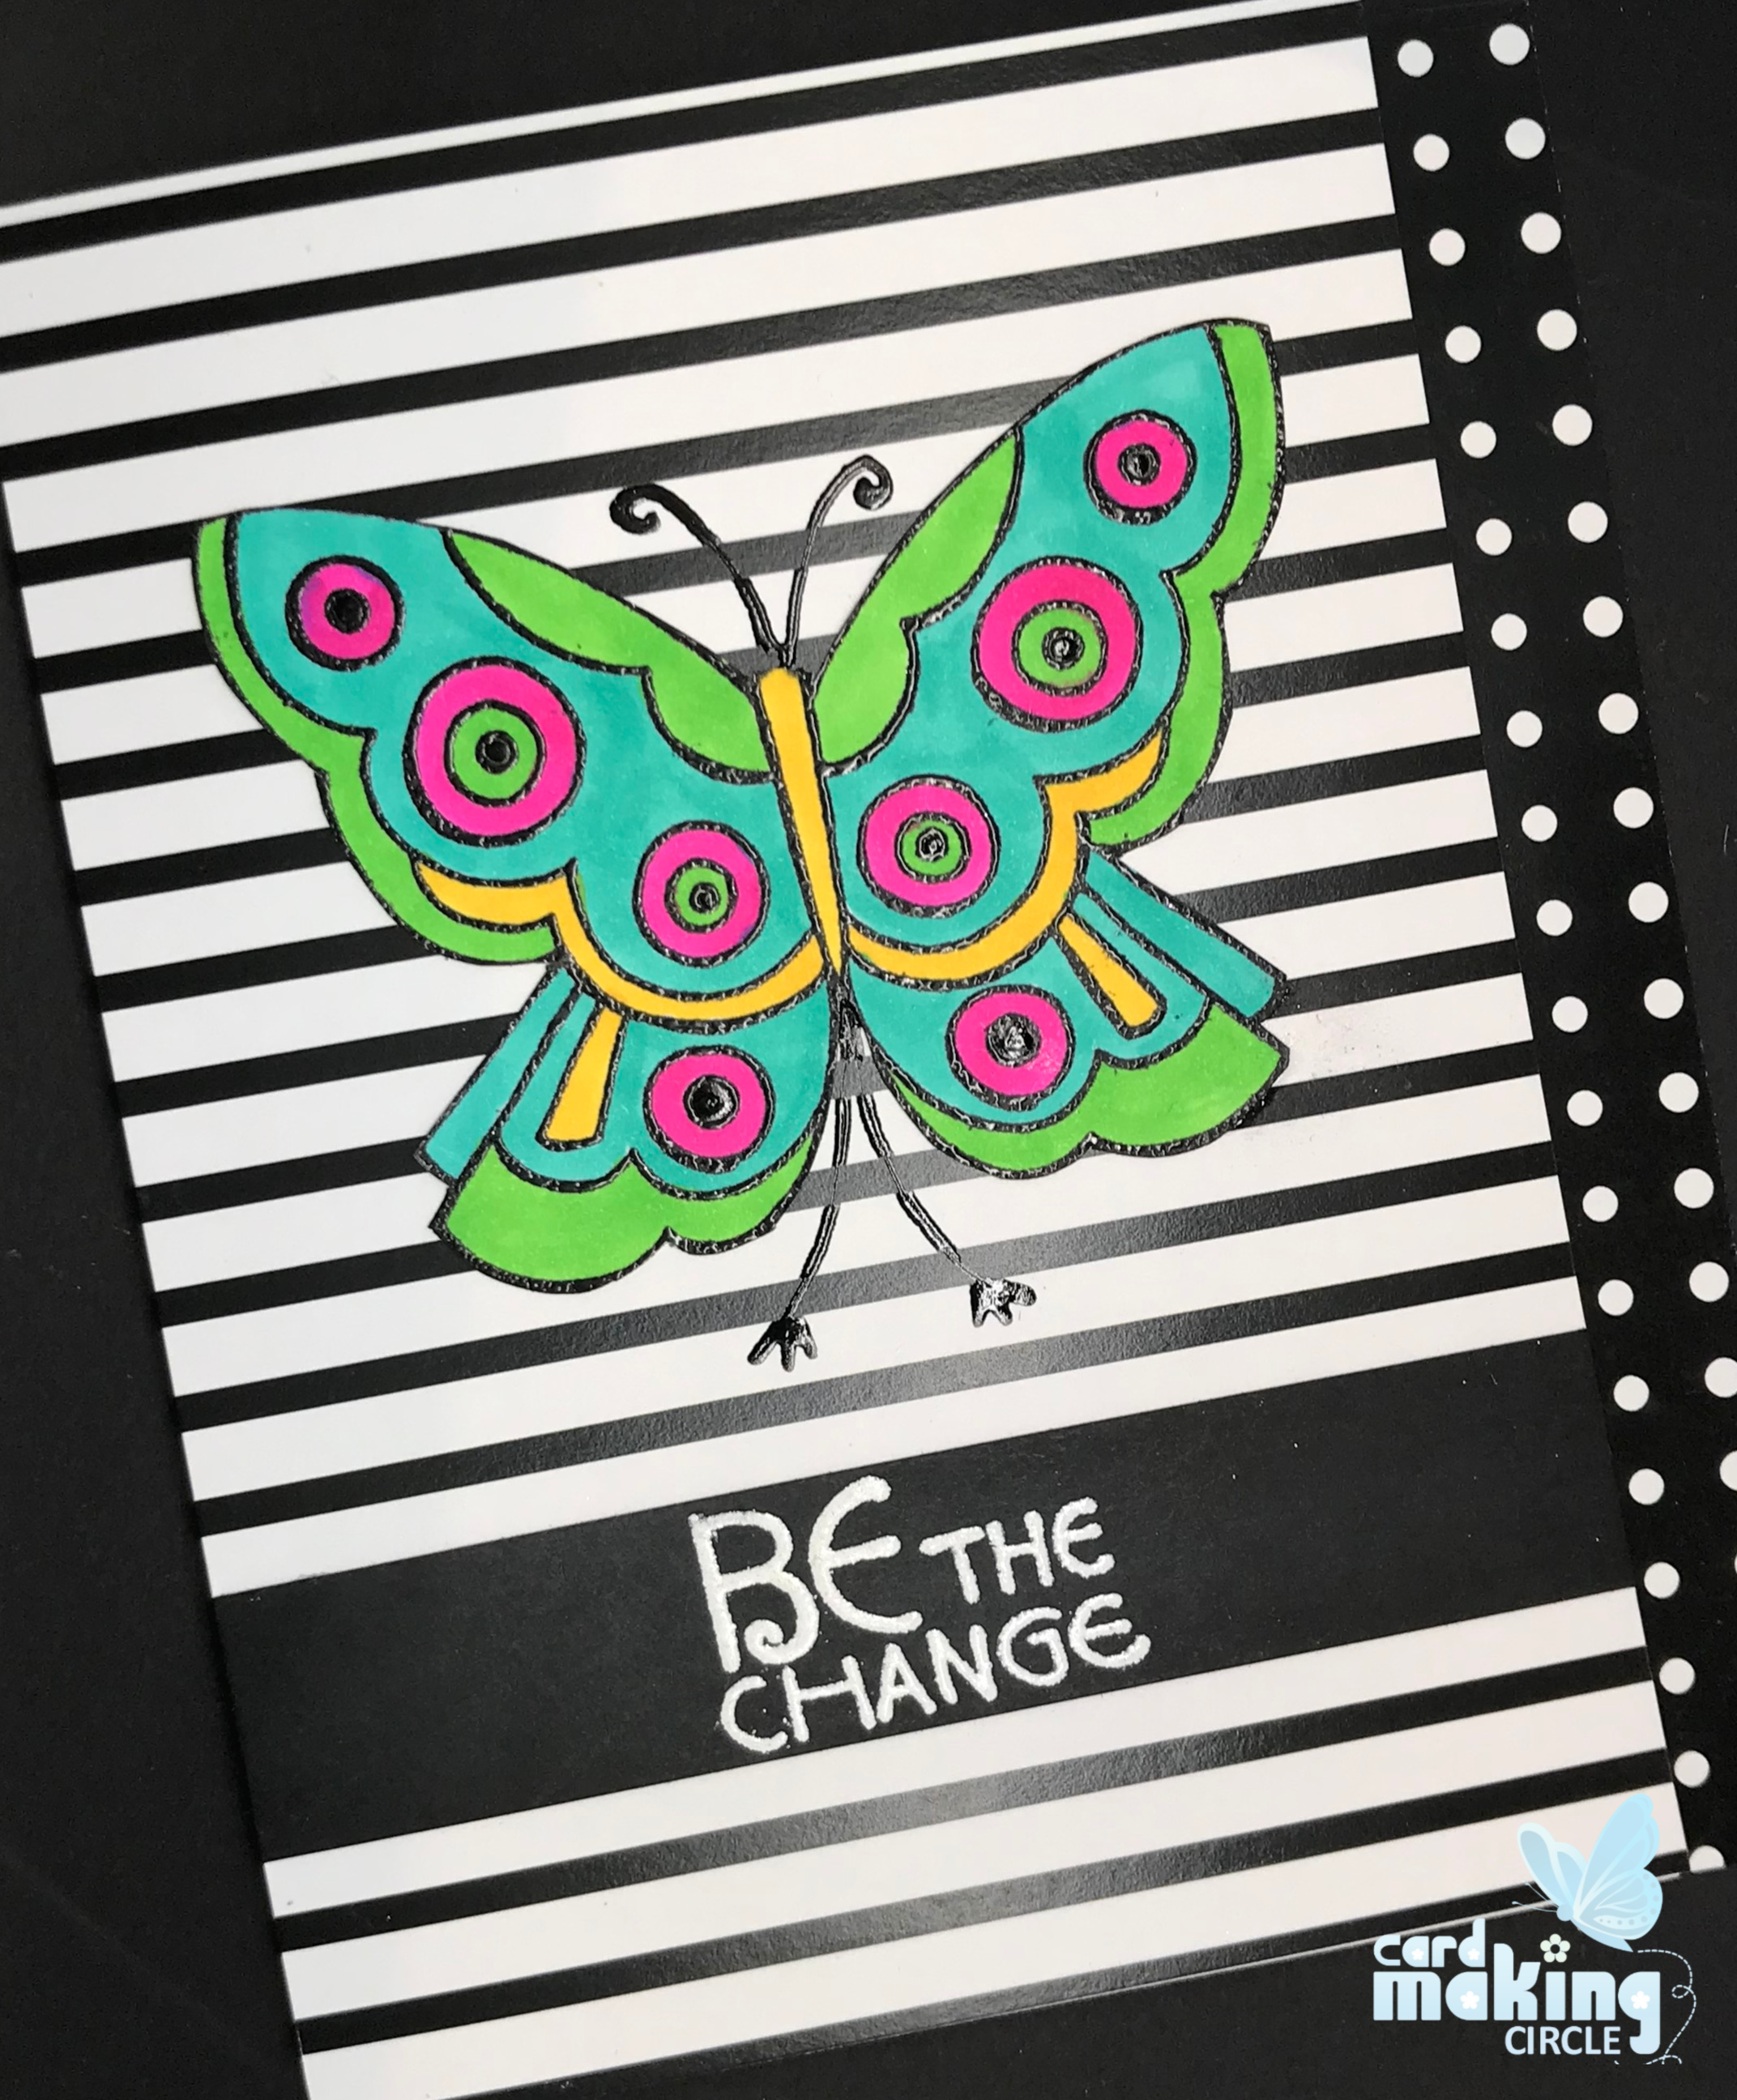
Be the Change
"Be the Change" uses a stamp set designed by Laurel Bunch and sold by Stampendous. I just love her images!
I used the free colour guide from the Stampendous website to select the colours.
First stamp the butterfly image. Colour and fussy cut minus the antennae and tails.
Score and fold approximately 1/2" shorter on the long side. When closed this gives an overhang for a strip of bold black and white paper from Altenew.
Use another sheet from the Altenew paper pack for the front background. This paper is thick and has a wonderful sheen.
Position the coloured butterfly onto the background. Add antennae and tails with a black pen.
Complete with a white heat embossed sentiment.
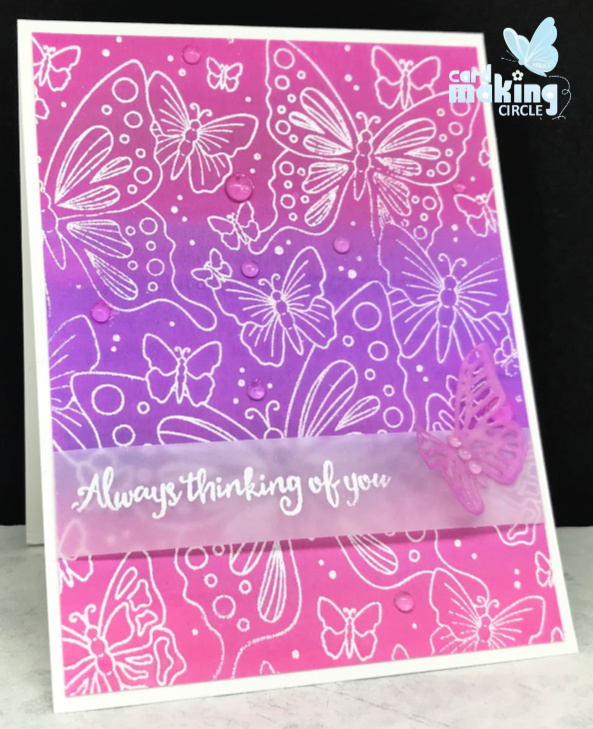
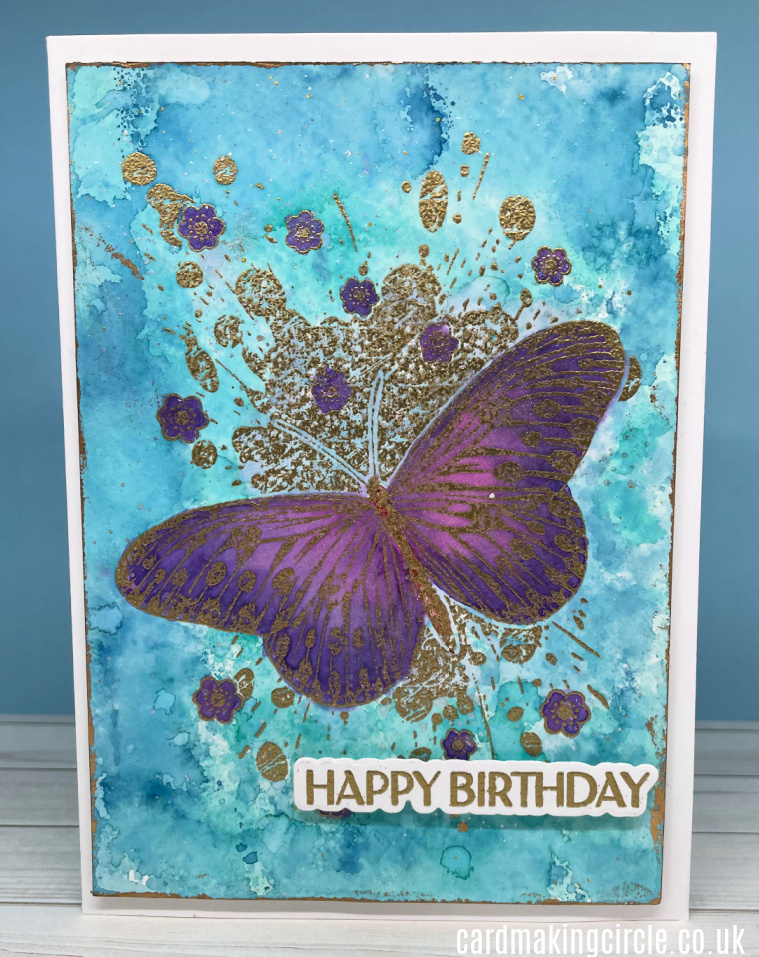
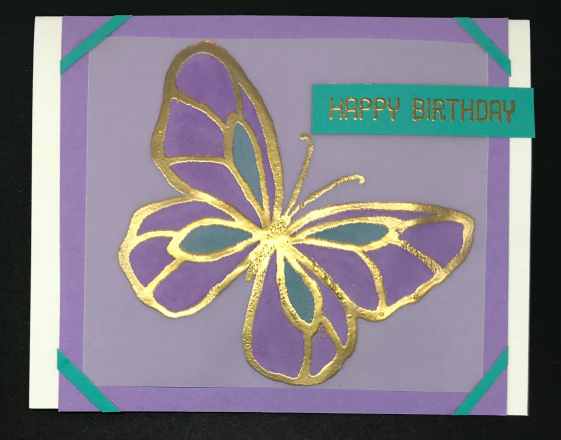
Always Thinking of You
This card uses the versatile Outline Butterflies background stamp from Simon Says Stamps.
Stamp the image with Versamark ink onto watercolour paper. Heat emboss with white embossing powder.
Smoosh water reactive inks (like Distress inks) onto a craft mat and add water.
I used picked raspberry, wilted violet and seedless preserves.
You could also use any other watercolour paint.
Start with the lightest colour and blend to the darkest.
Leave to dry or dry with a heat tool. Add another layer of ink to intensify the colour.
Cut painted card to size required.
Heat emboss a sentiment onto a strip of vellum and wrap around the painted card layer.
Die cut a butterfly from white card and paint with the same colours.
Add butterfly to the sentiment strip.
Stick to a card base.
Finally, add some embellishments to the butterfly and the card background.
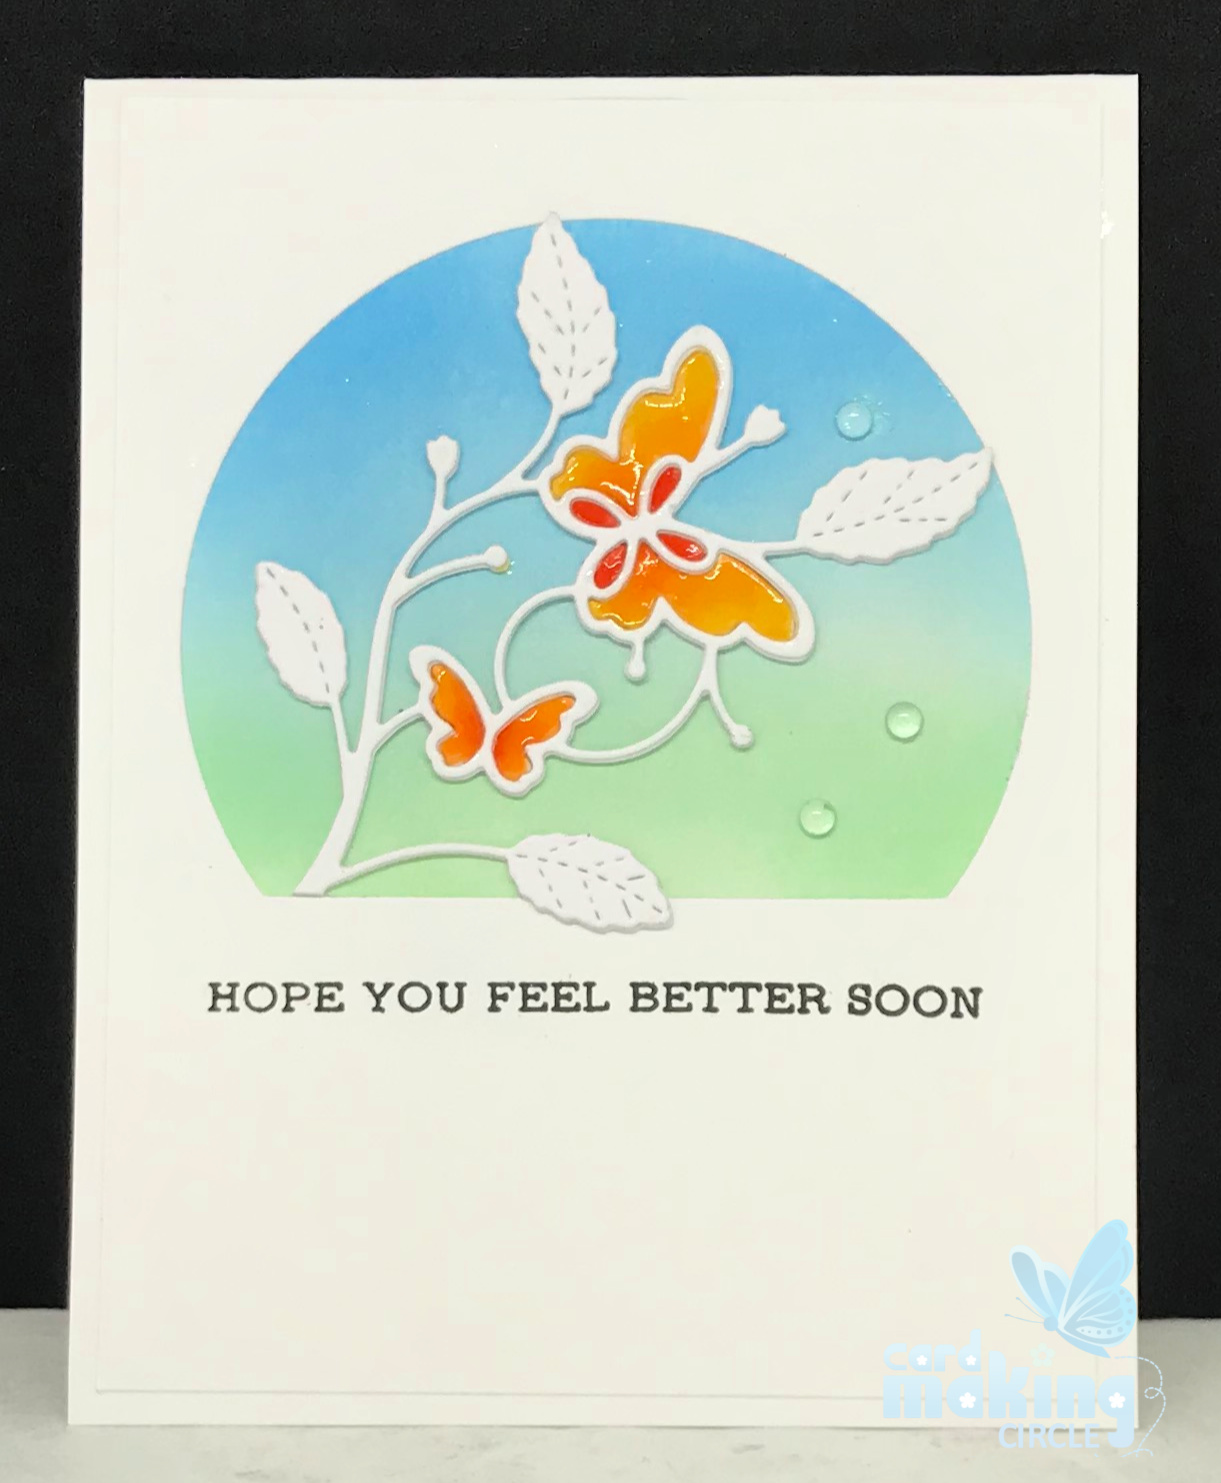
Hope You Feel Better Soon
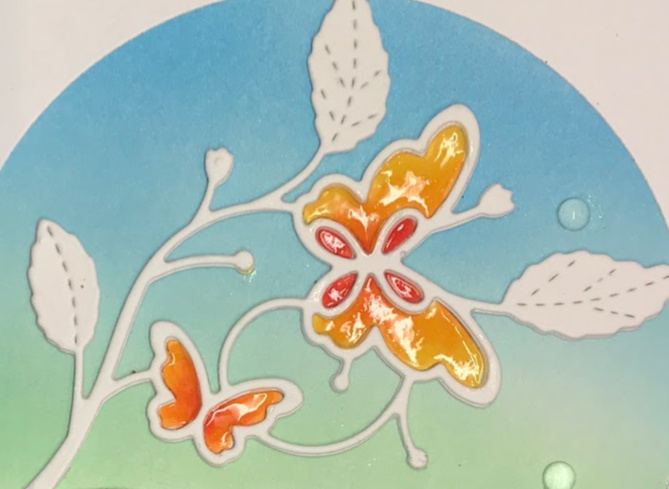
The final card used a dainty Bellina Flora die from Poppy Stamps.
Ink blend a background onto white card.
I used Distress inks - cracked pistachio, tumbled glass and salty ocean.
Cut an aperture (Stitched Arch Stax from MFT stamps) on a white card layer.
Mount the background behind the aperture.
Die cut the butterflies saving the butterfly inserts. Colour inserts.
Die cut two more layers of the butterflies and glue on top of the other die cut.
Adhere to the aperture.
Add completed layer to a card base.
Cover the coloured butterfly inserts with Glossy Accents to give them a shine. Add a few embellishments to finish the card.
More Butterfly Greeting Cards!
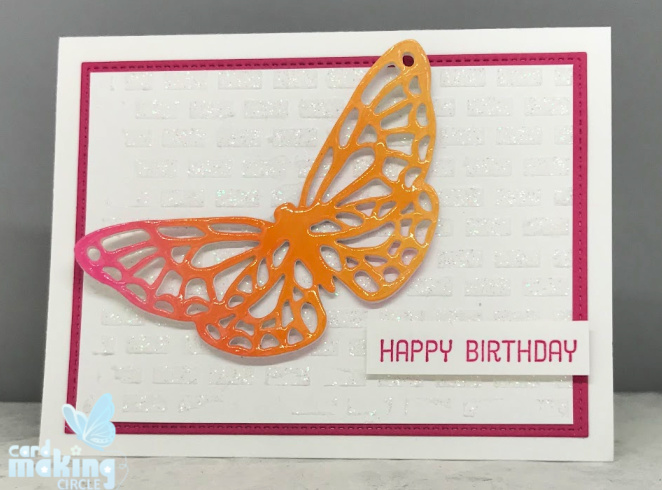
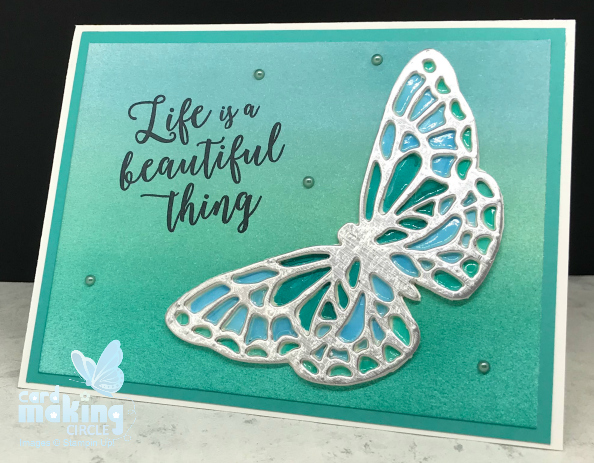
I'm a bit of a butterfly junkie! So, here's some more examples of butterfly cards......
- Home ›
- Card Making Ideas ›
- Butterfly Greeting Cards
