Sign up TODAY for Card Making News! Learn More >
FTC Disclosure - If you make a purchase via a link on this site, Card Making Circle may receive a small commission on the transaction.
Amazon Disclosure - As an Amazon Associate Card Making Circle earns from qualifying purchases.
All at no added cost to you. Thank you!
- Home
- Newbies
Card Making for Beginners
Getting Started....
The quickest and easiest way to begin is to buy a kit where everything is pre cut, with sentiments, embellishments and instructions provided.
All you have to do is put the products together!
This is a great way to find out if card making is the hobby for you. It gives you the chance to find out about different elements without the expense of equipment or materials.
There are a number of companies that offer monthly card kits. These are a good way to build up your card making supplies.
The suppliers also provide card examples which is great if you are new to card making or just need a little inspiration.
Getting started on your own will require the purchase of some materials and tools - the basics include:
- Paper and card
- Pens and Pencils
- Glue
- Scissors
- Ruler
- Stamps
- Ink
Start small and as your confidence increases you will find that with time you will want to purchase more supplies and add extras to make your cards sparkle.
Check out my free newsletter
With tips and advice to support your card making.
Making a Card from Scratch
So, how do you make a card from scratch?
Just as you format a letter or Word document so you have choices on how to format your card. This includes the size of card, orientation and fold options.
The most popular and the ones you see mainly in the stores are rectangle cards - they fit nicely into the display racks!
But the fact is....
Cards can be made in any size you want!
So, creating your own cards opens up a range of opportunities. You can have shaped cards, 3D cards and differently folded cards such as a gate fold card.....the options are endless.
To begin with let's just start with a simple card to explain some of the terminology as these words will be used throughout the website.
For this use a blank sheet of International A4 card or US Letter size card to create two blank cards.
This sheet can orientated in either in Portrait or Landscape.

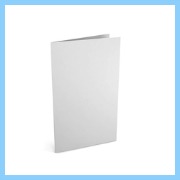
Portrait

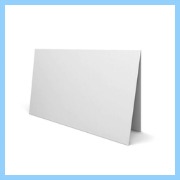
Landscape
Using the blank card in the Landscape position cut the card in half.
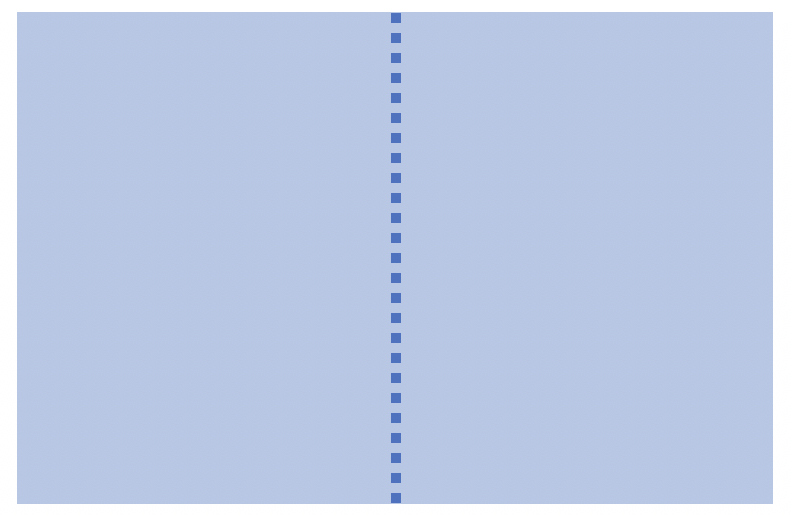
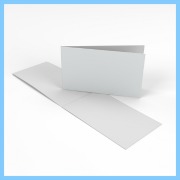
Fold each half in half again to create your basic card shape using a bone folder for a sharp edge.
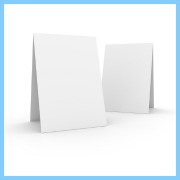
The cards will be either be:
Now turn a blank piece of card into the Portrait position.
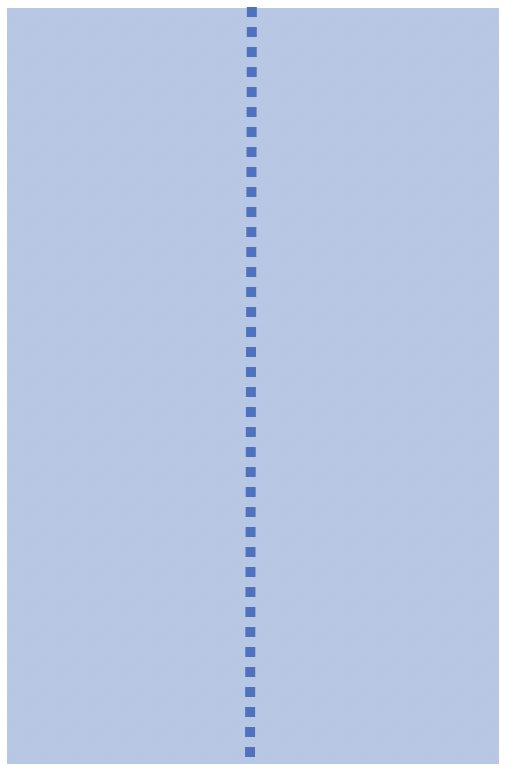
If you cut the card in half and then fold each in half again you will also create either a side fold card or a top fold card. But they will look completely different!
These are the basic card folds and card bases.
Moving Forward...
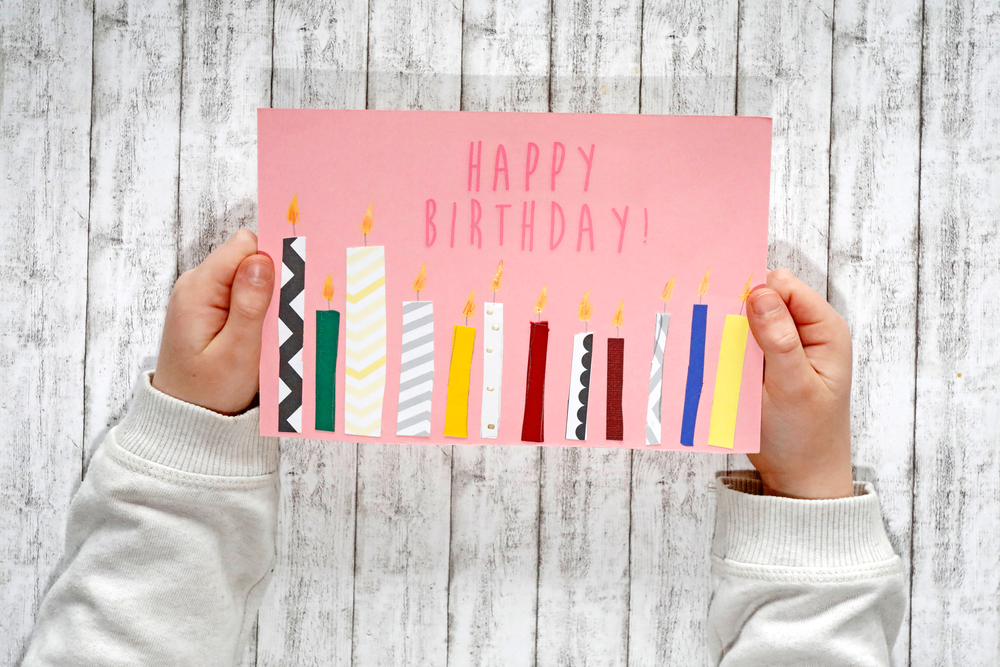
Next decide on the occasion....Is it for a special birthday? An event or a celebration? This will help with your colour choice, the image and words.
If you are a crafty person you may have a vast collection of materials you can use to to decorate your card....tissue paper, decorative paper, fabric, sequins, buttons....and lots of other bits and bobs you have used for other projects in the past.
For the complete beginner the easiest option is to use a stamp and ink to create your image and words.
These can be purchased cheaply from craft stores and come in a variety of designs.
Although tempting to rush out and buy lots of different coloured inks hold back and buy just a basic black ink pad at this stage.
This will allow you to stamp your words (we call this a sentiment) and the outline of your image.
Complete your card by colouring in your image - coloured pencils or felt tips are OK at this stage.
Voila! You have your first card!
Now, find out more about easy card making and card making techniques for beginners
Build up your skills and you will achieve amazing results
- Home
- Newbies
