Sign up TODAY for Card Making News! Learn More >
FTC Disclosure - If you make a purchase via a link on this site, Card Making Circle may receive a small commission on the transaction.
Amazon Disclosure - As an Amazon Associate Card Making Circle earns from qualifying purchases.
All at no added cost to you. Thank you!
- Home ›
- Card Making Ideas ›
- Cards for Men and Boys
Cards for Men and Boys

Many of us find it difficult to make cards for men and boys.
Where there's an abundance of floral, critter and special occasions stamps you really have to hunt around to find stamps that show "men" things.
I find brainstorming themes can help you discover new card ideas.
Here's a few ideas to get you started....so take your pick....
- Hobbies - Photography, gaming, gardening
- Sport - Surfing, fishing, golf, cycling, football, basketball
- Music - Guitar, records, headphones
- Food and Drink - Beer, wine, coffee, cake, bottle opener, barbecues
- Travel and transport - Cars, motorcycles, planes, boats
- Occupational - Tools, toolbox, laptop, phone
- Clothing - Suits, ties, sneakers, cowboy boots
- Animals - Pets, horse riding, hunting
- Nature - Forest, lake and farm scenes
Before starting your cards check out your card sizes and layers
Click on any Image to see the cards in Gallery format
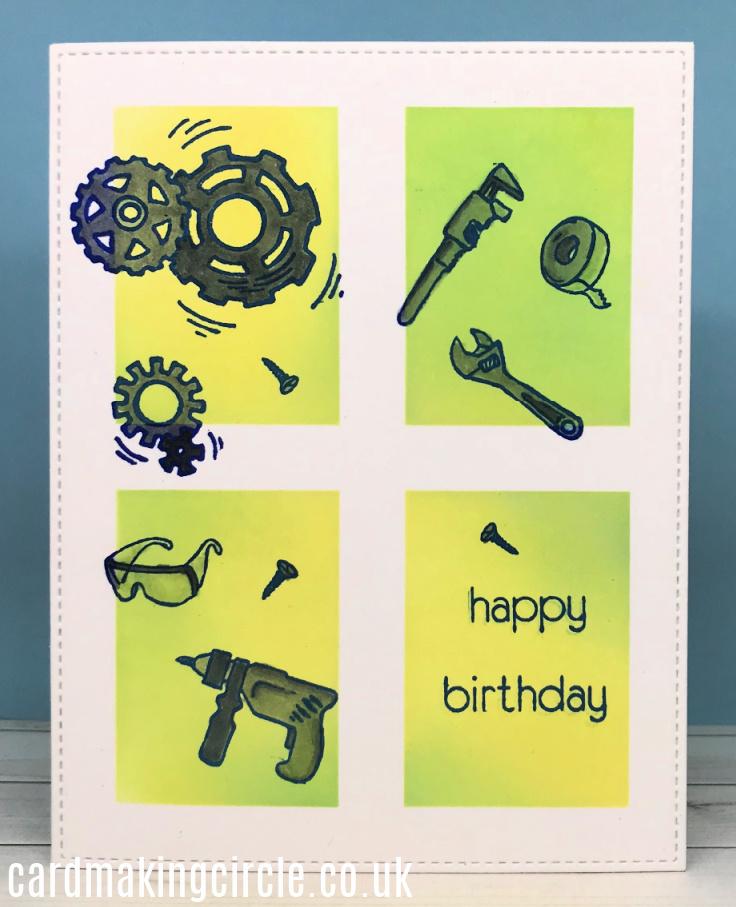
Happy Birthday
To create this simple one layer card I used the Engineers Rule stamp set from Altenew.
For the ink blended background I used the Window Panes stencil from My Favorite Things (MFT Stamps), squeezed lemonade twisted citron distress inks.
The images were stamped with a alcohol friendly ink and coloured with various shades of grey alcohol markers.
The card was completed with a "Happy Birthday" stamp.
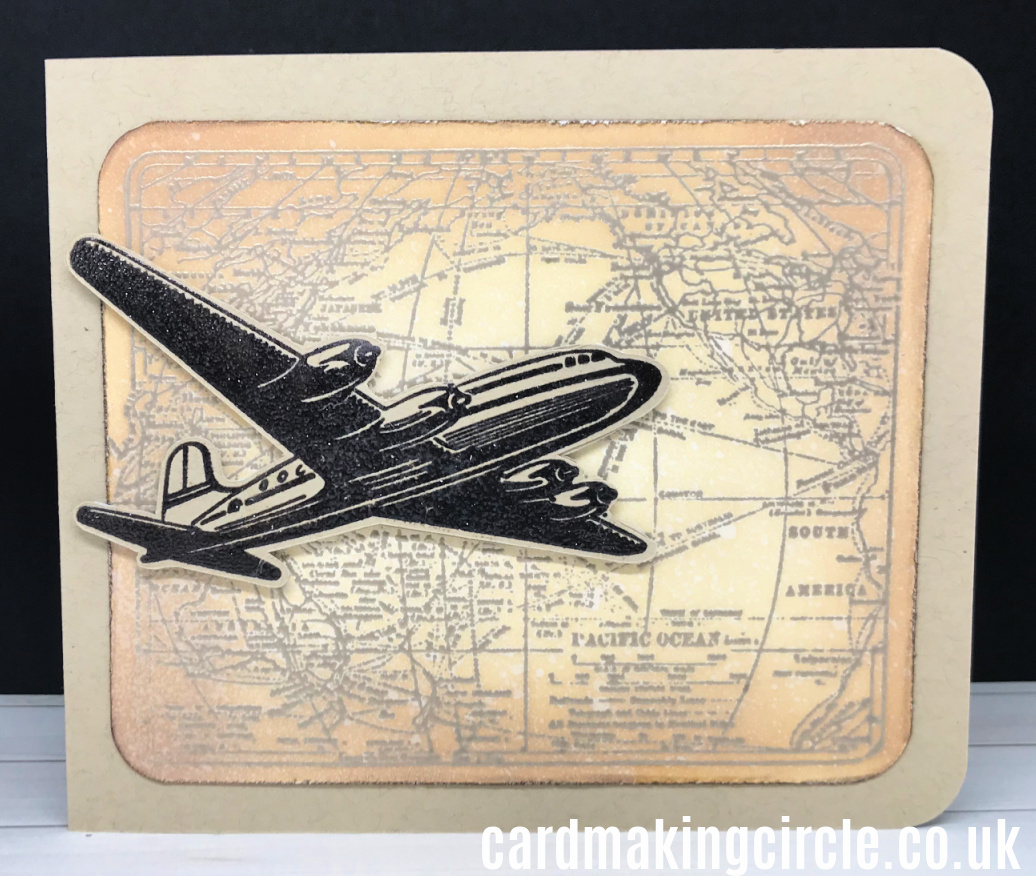
Airplane - Tim Holtz
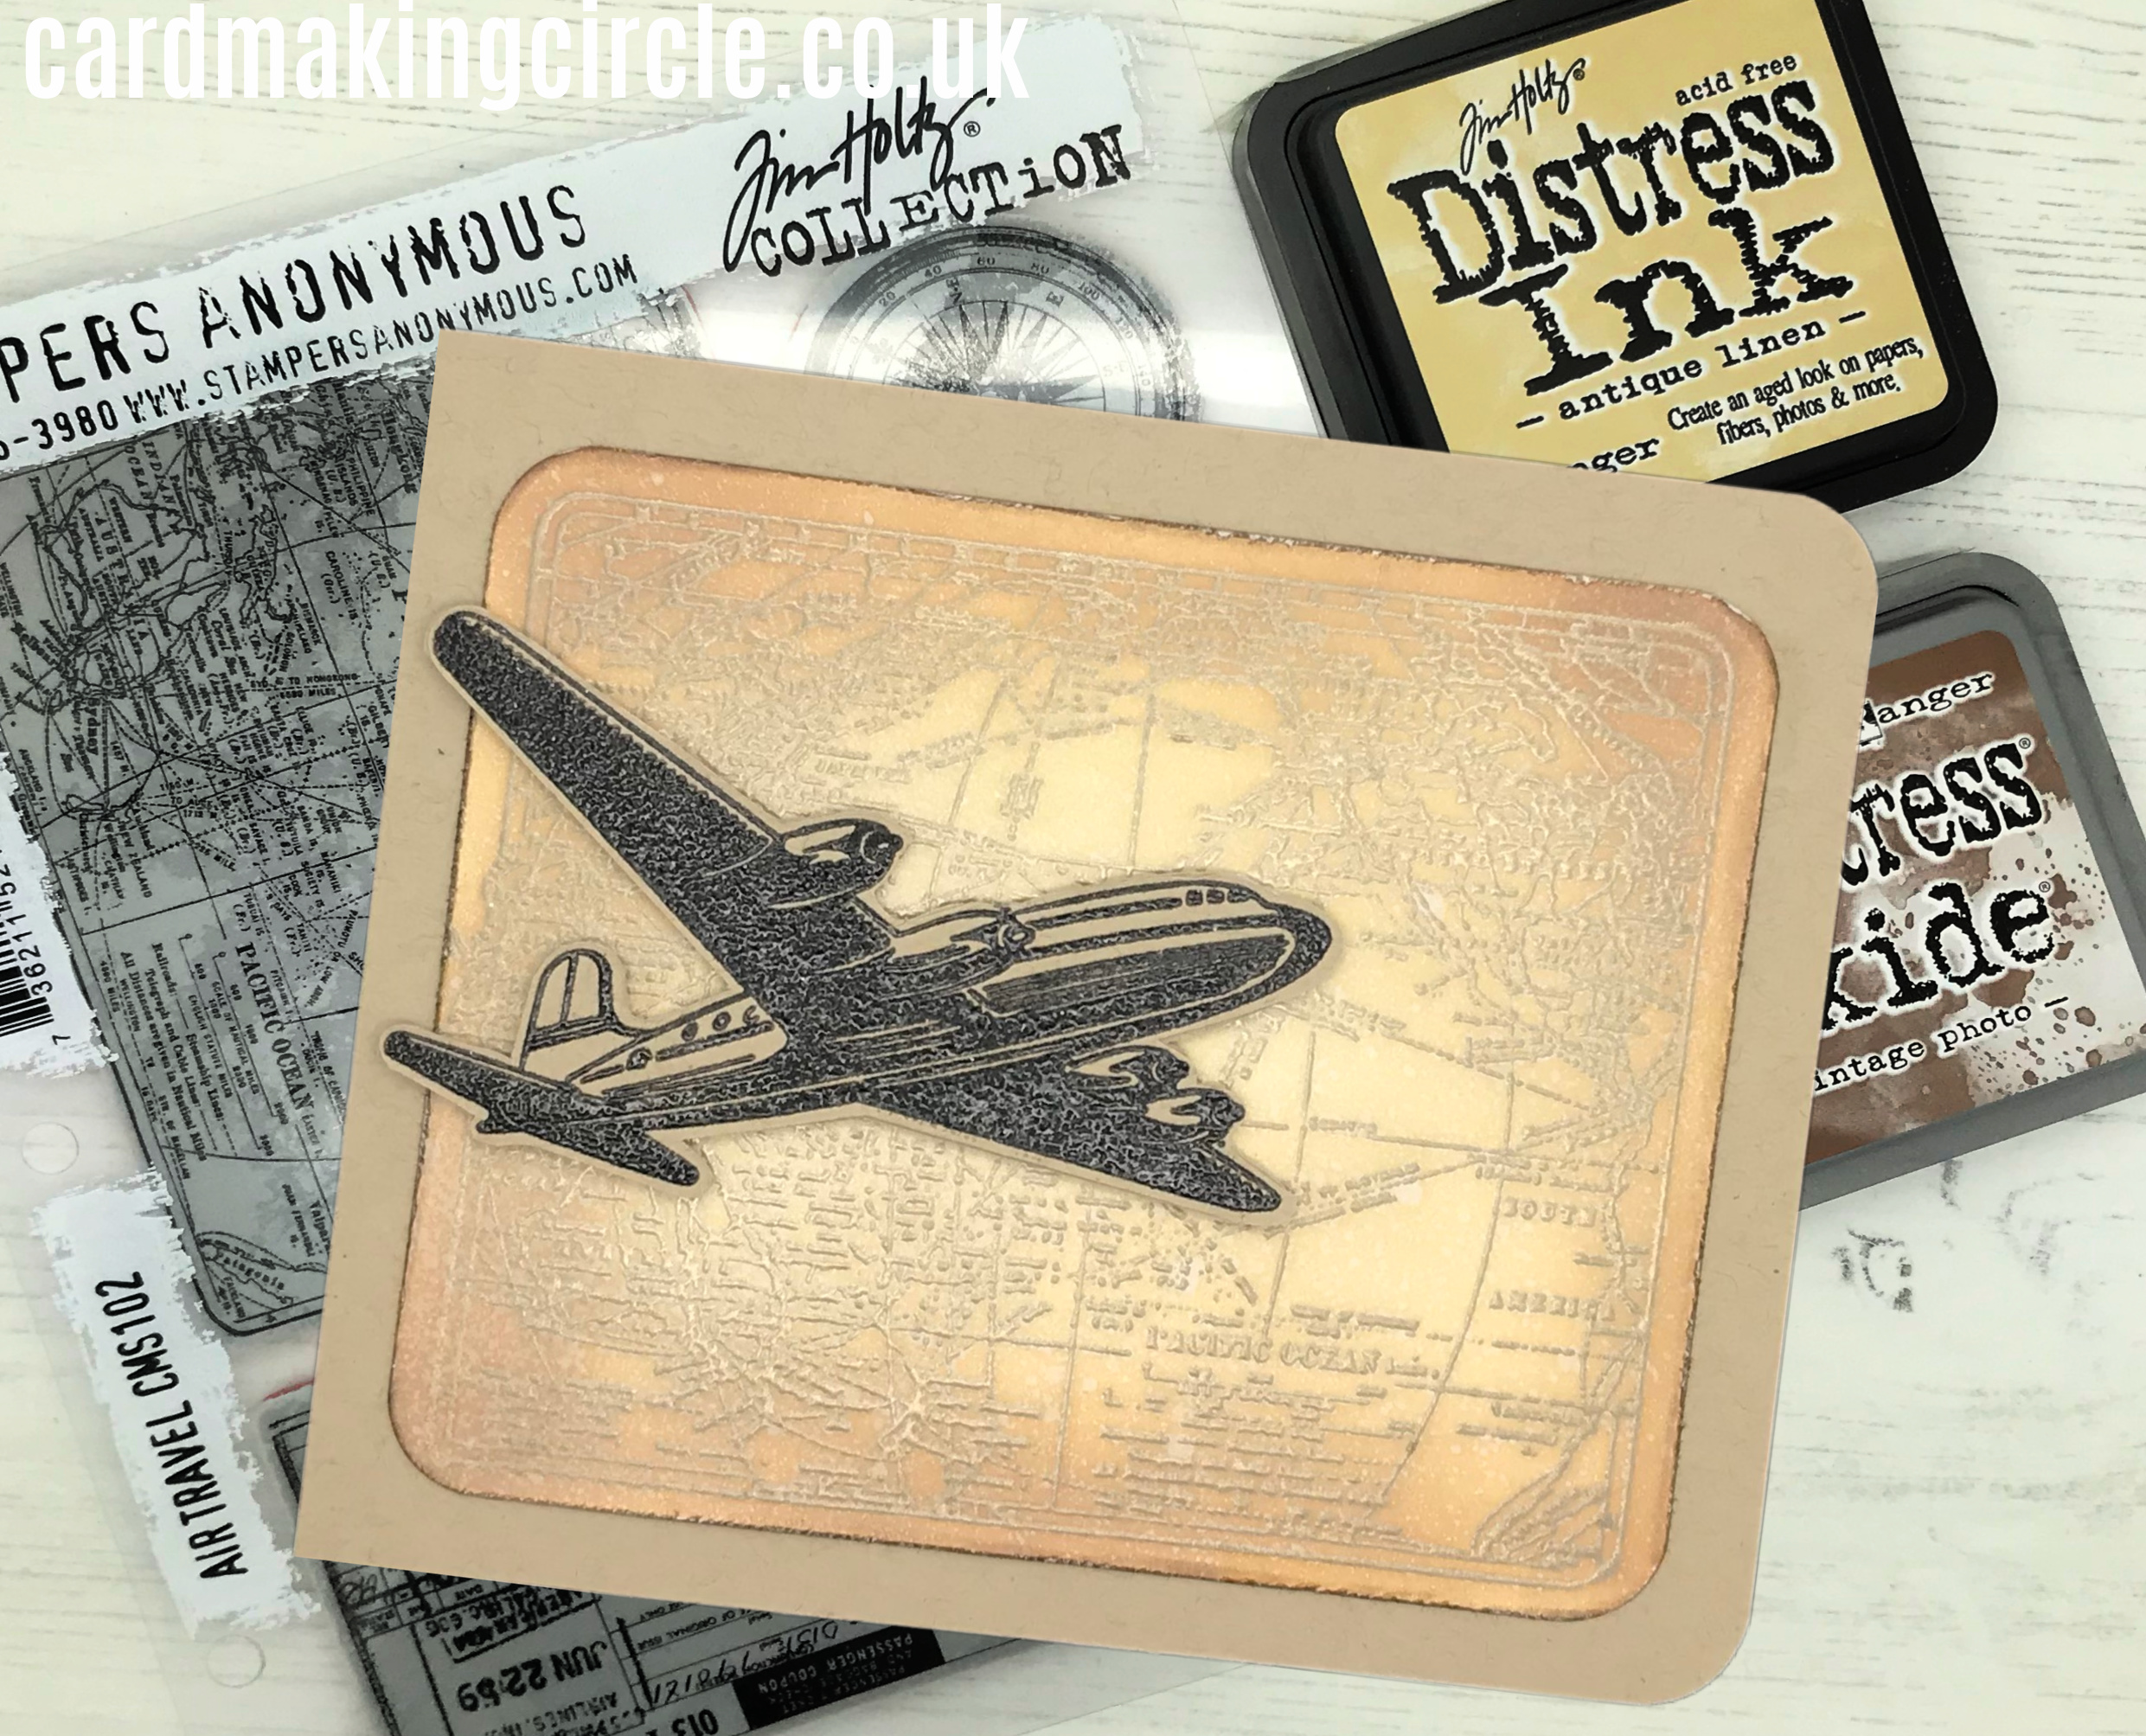
For this card I used the Air Travel stamp set from Stampers Anonymous Tim Holtz Collection.
To start: stamp the large world map stamp onto kraft card with embossing ink and heat emboss with platinum embossing powder.
When cool trim the card to leave approximately 1/8" border around the image. Punch the corners with a corner punch.
Ink blend the image with antique linen distress ink and add vintage photo distress ink around the outside. Spray with water and dry with kitchen towel to create a mottled effect.
Roughen up the edges of image with the side of some scissors or a paper distressing tool. Carefully, add dark brown ink with blending brush to the edges.
Stamp the airplane with a dark brown pigment ink and heat emboss with clear embossing powder.
Stamp another plane image. Fuzzy cut both plane images and glue together for dimension with the embossed plane on top.
Mount the World map image onto a kraft card base. Add foam to the back of the airplane and adhere to the card front.
For the inside of the card I added a "Happy Birthday" and stamped the compass image in the bottom right hand corner. Both with dark brown ink.
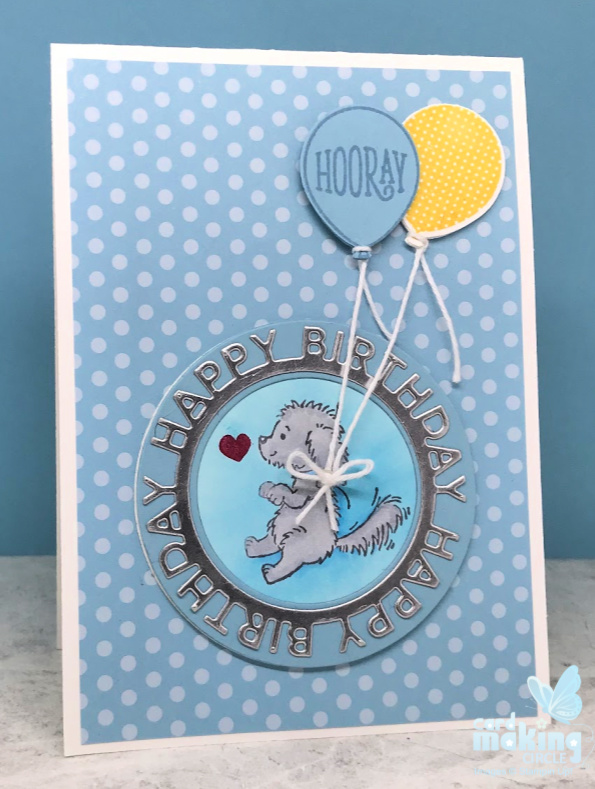
Happy birthday - Hooray
This cute dog card will be perfect for any male dog lovers.
To create the circular panel stamp a dog stamp (this one's from Stampin Up!) onto white card. Colour the dog and the background. Place to one side.
Die cut the Happy birthday circle frame from My Favorite Things Stamps (MFT Stamps) in silver card. The frame measure 2 3/4".
Select two circle dies to create a circular band for the Happy Birthday die cut. Mount the Happy Birthday die onto to the circular band.
Next die cut the dog image card with the largest circle die. Stick the cut dog image to the back of the circular band so you can see the dog through the "window".
Mount the completed circular panel onto a layer of patterned paper and then onto a card base.
Complete the card with two stamped and punched balloons with white twine for the strings.
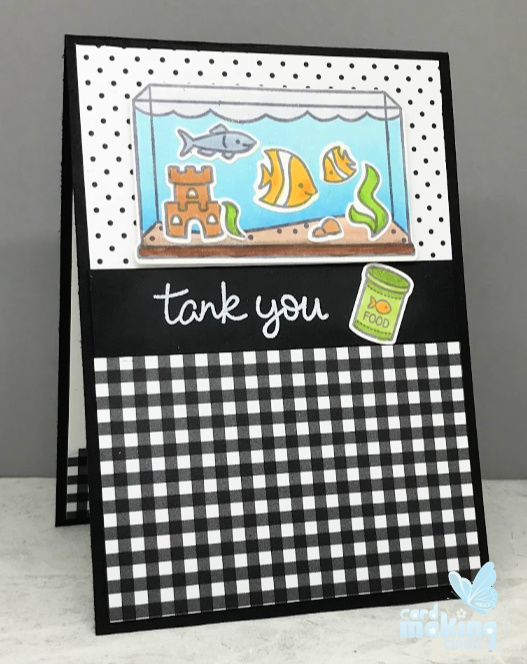
Tank You
"Tank You" was created using the Fintastic Friends stamp set from Lawn Fawn.
Stamp, colour and die cut the fish tank and other images. Glue the images to the inside of the fish tank - creating a fish scene. Add fun foam or foam pads to the back of the fish tank for added dimension.
Mount the completed fish tank onto black/white patterned paper. Add co-ordinating patterned paper and a sentiment strip.
Heat emboss the sentiment with white embossing powder onto a strip of black card.
Assemble onto a black card base to complete the card.
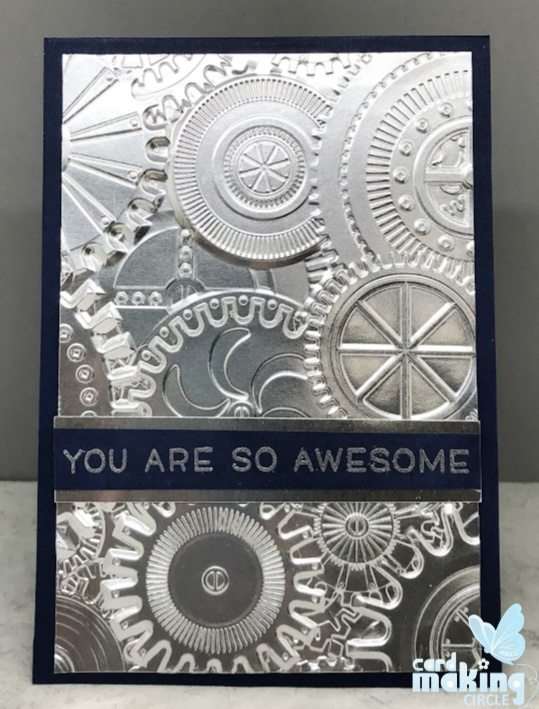
Your Are So Awesome
This simple card packs a punch with realistic mechanical wheels.
To create the background emboss silver card with the Mechanics 3 D texture embossing folder from Sizzix.
Cut the embossed card and layer onto a navy card base. Add a sentiment strip across the card layered on silver card.
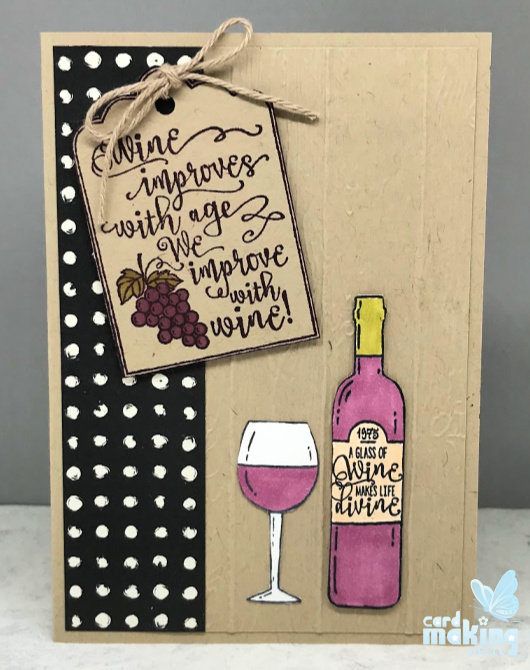
Wine Improves with Age
This card uses the "Half Full" stamp set from Stampin Up!
Create a textured wood effect layer with an embossing folder on craft coloured card.
Add a strip of patterned paper on the left hand edge.
Stamp, colour and fussy cut the glass and wine bottle. Glue the glass to the embossed layer and add foam pads to the bottle.
Stamp, colour and fussy cut the label. Punch a hole for the twine. Add to the card front with foam pads.
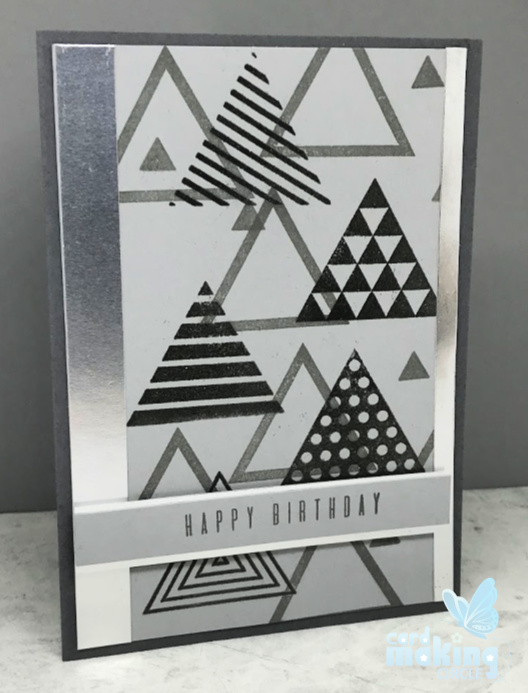
Happy Birthday
Create this unusual geometric birthday card with the Trigonometry stamp set from Altenew.
Stamp a selection of the patterned triangles onto light grey card with grey ink and heat emboss with clear embossing powder.
Randomly stamp other triangles with light grey ink over the embossed images.
Mount onto a dark grey card base and add silver card strips along the vertical sides.
Complete with a sentiment on light grey card layered onto silver card. Mount with foam pads across the bottom of the card front.
Using geometric shapes was one of many wonderful ideas I gained from the "For the Guys" class at the Altenew Academy.
It's a great source of inspiration if you are looking for more card ideas for men and boys.
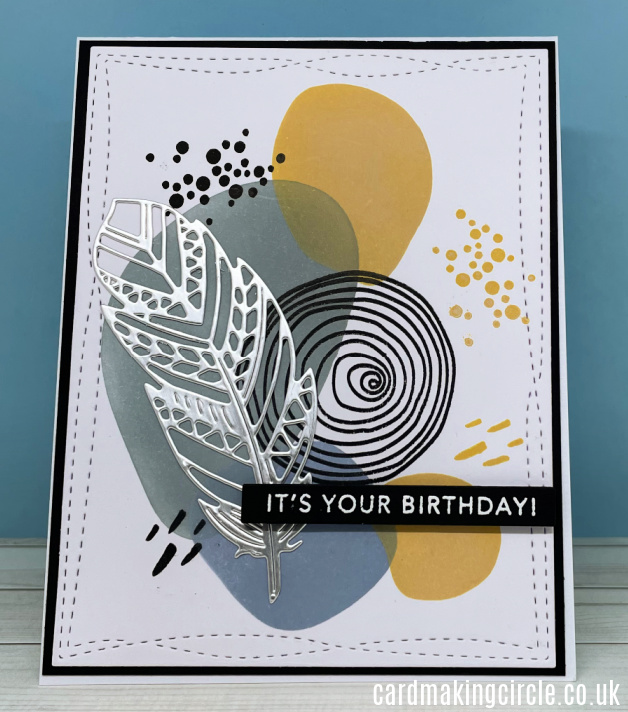
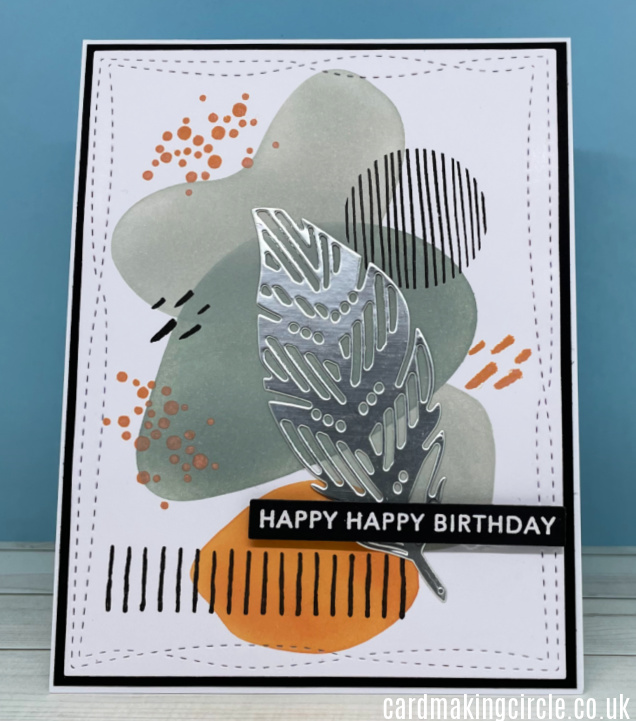
Abstract Greeting Cards
Abstract designs also work well for cards for men.
For these cards I used the Abstract Accents stencil and clear stamp combo from Taylored expressions.
The shapes were ink blended onto the card and stamped with random designs. I particularly like the dots.
A used dies from Paper Rose for the silver leaves and sentiments from Taylored Expressions.
More Cards for Men and Boys
- Home ›
- Card Making Ideas ›
- Cards for Men and Boys
