Sign up TODAY for Card Making News! Learn More >
FTC Disclosure - If you make a purchase via a link on this site, Card Making Circle may receive a small commission on the transaction.
Amazon Disclosure - As an Amazon Associate Card Making Circle earns from qualifying purchases.
All at no added cost to you. Thank you!
- Home ›
- Card Making Ideas ›
- Cat Birthday Cards
Cat Birthday Cards
In ancient times cats were worshipped as gods; they have not forgotten this.
Terry Pratchett
What is it about our furry four legged friends that makes us adore them? Especially when they're so unpredictable and ignore us!
Is it their independent and mischievous disposition or their fluffy soft appearance?
Whatever the reason, their laidback attitude is the perfect distraction to our hectic lives. Oozing calm with their therapeutic purring. It makes owning a cat a great stress reliever.
For feline lovers everywhere cat birthday cards are a popular choice.
So, let's go on a cat hunt....
Before starting your cards check out your card sizes and layers.
Birthday Wishes
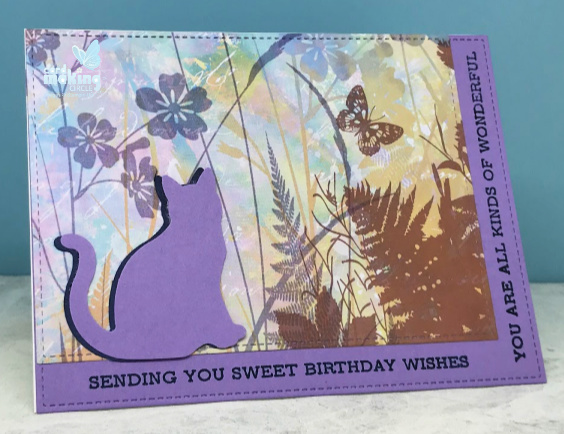
This quick and easy cat birthday card uses beautiful designer paper from Crafty Individuals.
Cut and layer the designer paper on matching card.
For the cat I used the Cat Punch from Stampin Up!
Punch the cat out twice, once in purple and once in black card.
Glue together and slightly offset to provide a shadow effect.
To complete the card I used two sentiments from the Sentiment Strips stamp set from Altenew.
Stampin Up! punches are solid and don't move around the table when you squeeze them. If they do slide try putting some Dycem material under the punch.
The design makes it easy to apply pressure with one hand over the other hand for greater pressure. It also means you could use the side of your arm or an elbow to push the punch down.
Make a Wish
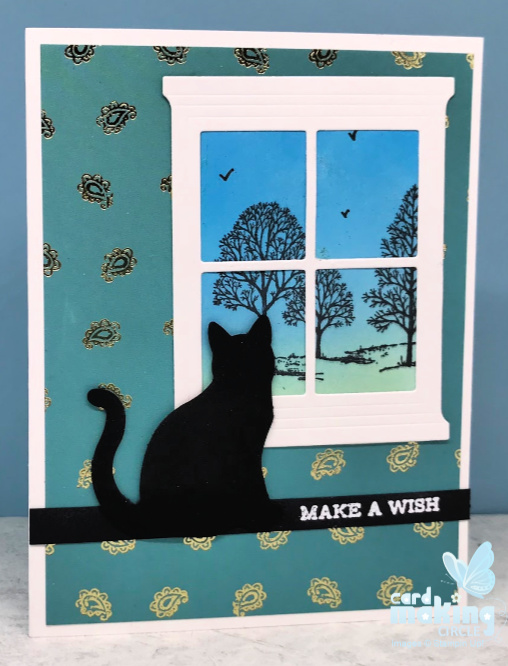
For this card start by ink blending your through the window background on white card. I used Distress inks - peacock feathers, tumbled glass and mermaid lagoon.
Stamp an image on your blended background. The retired "Lovely as a Tree" from Stampin Up! fitted perfectly with the size of my window.
For the window I used a Sizzix window die but you could easily make a window with rectangle dies.
Trim the window background and glue to sides of the window.
Cut a layer of patterned paper for the "wallpaper". Glue to a prepared card base.
Position and adhere the completed window.
Finally, punch a cat from the Cat punch from Stampin Up! and add a heat embossed sentiment strip across the card. This provides a platform for the cat to watch the birds through the window.
Happy Birthday and My Friend
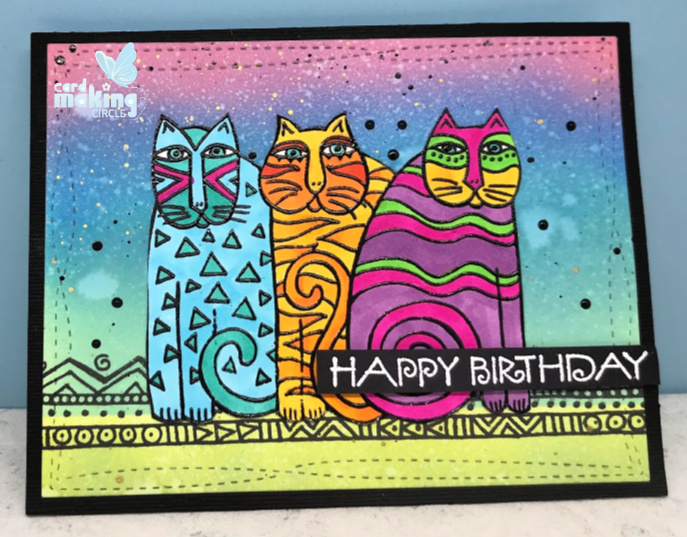
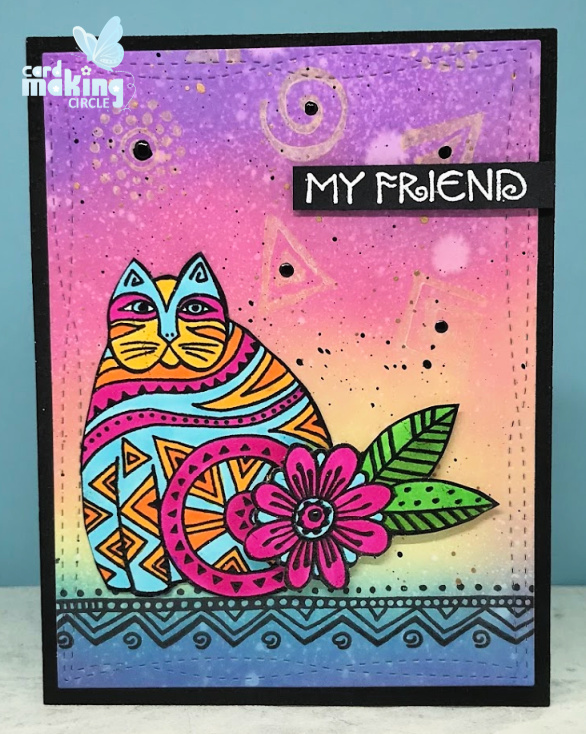
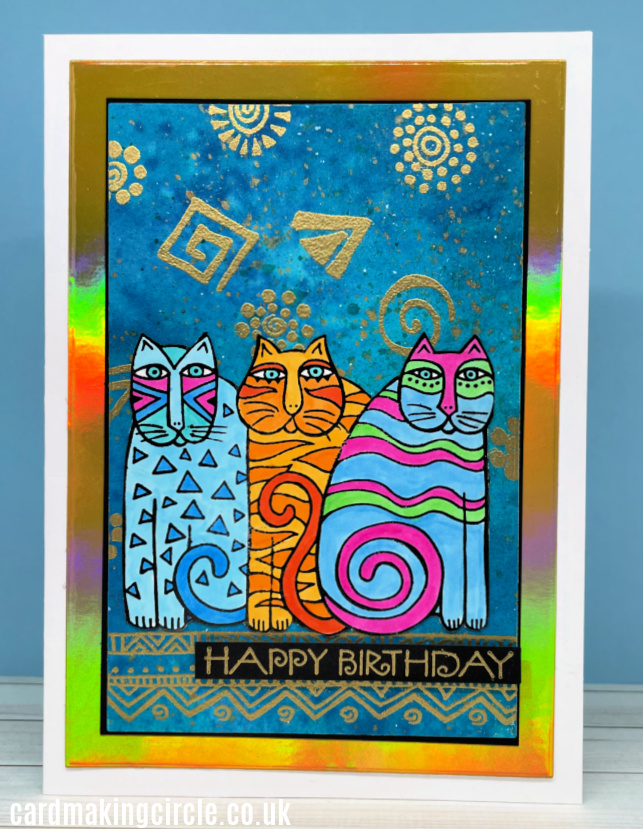
These cards use Feline Blooms and Icons stamp sets designed by Laurel Bunch.
Her cats are incredibly distinctive with their Egyptian type poses and bright colours.
Download a free colouring guide from the Stampendous website.
Stamp the cat images with black ink and colour with your preferred colouring medium.
If using alcohol markers remember to use an alcohol friendly ink.
(I used a stamp positioning tool (Misti) and re-stamped after colouring with Versafine Onyx Black ink. Then heat embossed with clear embossing powder.)
Fussy cut the cat images.
Ink blend the backgrounds on white card. Stamp over the background with stamps from the Icons stamp set.
Die cut the background with the Wonky Stitched Rectangle die from MFT stamps.
Glue the cat images into position and add a sentiment strip.
More Cat Birthday Cards
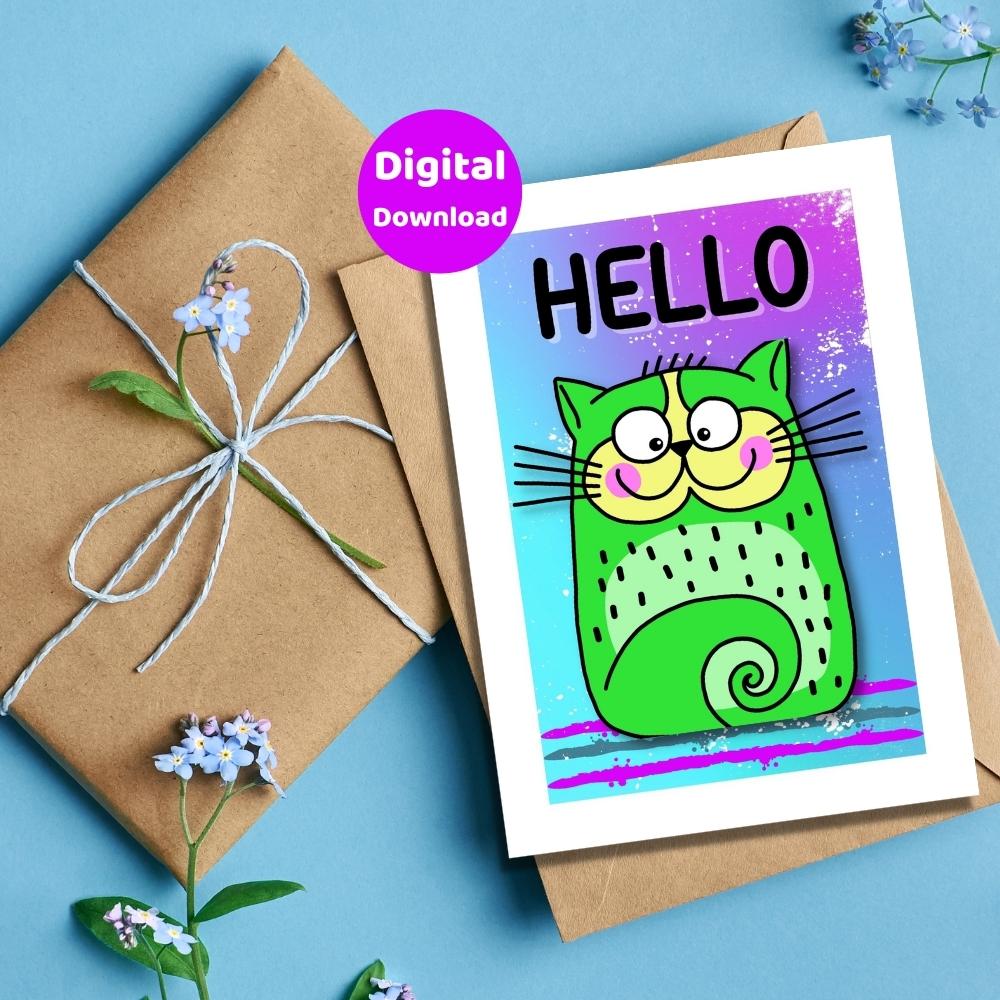
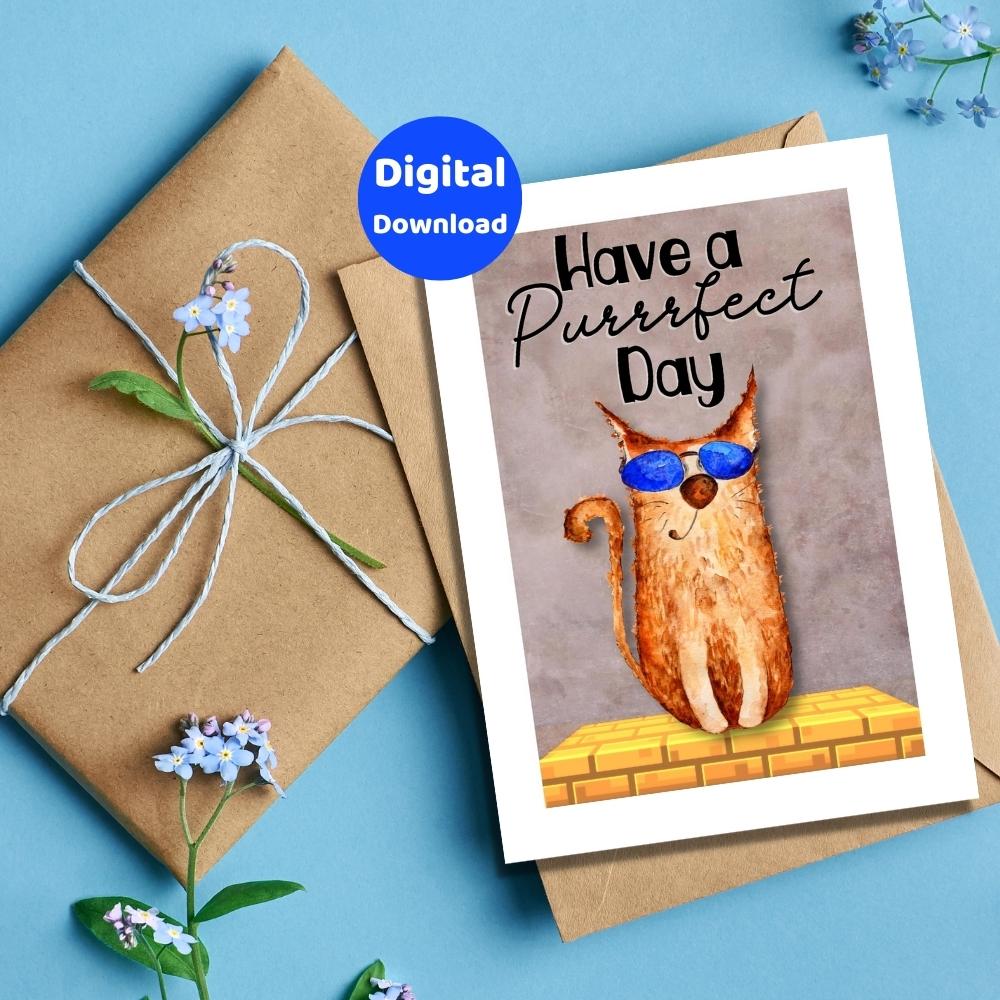
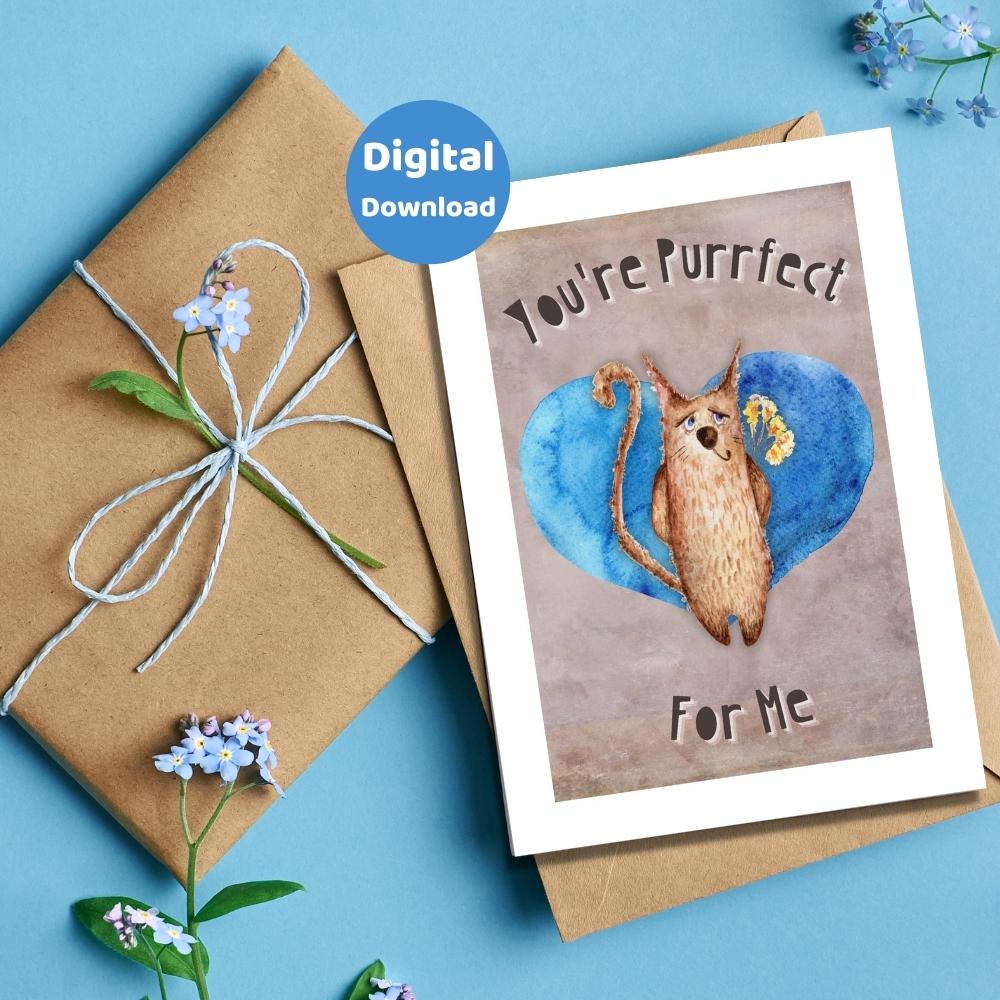
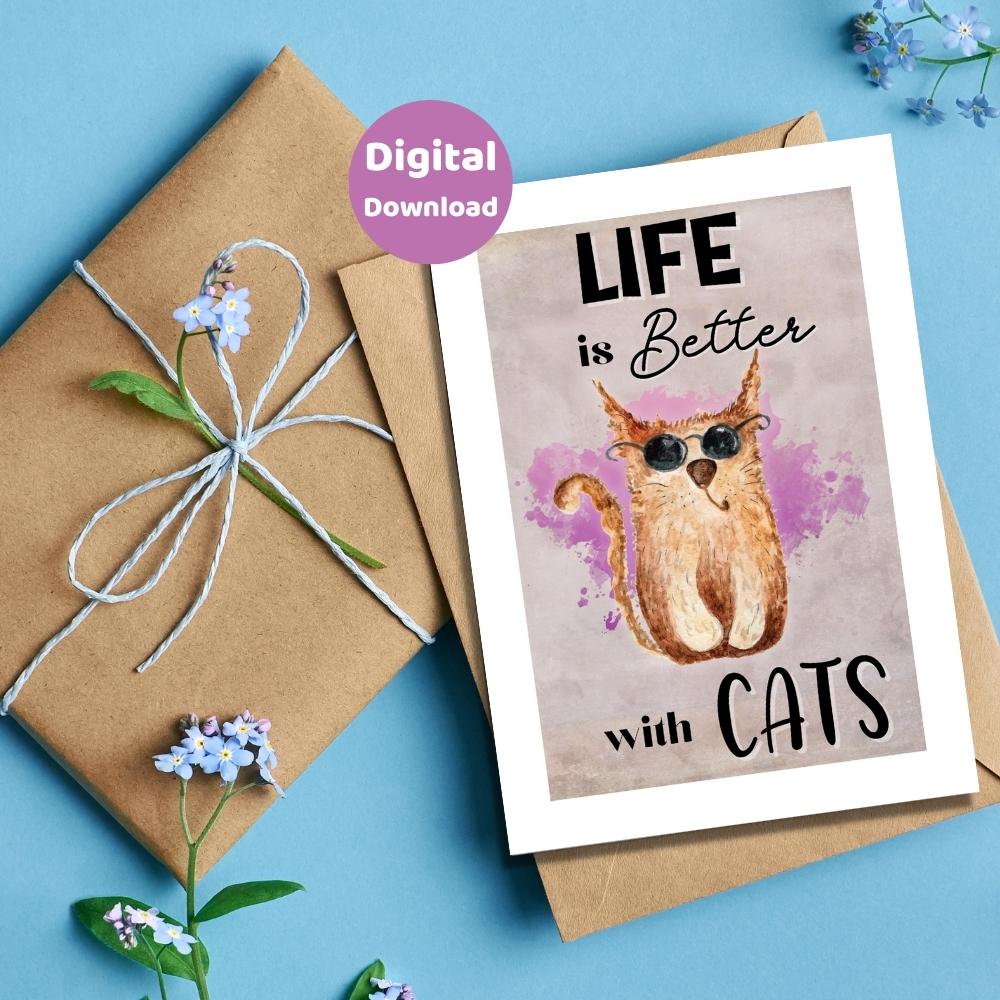
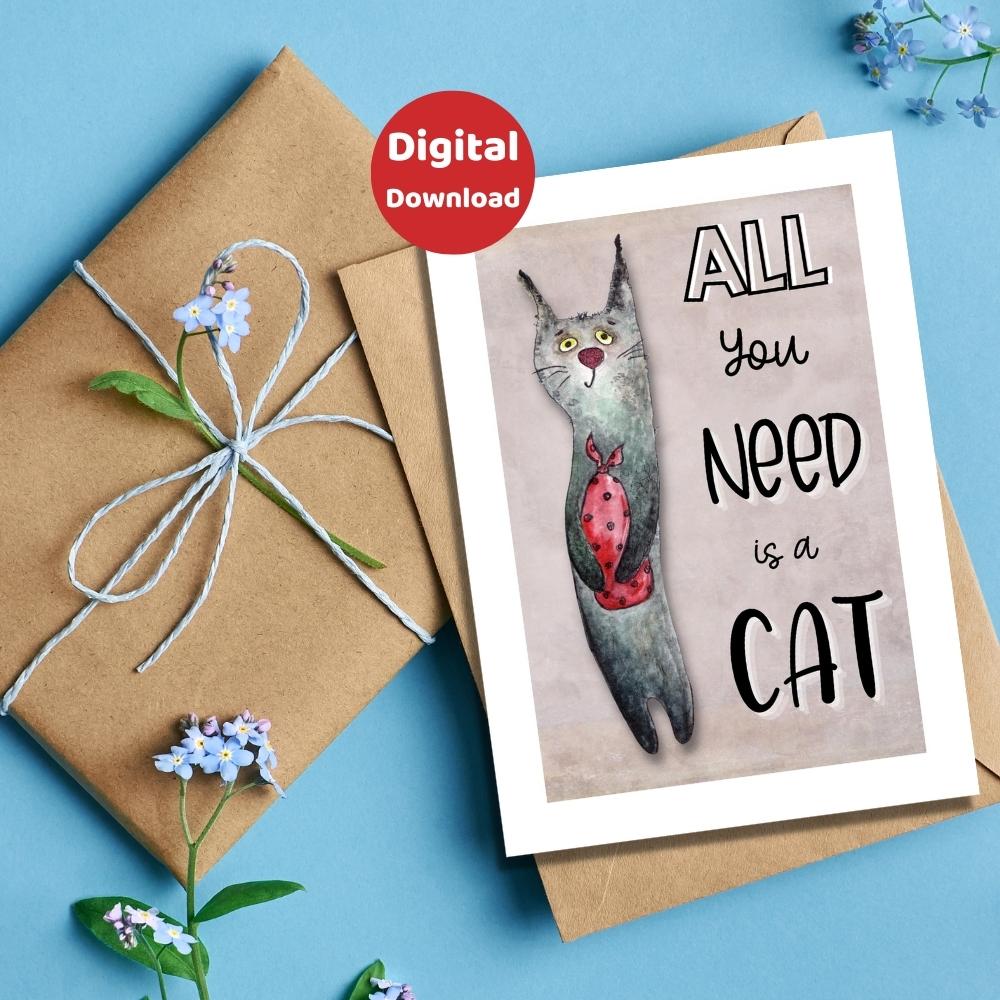
Printable Cat Cards
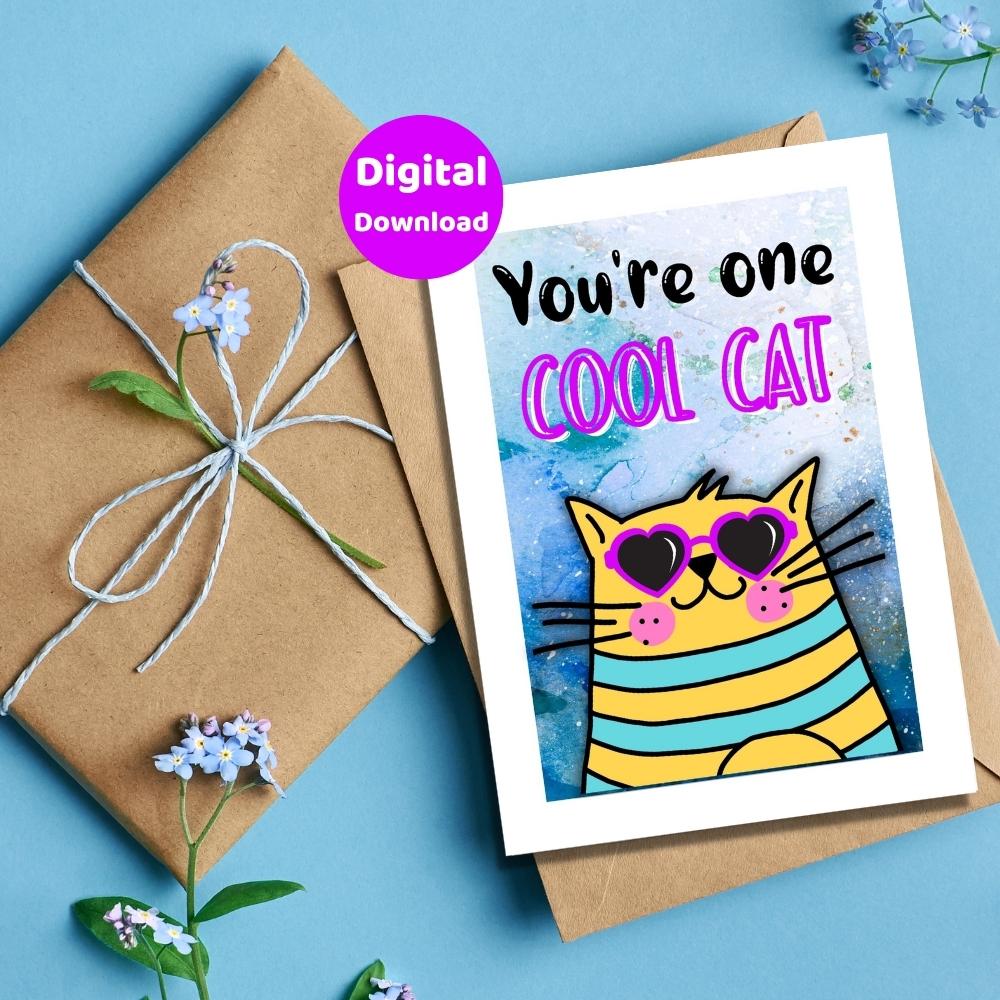
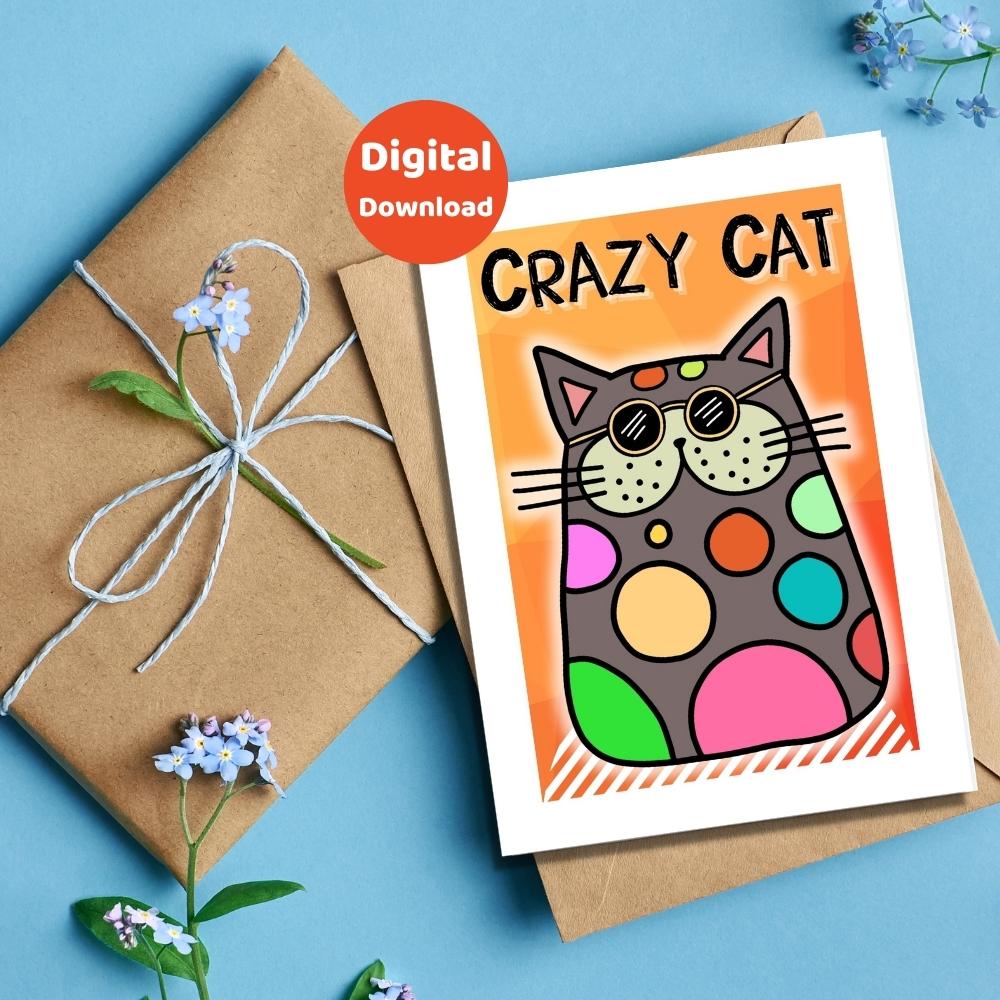
Are you running out of time to create your own Cat greeting card? If so, take a look at my printable Cat cards ready to download.
- Home ›
- Card Making Ideas ›
- Cat Birthday Cards
