Sign up TODAY for Card Making News! Learn More >
FTC Disclosure - If you make a purchase via a link on this site, Card Making Circle may receive a small commission on the transaction.
Amazon Disclosure - As an Amazon Associate Card Making Circle earns from qualifying purchases.
All at no added cost to you. Thank you!
- Home
- Techniques
- Easy Watercolour Techniques
Easy Watercolour Techniques
Are you curious to learn easy watercolour techniques to unlock your inner artist?
Look no further!
You can do it with a few simple techniques from Wet on Wet to table salt.
So, get ready to dive into the captivating world of watercolour painting!
Let's look at the supplies you need to get started.....
Watercolour Supplies
When making watercolour cards, choosing the right supplies is crucial. They will bring your creative ideas to life.
When starting with any new medium use whatever supplies when you begin As you practice more and develop your competence buy better quality supplies.
Paint
The quality of your materials can impact the outcome of your artwork. Good watercolours aren't cheap so it's essential to choose carefully.
Ideally, look for paints with a high pigment concentration. These paints produce more intense hues.
Watercolour paint sets typically come in pan or tube forms. So choose whichever format suits your preferences.
Pans are dry watercolour paints that come in small square or circular pans. Tubes contain moist paint that you squeeze out of the tube.
Most beginner choose pans as they are portable and easy to use.
Tube paints are excellent for artists who prefer to mix their own colors. They enjoy the versatility that comes with more intense pigmentation.
With tubes, you have more freedom to experiment with consistencies and opacity levels.
What to buy?
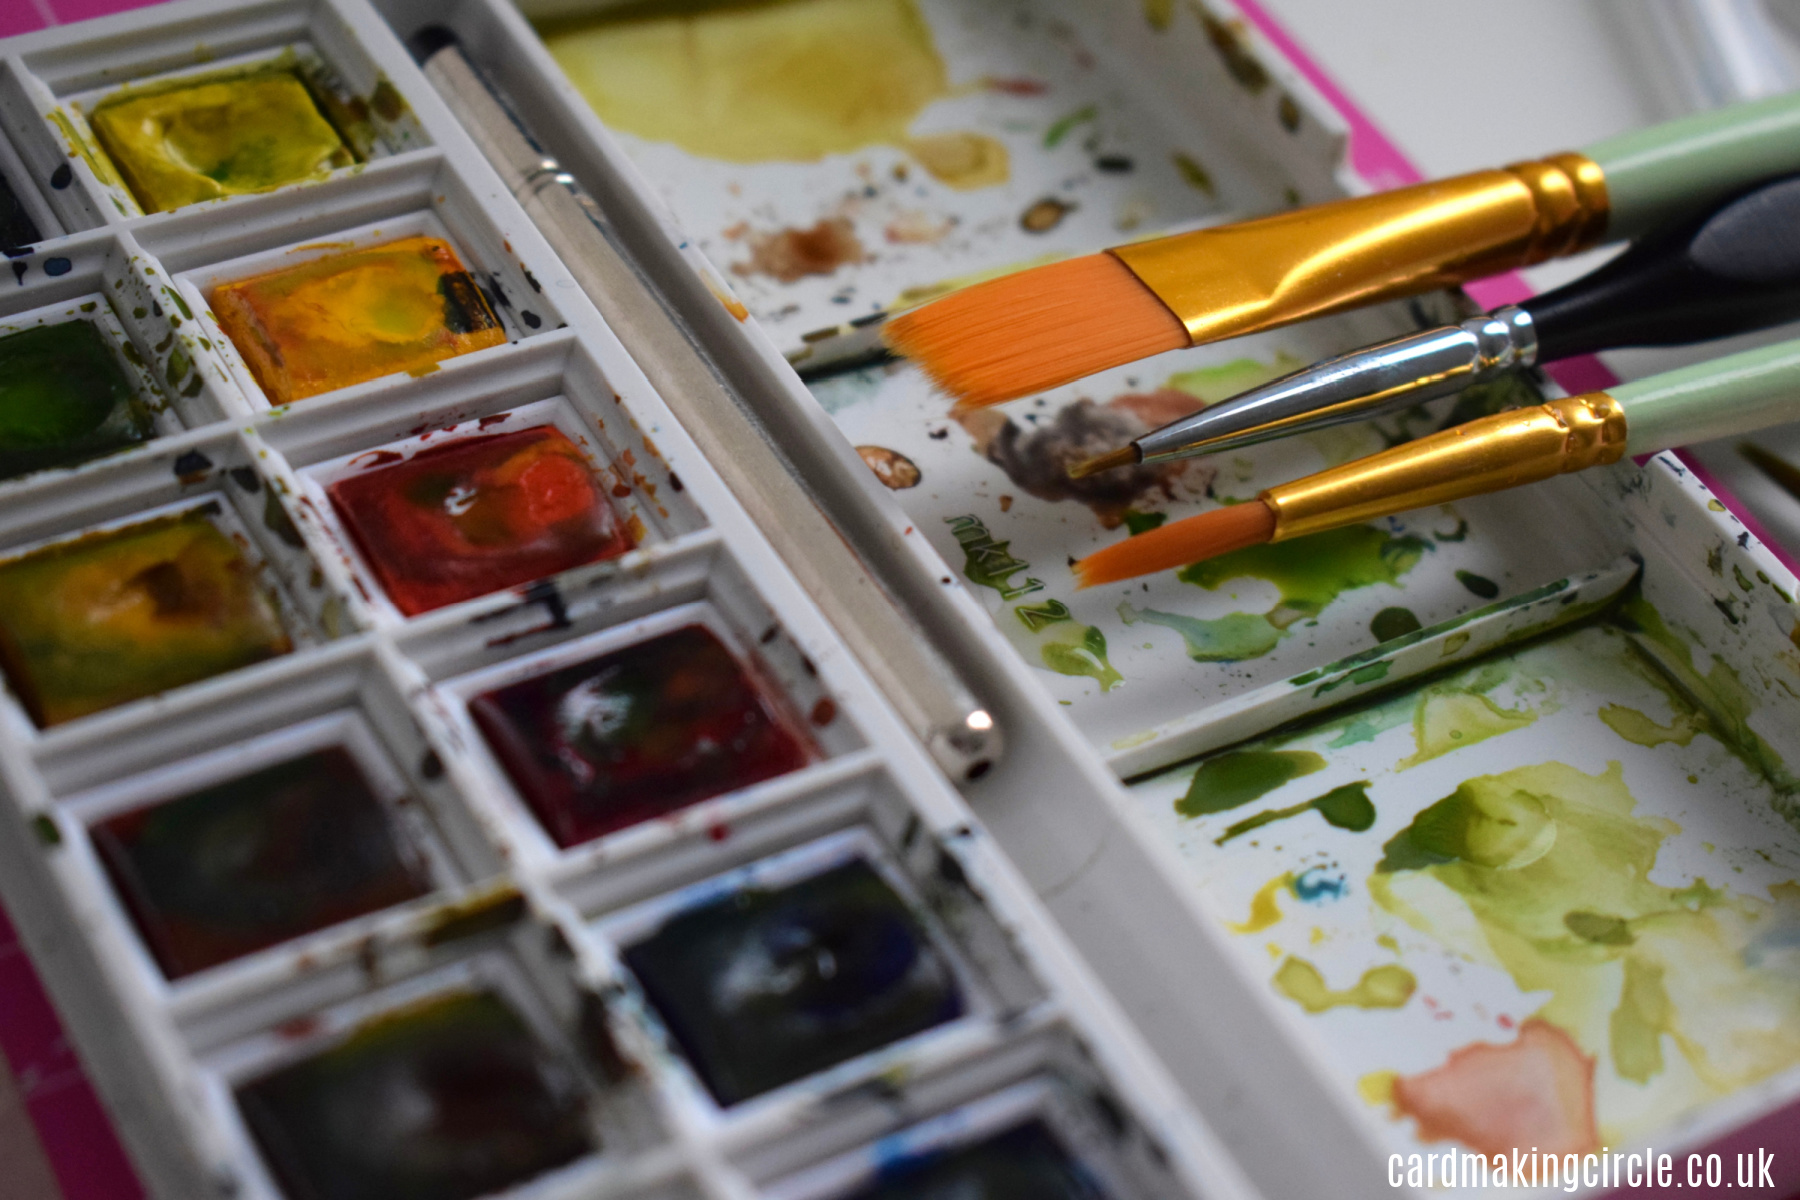
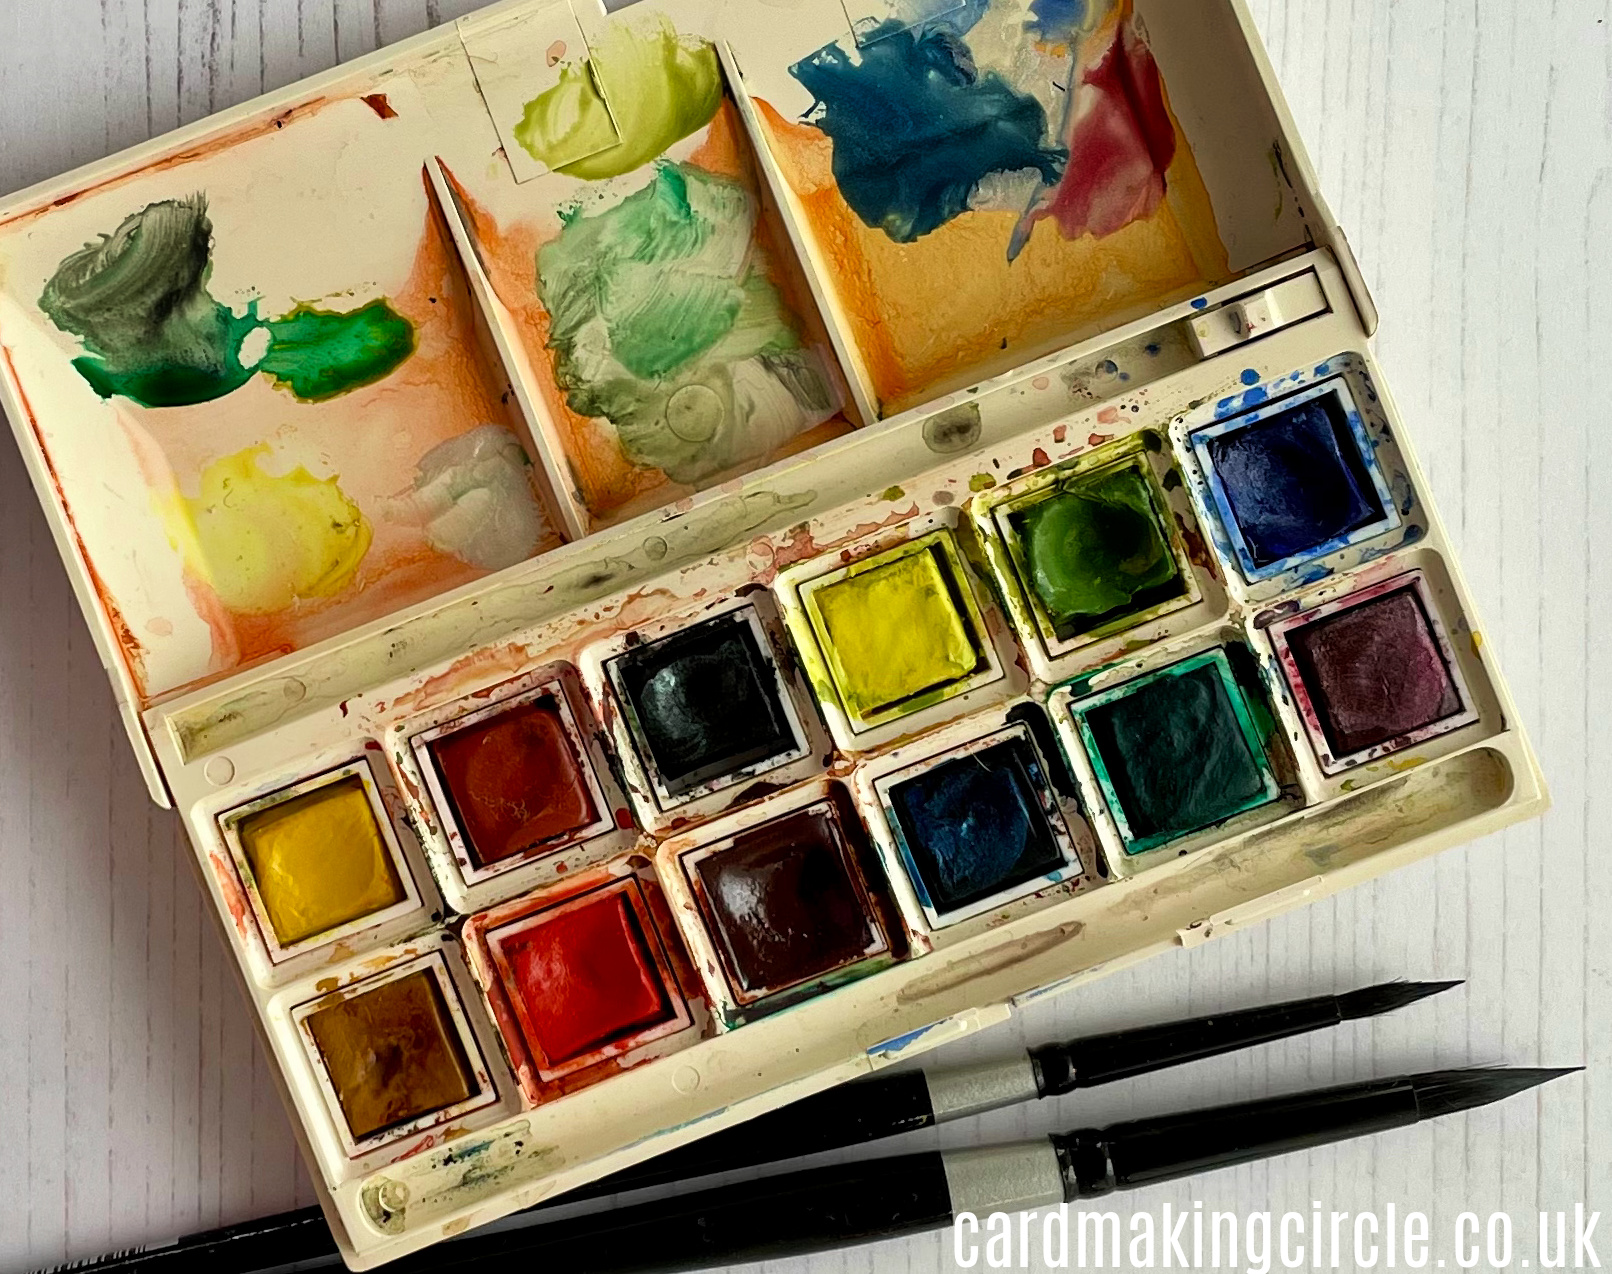
Everybody you ask will have a different take on which starter paint set to buy. The very old Daler-Rowney watercolour box (above) served me well in the beginning
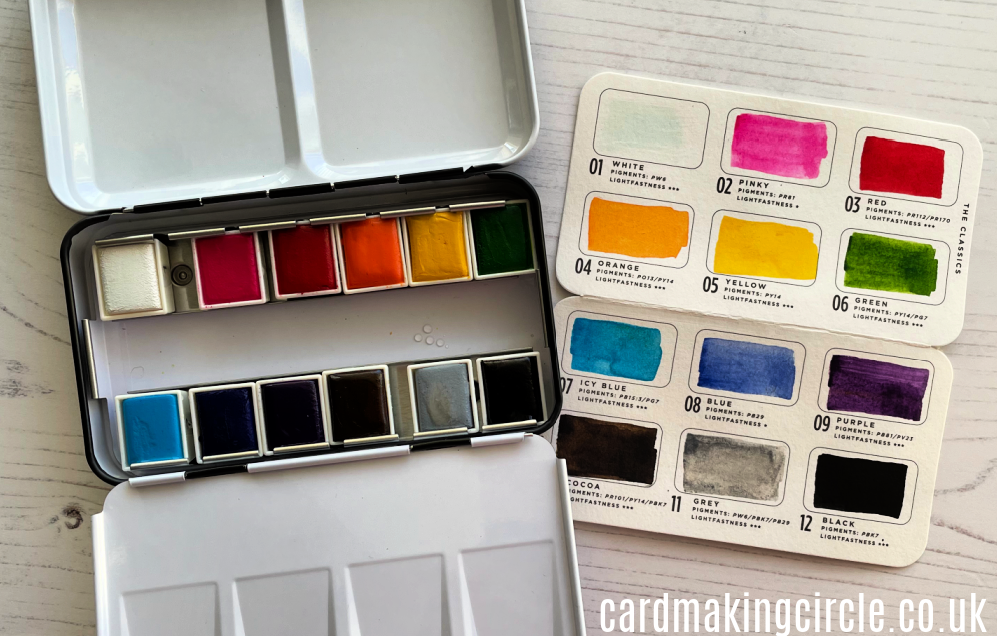
Today I would buy the small "Watercolor Confections - The Classics" watercolour pan set from Prima. It's an artist-grade quality set with bright vibrant colours at a good price point. About £24 on Amazon.
If you are interested in details such as lightfastness and pigment blends these can be found on the swatch sheet inside each of the newer sets.
I'm a great fan of Watercolor Confections sets as they cover a range of different colour palettes from pastels to tropicals. My favourite is Decadent Pies.
They take the worry about whether colours "go" together as someone (with more knowledge than me!) has picked the colours for you. No struggling to mix up your own colours - an added bonus when time is short.
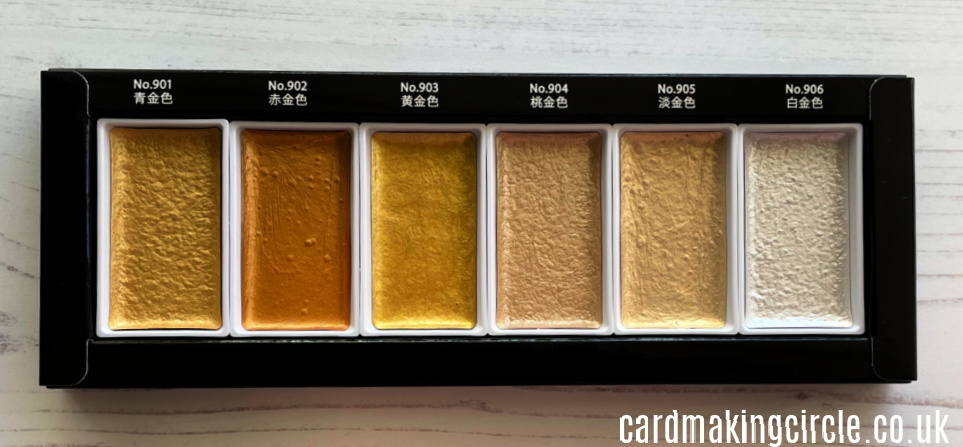
If you like to add splatters to your cards check out the Kuretake Starry Colors retailing for about £12. There are six shades of creamy opaque watercolour paints in different shades of gold. The quality is great and with their large pans will you last a long time.
Confession time I'm also a fan of Kuretake paints but their coloured sets are a bit too expensive for a beginner.
Brushes
Next, you will need a variety of brushes.
Different brush sizes and shapes allow for versatility in your artwork.
A large flat brush is great for covering larger areas. While a small round brush is perfect for adding delicate details.
Synthetic brushes are a cost-effective option and work well with watercolour paints.
Natural hair watercolour brushes are often favoured by professionals as they are good at holding and releasing water.
Experiment with different brush sizes to achieve various effects.
Paper
Watercolour paper is designed to handle the liquid nature of watercolour paints. It does this without warping or bleeding.
It comes in different weights and textures.
Watercolour paper comes in three main types: hot-pressed, cold-pressed, and rough.
Hot-pressed paper has a smooth surface that's ideal for intricate and detailed work. It's also good for watercolour markers.
Cold-pressed paper has a slight texture. It's the most popular choice for watercolour painting as it allows for moderate absorption. This makes it versatile for both detailed and loose painting styles
Practice on a cheaper watercolour paper such as Canson XL watercolour paper. The best paper is 300g/m2 (140 lbs) 100% Cotton but as this is expensive save it for your finished work.
Rough paper is the least smooth and has more texture.
Other Tools and Accessories
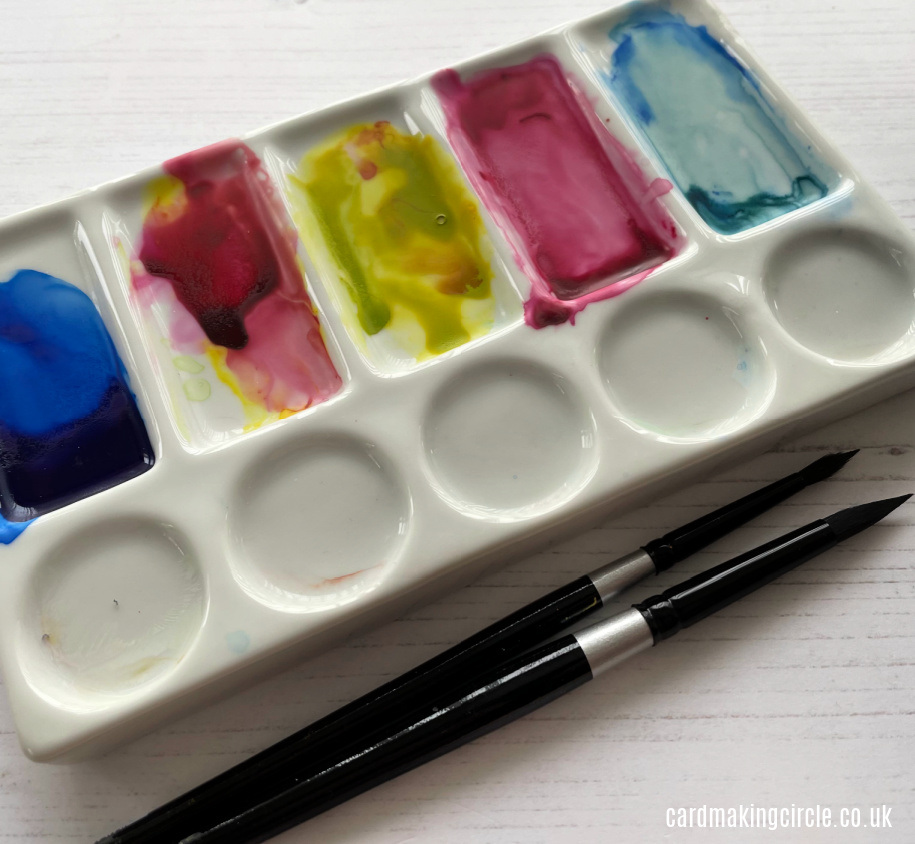
A palette is crucial for mixing colours. This could be a ceramic plate. Or, it could be a purpose-bought palette with sections for different colours.
Masking tape for painting is used to create a clean border around your painting. It also holds the painting down while painting.
There are many different brands. The best option is to find a brand that doesn't rip your paper when removed.
Masking fluid can be a fantastic addition to your supplies. Apply this liquid to the areas where you want to preserve the white of the paper. It allows you to paint freely around it.
Once the paint is dry, simply rub off the masking fluid to reveal crisp, white details.
You will need water!
Two jars filled with water are recommended to rinse your brushes. One for dirty brushes and the other for adding clean water to your brush.
Lastly, you will need some basic stationery supplies such as pencils, erasers, and a ruler.
Hold back from spending lots of money on your supplies until you have gained some insight in what you like.
Practice with what you have. Gradually replace cheaper items with better quality as you progress.
Easy Watercolour Techniques
Wet on Wet Technique
The wet-on-wet technique is a beautiful way to create dreamy and soft backgrounds for your cards.
Start by wetting your entire paper with clean water using a brush or a spray bottle. Make sure it's damp, but not soaking wet.
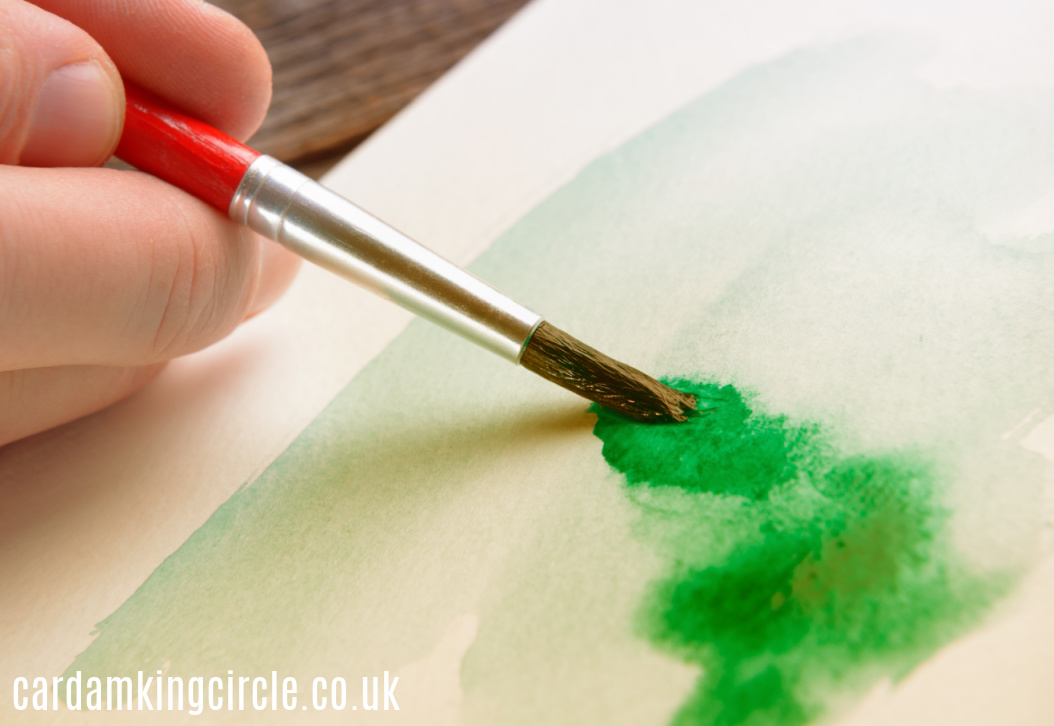
Then, load your brush with your chosen watercolour paint and sweep it across the wet paper.
The paint will naturally spread and mix with the water.
Watch as the colours blend and create beautiful gradients.
You can experiment with different colour combinations. Layer them to add depth and interest to your backgrounds.
Allow the paper to dry completely before moving on to the next step.
Wet on Dry Technique
The wet on dry technique is when you apply wet paint to a dry suface.
It gives more control over your paint.
Wet your brush and load with watercolour paint. Then apply the paint to your dry paper.
Experiment with different brush sizes, brush shapes and pressures to achieve different effects.
Ombre Effect
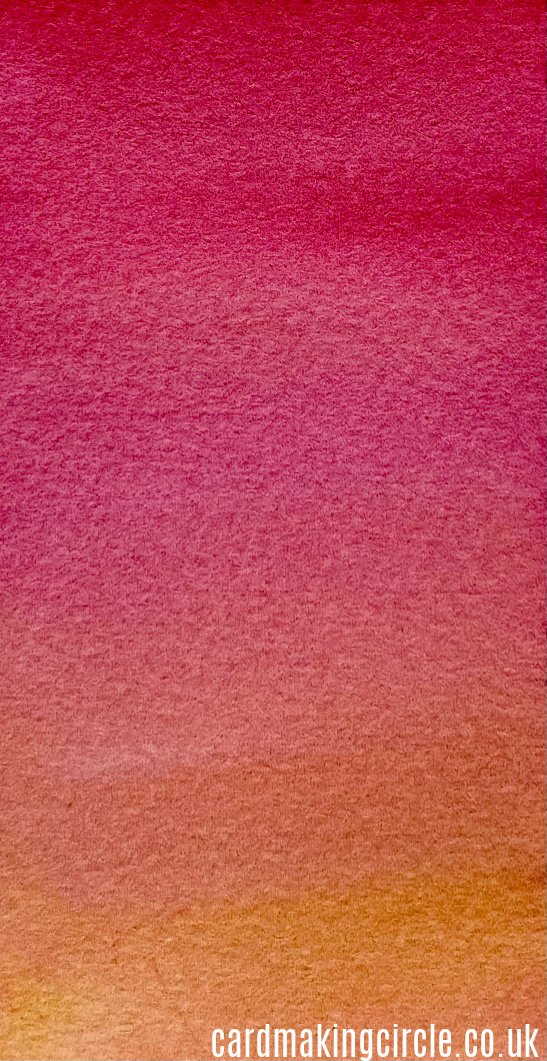
Blend colours together for a stunning ombre effect.
Start by wetting an area of your paper with clean water, making sure it's evenly saturated. Then, apply one colour at the top of the wet area and a second colour at the bottom.
Use a clean, damp brush to gently blend the colours together.
The wet paper will help the colours mix and transition smoothly. This will create a beautiful gradient.
Salt Texture Technique
This technique simple yet effective. It can help you achieve remarkable and unique textures on your watercolour paper.
When it comes to texture, salt holds a special place in the watercolour realm.
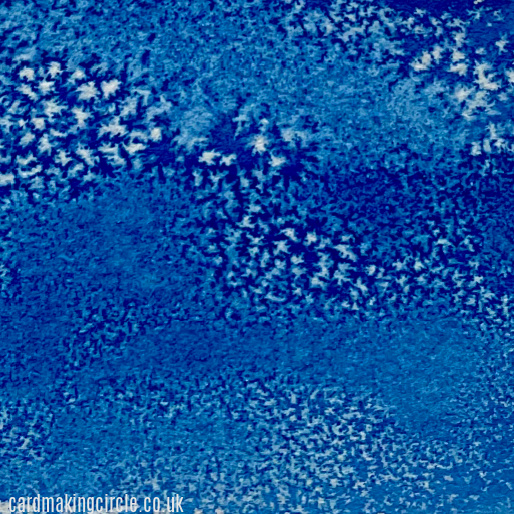
Sprinkling salt onto wet watercolour paint creates a gradulating effect that adds interest to your artwork.
The salt particles absorb moisture from the paint. This causes it to spread and disperse unevenly.
It results in beautiful textures that resemble delicate snowflakes or even cracking surfaces.
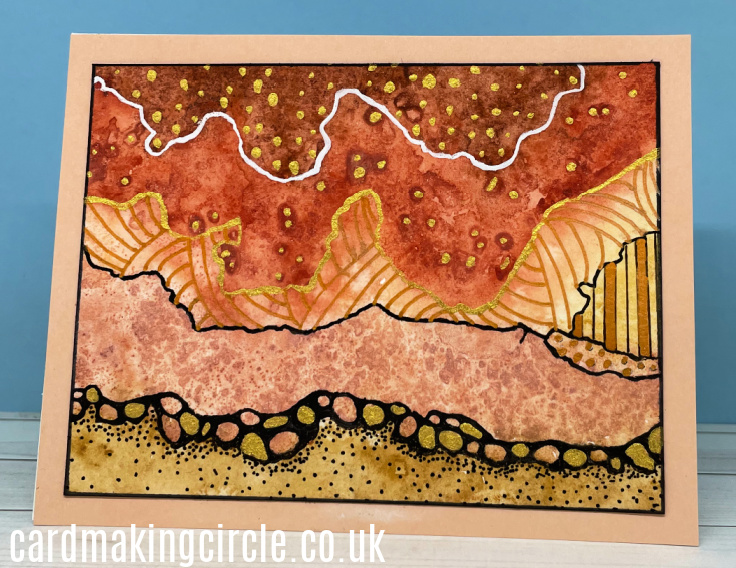
Coarse salt creates larger effects. Finer salt will give you subtler textures.
The card below shows a mixture of fine and coarse salt.
Water Technique
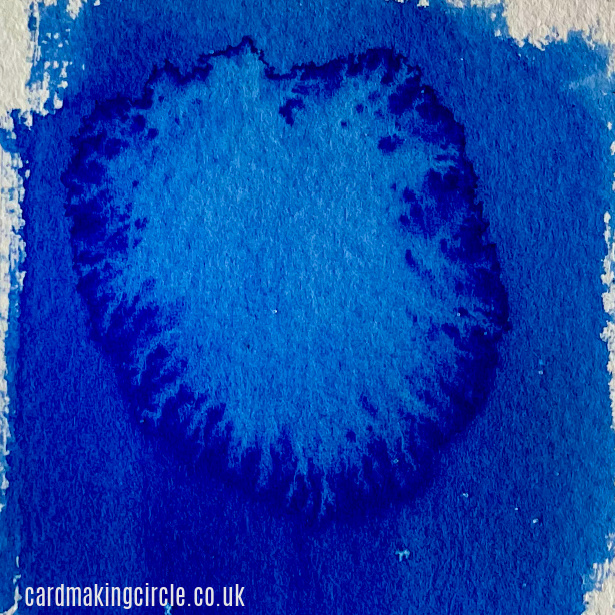
You can create beautiful "blossoming" effects with water.
To begin, apply your paint. As the paint starts to dry, take a dropper or use your paint brush dipped in water and apply it to the surface.
The water will react with the paint. This will cause the colours to disperse and create stunning patterns.
If you're feeling bold, try combining salt and water techniques.
The interplay between these techniques will produce mesmerising effects.
Masking Techniques
The masking technique is handy when you want to protect certain areas of your card from paint.
It involves using wax or masking fluid. This creates areas that repel watercolour allowing the white of the paper to show through.
To start, apply the wax or masking fluid onto your paper. You can do this either freehand, or by using stencils or tape to create specific shapes or designs.
Keep a special brush just for masking fluid as you won't want to use it again for painting!
Once it has dried, apply your watercolour paint.
When the paint is dry, remove the masking fluid or wax. It will reveal the untouched areas beneath.
This technique is excellent for creating highlights, intricate patterns, or preserving minute details.
Splatter Technique
Give your watercolour paintings a touch of spontaneity and energy by adding the splatter technique.
Load your paint onto a brush. Then, using your fingers or another brush, flick or tap the loaded brush towards the paper. This creates splatters and droplets.
This technique adds movement and excitement to your artwork. It is especially effective for depicting falling rain, stars, or abstract backgrounds.
Check out my Watercolour Card Ideas and Easy Watercolour Christmas Cards for fun and easy cards to create.
If you are a beginner looking to start your watercolour this You Tube video "Beginners Guide to Watercolour" by Jenna Rainey is excellent.
What easy watercolouring techniques do you use?
Let us know in the comments section below...
And Finally....
Watercolour painting is all about having fun, experimenting, and letting your creativity flow. As a beginner, don't be afraid to try new techniques, make mistakes, and learn from them.
Remember, the key is to experiment and have fun with these techniques.
Each painting will be a surprise, as the outcome is somewhat unpredictable. Embrace the unexpected and let the textures guide your creative process.
Enjoy the journey, and happy experimenting!
- Home
- Techniques
- Easy Watercolour Techniques
