Sign up TODAY for Card Making News! Learn More >
FTC Disclosure - If you make a purchase via a link on this site, Card Making Circle may receive a small commission on the transaction.
Amazon Disclosure - As an Amazon Associate Card Making Circle earns from qualifying purchases.
All at no added cost to you. Thank you!
How to Make Cards
Card Making 101
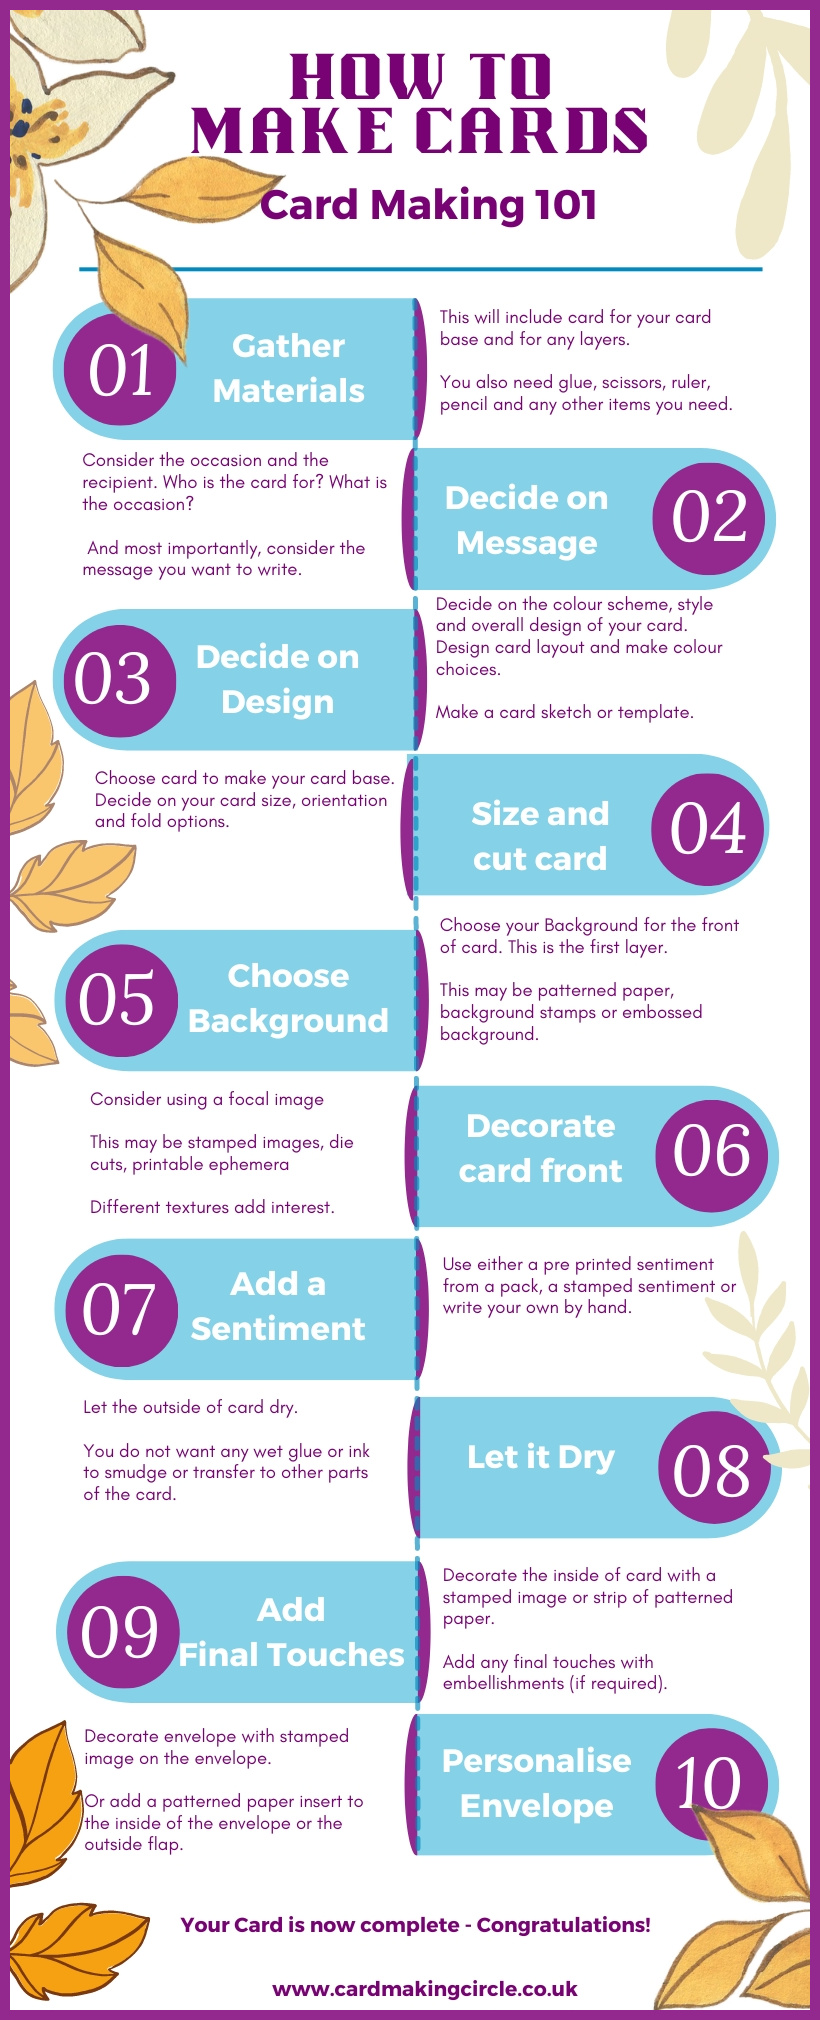
This is my quick and easy ten point plan on how to make cards - Your Card Making 101 to remind you of each step.
Just follow the links for more information.
Print a copy to use as a reminder.
Step 1 - Gather Materials
The first step is to gather all the necessary materials you will need to create your greeting card. This will include card for your card base and for any layers.
You also need glue, scissors, ruler, pencil and any other items you need.
Step 2 - Decide on Message
Before you start making the card, consider the occasion and the recipient. Who is the card for? What is the occasion? Birthday, anniversary, or just a simple thank you card?
And most importantly, consider the message you want to write.
Step 3 - Decide on Design
Decide on the colour scheme, style and overall design of your card.
Design your Card Layout and make colour choices.
Outline your card design by making a card sketch or template.
See:
Step 4 - Size and Cut Your Card
Choose your card to make your card base. Decide on your card size, orientation and fold options. A common size is to fold an 8.5" x 11" (US Letter) or A4 (International) piece of card in half.
Use a bone folder to score your cards in the middle. This will make folding your card easier and give a cleaner fold.
See:
Step 5 - Choose Your Background
Choose your Background for the front of your card. This is your first layer.
There are lots of options such as patterned paper, background stamps and embossed images.
See:
Step 6 - Decorate the Front of Your Card
Use stamped images, die cuts, printable ephemera or anything else you can think of.
Consider using a Focal Image.
Decide whether to add this directly to the background or to another layer of card.
Adhere everything to your card base and background.
Consider raising images, sentiments or layers with foam pads for added dimension.
Use different textures for added interest.
Add Layers - one or two as required. Layers help add dimension and texture to your card.
See:
Step 7 - Add a Sentiment
Use either a pre printed sentiment from a pack, a stamped sentiment or write your own by hand.
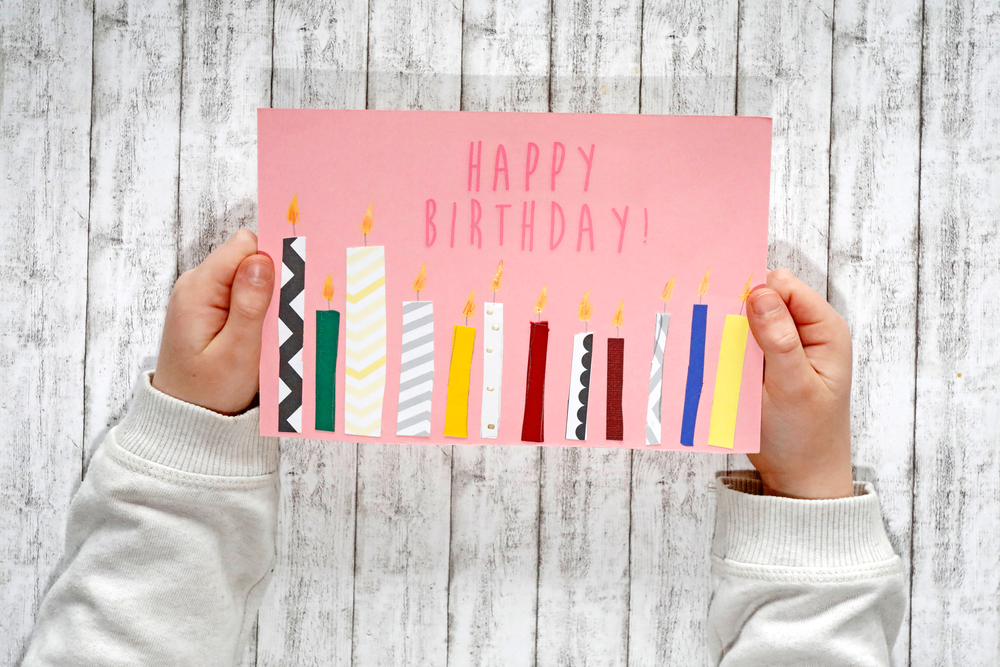
This can be something like "Happy Birthday!" or "Congratulations!" or "Thank You!" as a thin strip or a stamped sentiment on a label.
See:
Step 8 - Let it Dry
Once you have completed decorating the outside of your card, let it dry thoroughly. You do not want any wet glue or ink to smudge or transfer to other parts of the card.
Check for any leftover pencil marks or smudges and clean them up with an eraser or white-out.
Step 9 - Add the final touches
Decorate the inside of card with a stamped image or strip of patterned paper at the bottom of the card inside.
Add an inside sentiment (if required). Use a stamped sentiment or write your message. This can be as short or as long as you want it to be.
Add any final touches with embellishments (if required) such a ribbons, twine, buttons, rhinestones or sequins.
See:
Step 10 - Personalise Your Envelope
Lastly, don't forget the envelope! You can also decorate it according to the card’s theme, or just stamp "Handmade by...." or "Handmade with Love"
Decorate envelope with stamped image on the envelope flap or corner of the envelope. Or add a patterned paper insert to the inside of the envelope or the outside flap.
There you go!
Your Card is now complete - Congratulations!
Download a PDF Version of "How to Make Cards" to print at home
