Sign up TODAY for Card Making News! Learn More >
- Home
- Card Making Techniques
- Napkin Cards
Napkin Cards
Are you looking to save money on your card making? If so, consider making some napkin cards.
I was amazed at the variety of napkin designs available in the most beautiful designs.
Are you looking to save money on your card making? If so, consider making some napkin cards.
I was amazed at the variety of napkin designs available in the most beautiful designs.
Napkins have been used for decoupage for years. I've a friend who uses them to cover light bottles. Her beautiful bottles show the versatility of using napkins and how they can be personalised to individual buyers.
If you don't have any left over napkins you can purchase them quite cheaply from Ebay. They are usually sold in packs of 4 napkins for about £2 to £3. Just put paper napkins into the search and a vast range pops up.
So, there's no need to buy a big pack to get a variety of napkin designs.
So, how do you use your paper napkins?
First select napkins that would look good on a card front. They are sold folded in quarters so this makes the task easier.
Napkins are made of two or three layers of very thin tissue like paper. Separate these layers carefully.
You are going to use only the top layer. The other layers can be set aside and saved for journalling or other mixed media art.
Use a damp paintbrush or water brush to "draw" around the part of the napkin you want to put on your card. Gently pull this apart.
The ragged edges allow the napkin edges to disappear once the adhesive is added.
Cut a card front layer to size and layer adhesive over the card. I used Ranger Matt Medium with a medium sized brush as this drys clear.
Very carefully add your torn napkin section to your adhesive flattening out any creases. If you are quick you can pull the napkin paper up and relay.
Once you are happy with your napkin on your card layer cover the front with more adhesive. This protects the napkin and prevents it from tearing.
Put to one side and allow to dry.
When dry decide how you are going to use your napkin card layer.
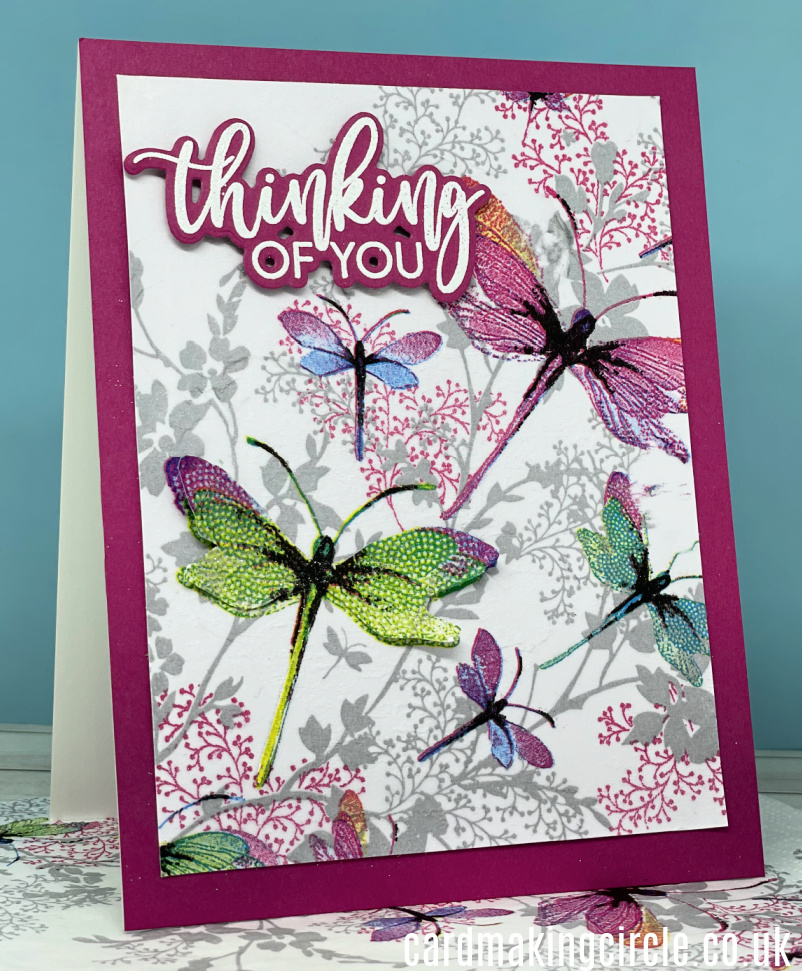
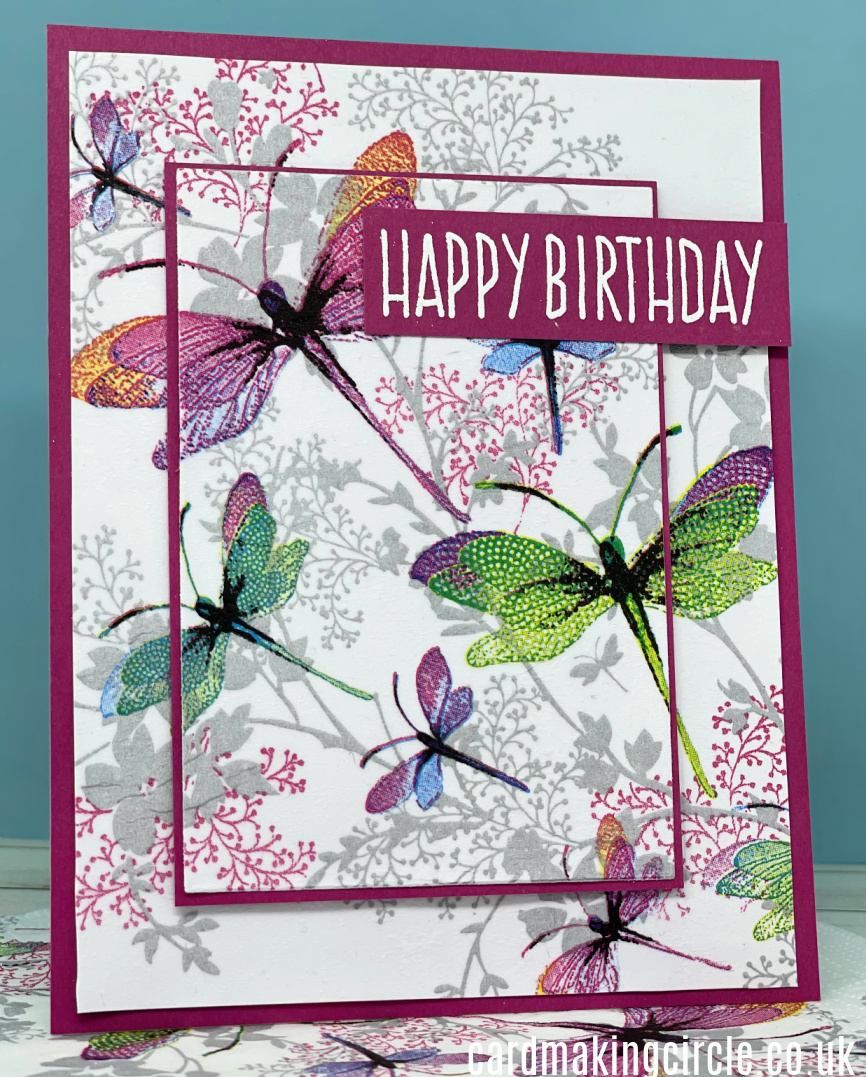
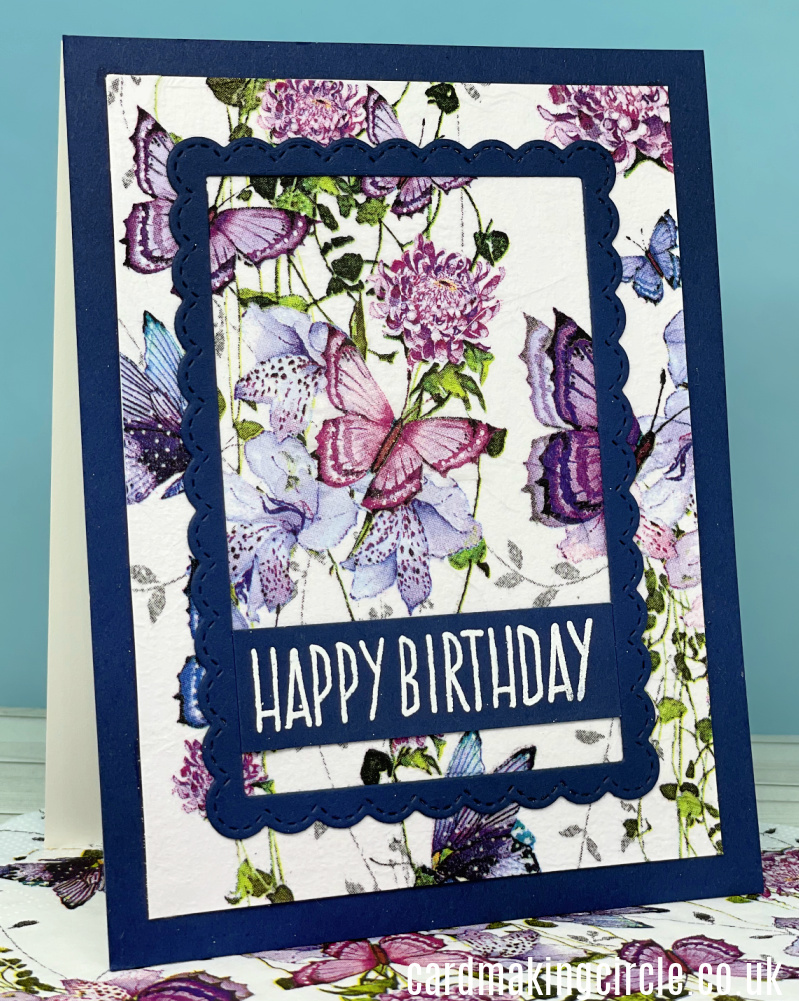
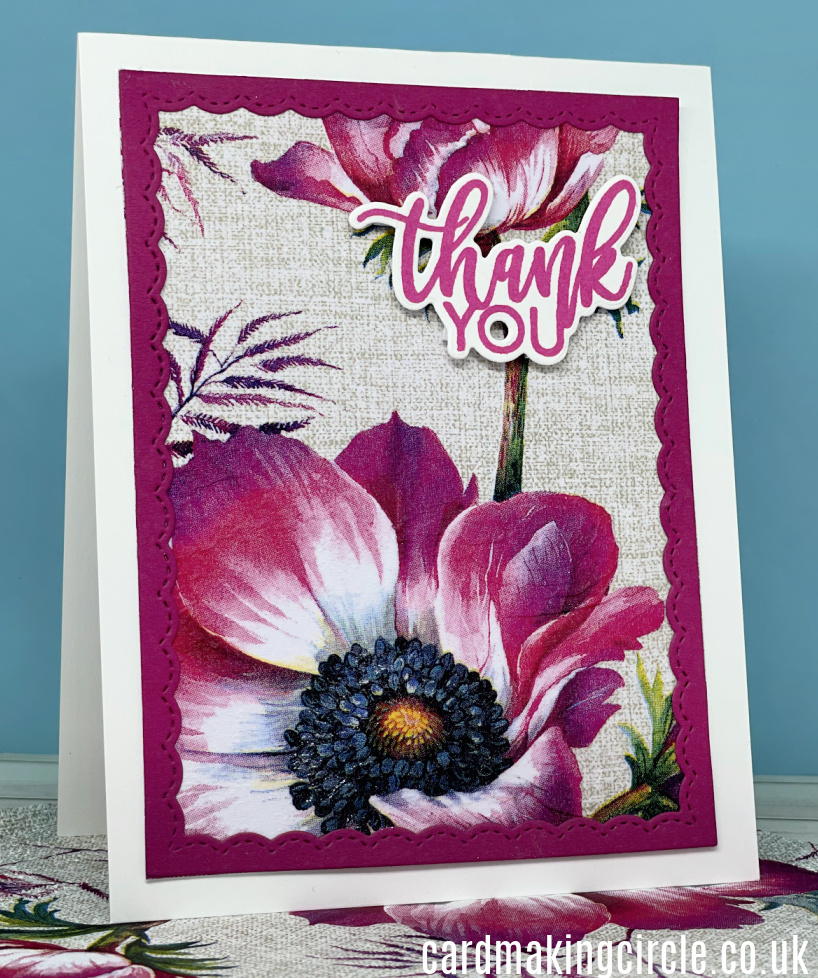
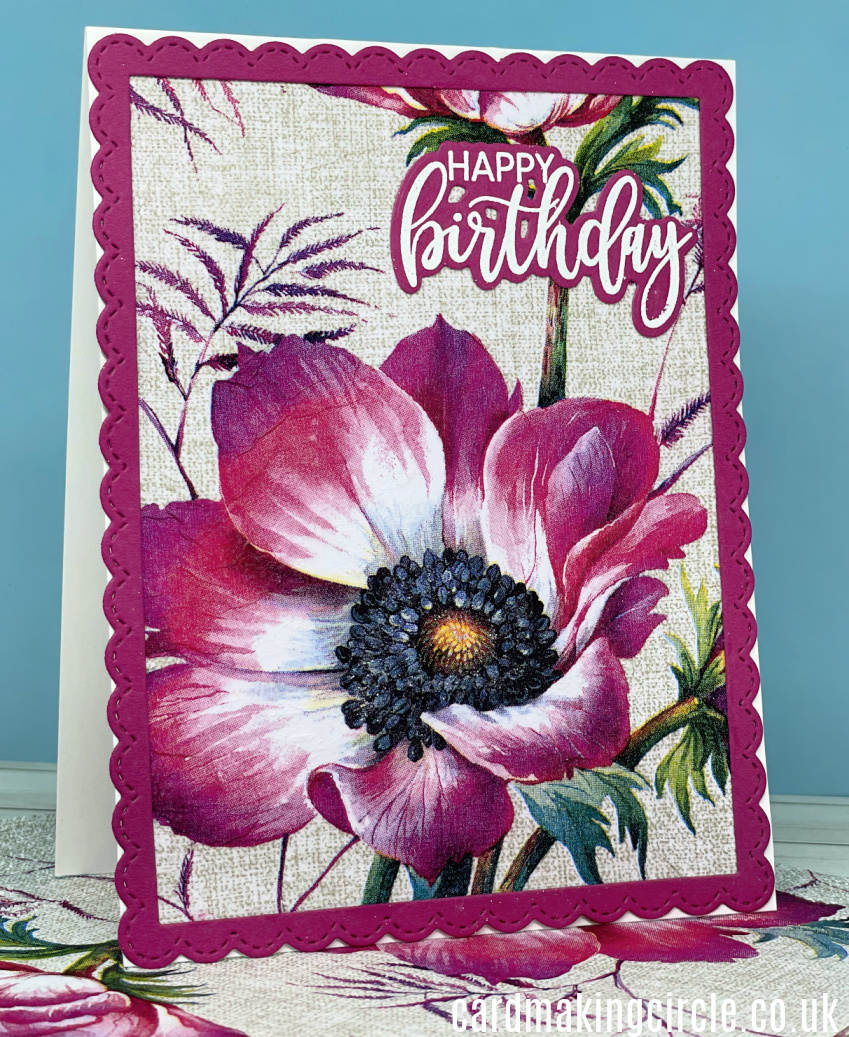
I used mine mainly for complete card fronts and added die cut frames for interest.
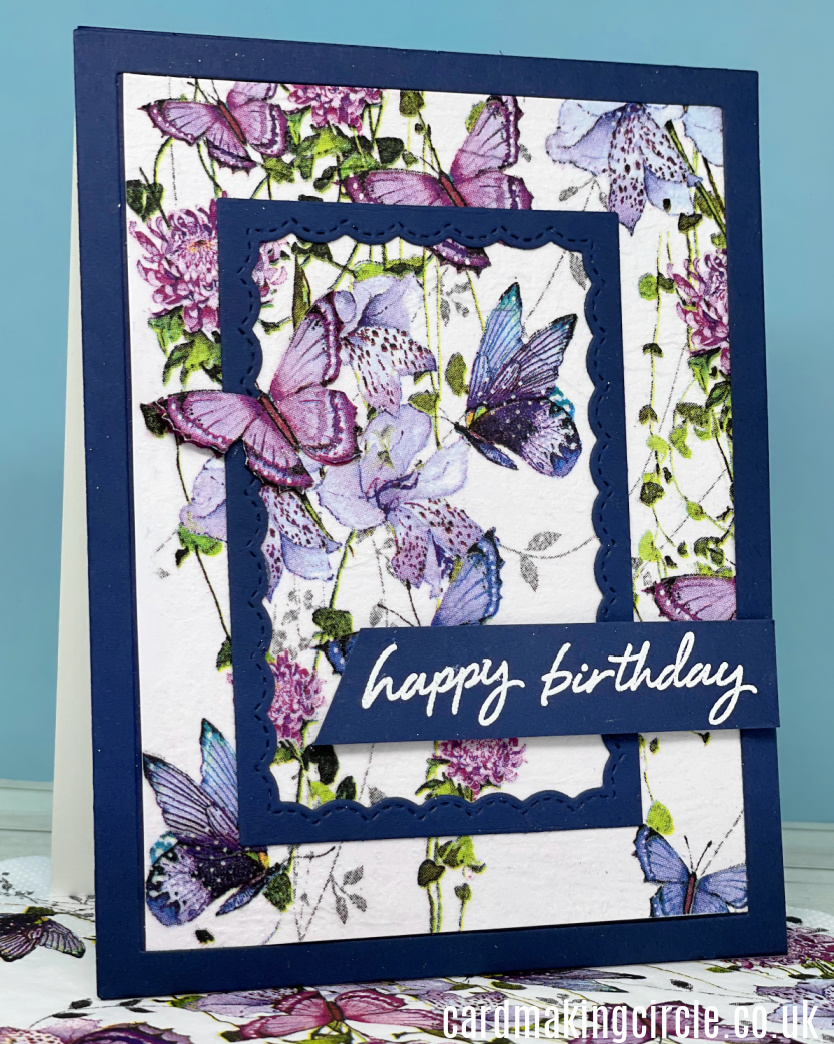
If you have some spare layers cut out some of the images and stick over part of the exact image on the card front for added dimension.
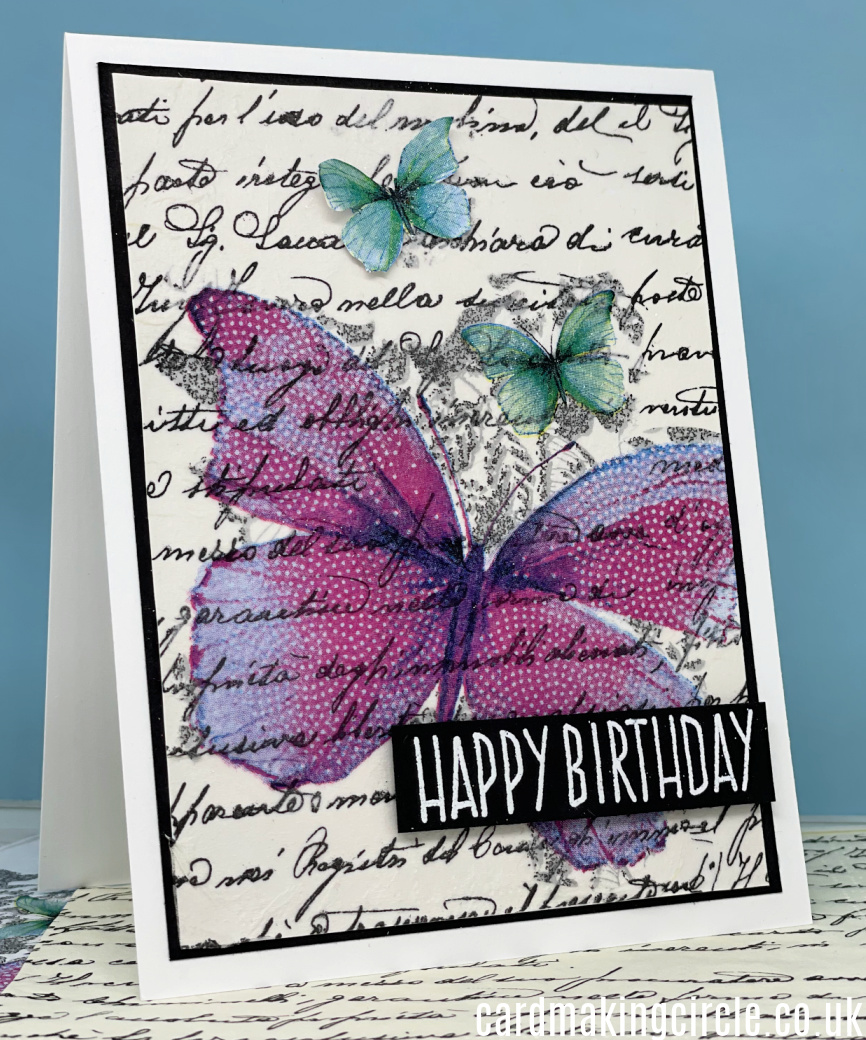
The dragonflies and butterflies on my napkins were ideal for this.
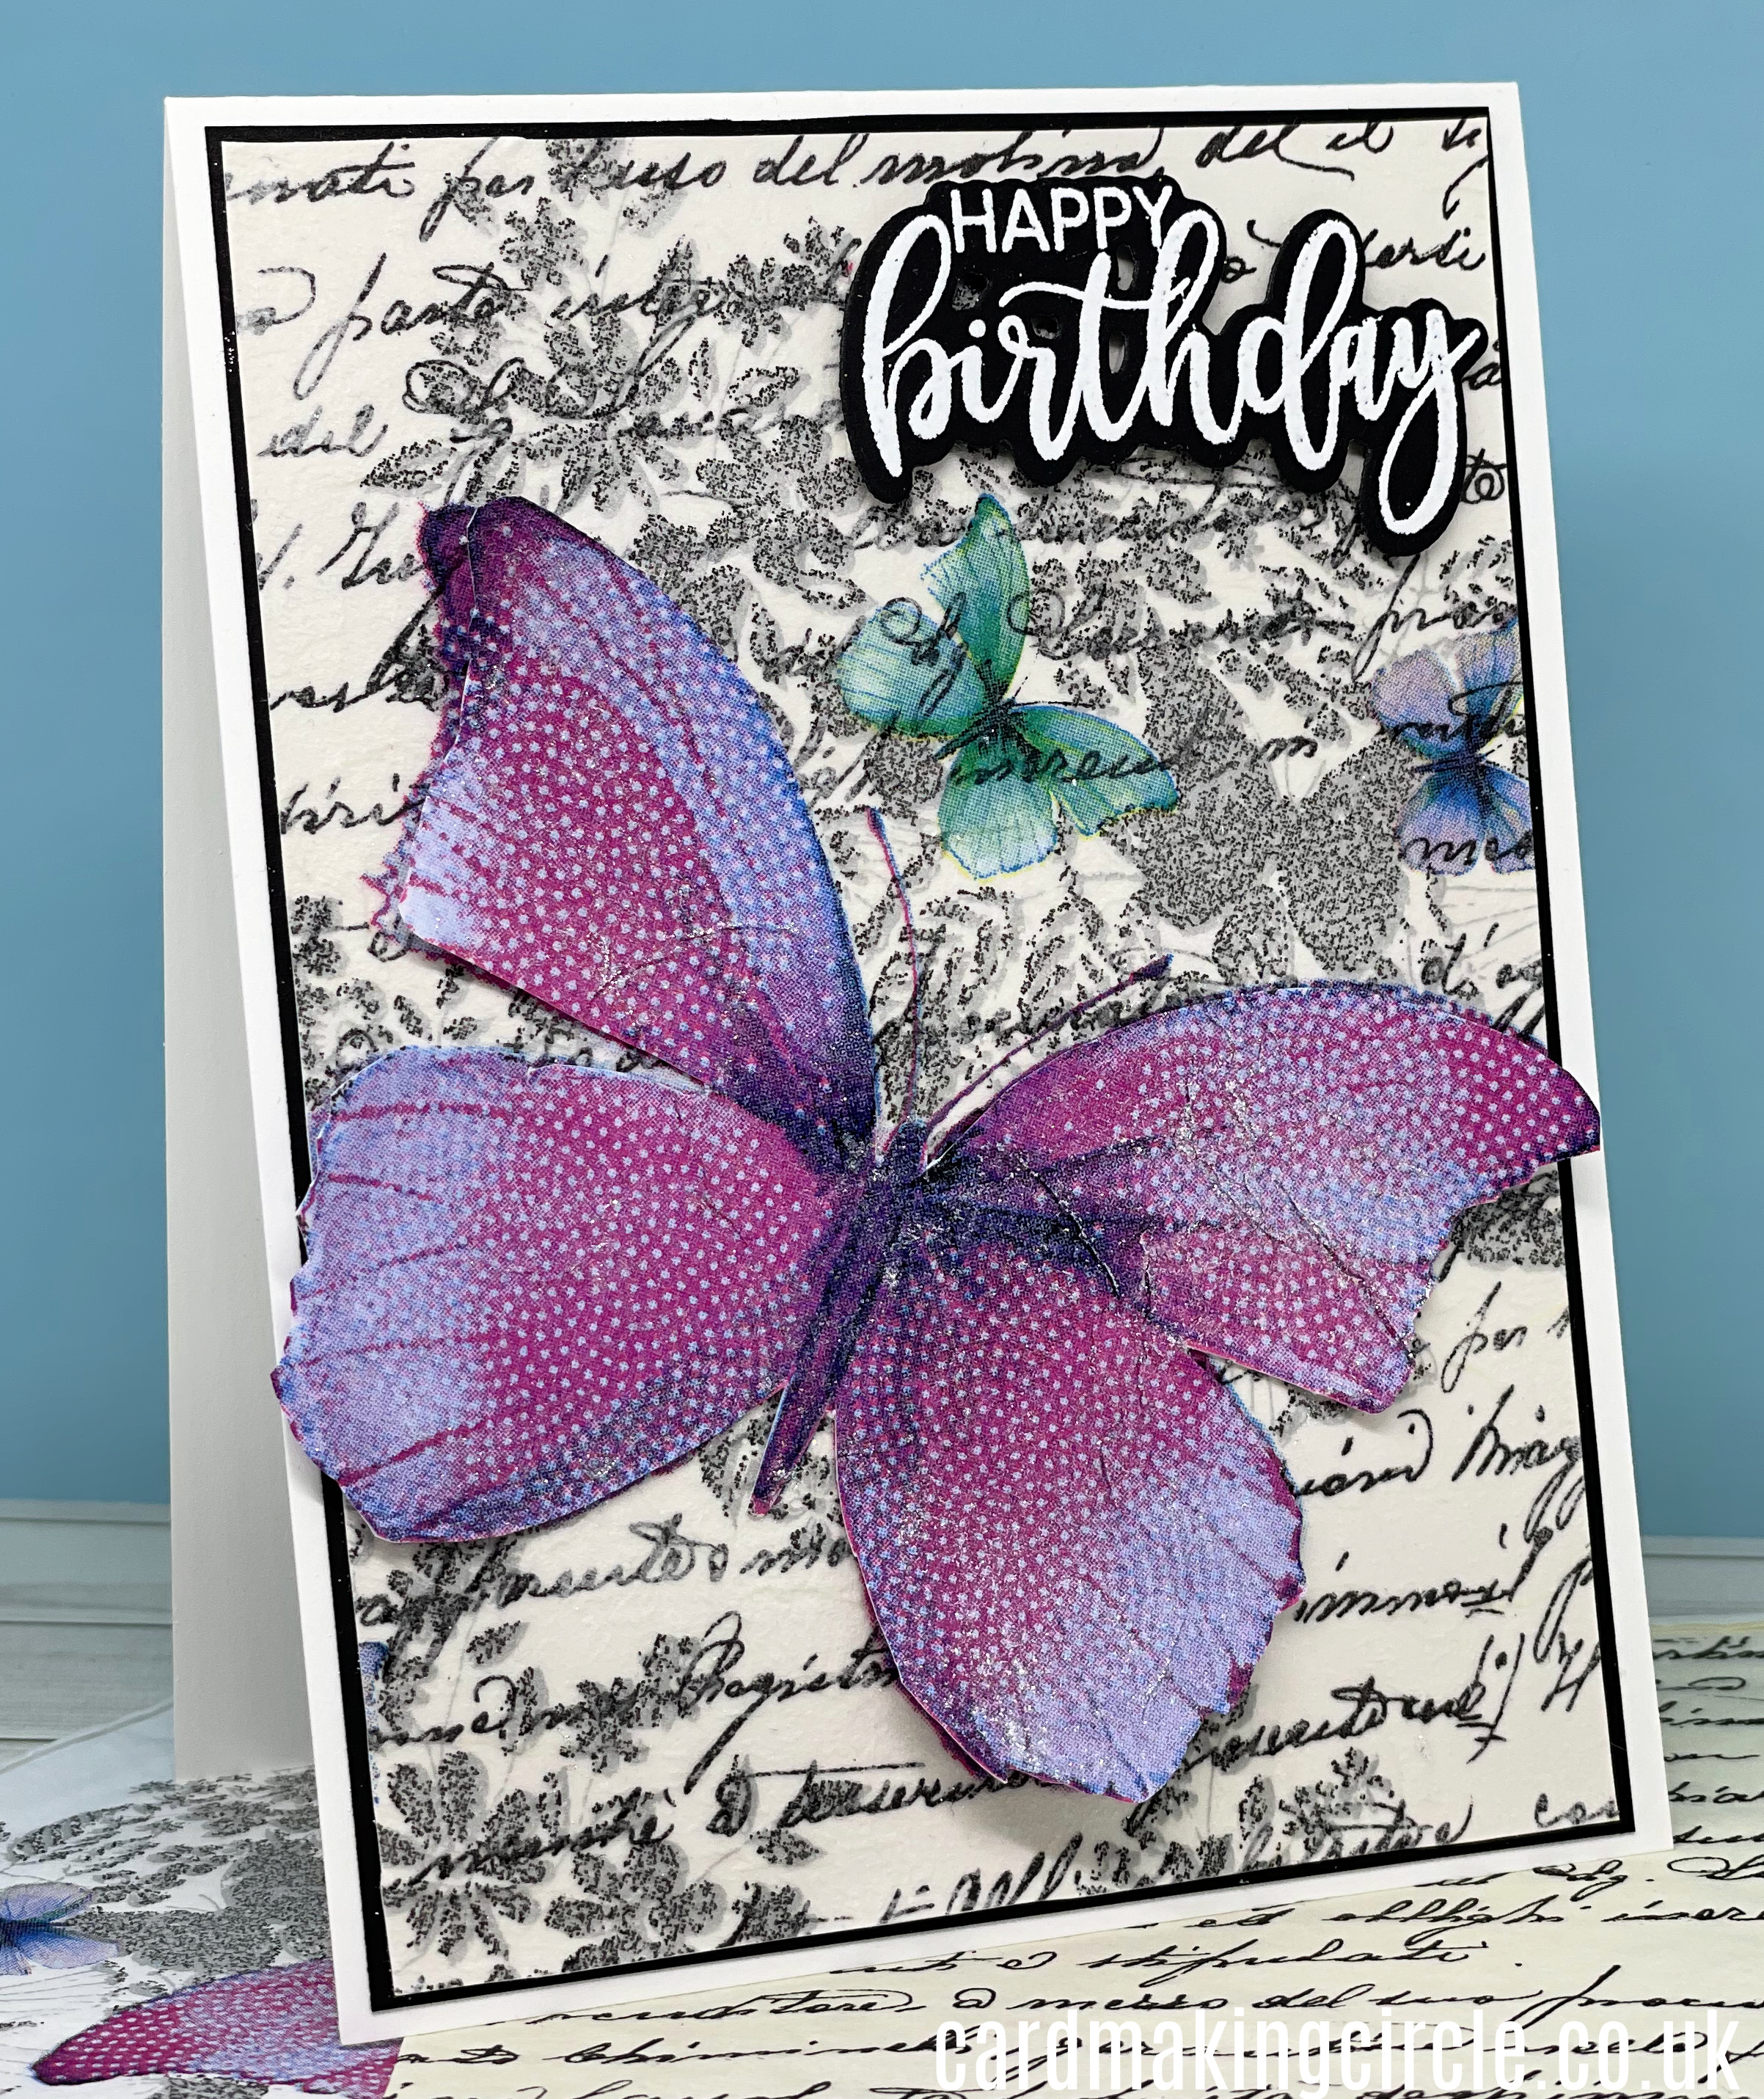
My final two cards were an experiment as I wanted to layer two different napkins to create a mixed media effect.
I adhered the script napkin first and allowed to dry before adding the butterfly napkin.
In my first attempt the script showed through onto the butterfly.
For the final card I added a cut out large butterfly over the top to create a 3D effect with it flying off the page.
Sentiments for Napkin Cards
When all the cards were finished it was quick to add sentiments to complete the cards.
I used my Birthday Builder stamp set from Altenew and the Essential Sentiments set from Waffle Flower.
Making napkin cards is a cheap and easy way to make your cards. I have stacks of napkins left over and managed to create a variety of cards without the expense of buying stamp sets.
A definite Win Win!
- Home
- Card Making Techniques
- Napkin Cards
