Sign up TODAY for Card Making News! Learn More >
FTC Disclosure - If you make a purchase via a link on this site, Card Making Circle may receive a small commission on the transaction.
Amazon Disclosure - As an Amazon Associate Card Making Circle earns from qualifying purchases.
All at no added cost to you. Thank you!
Quick Birthday Card Ideas
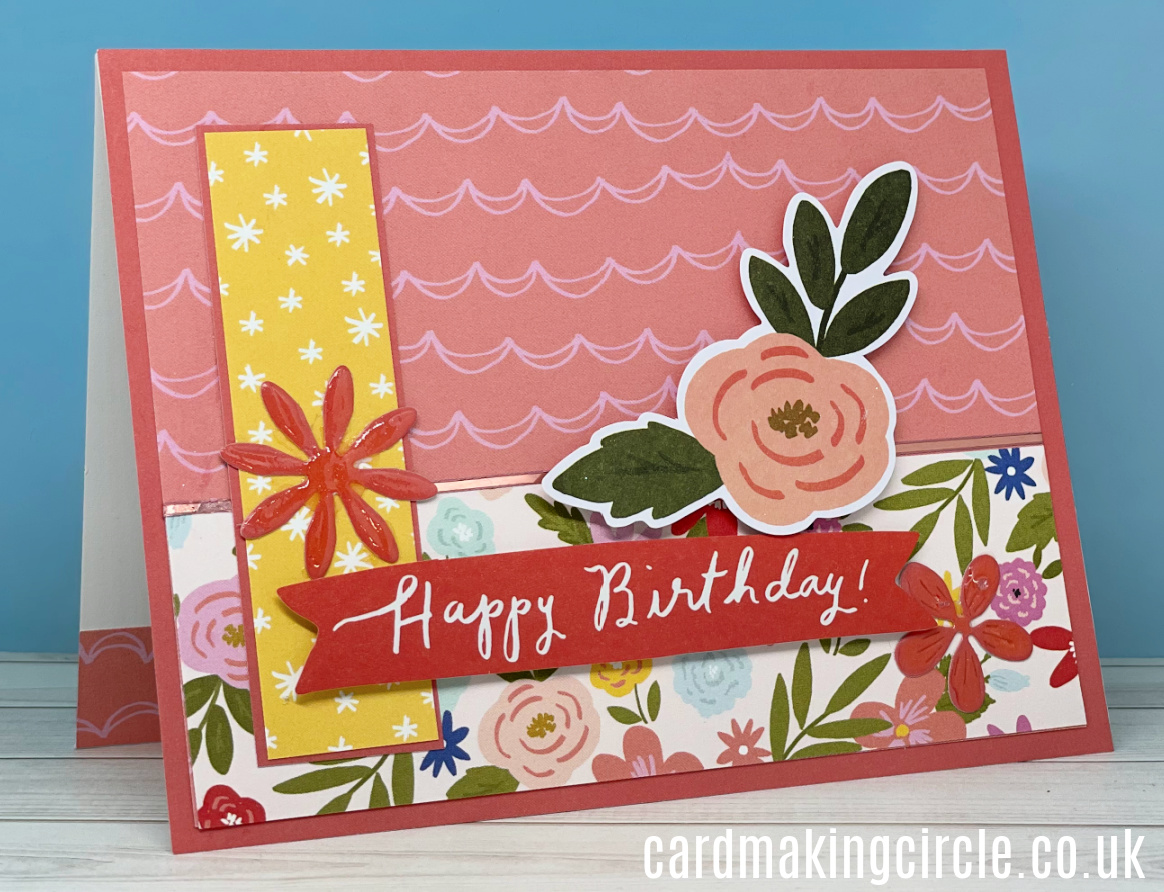
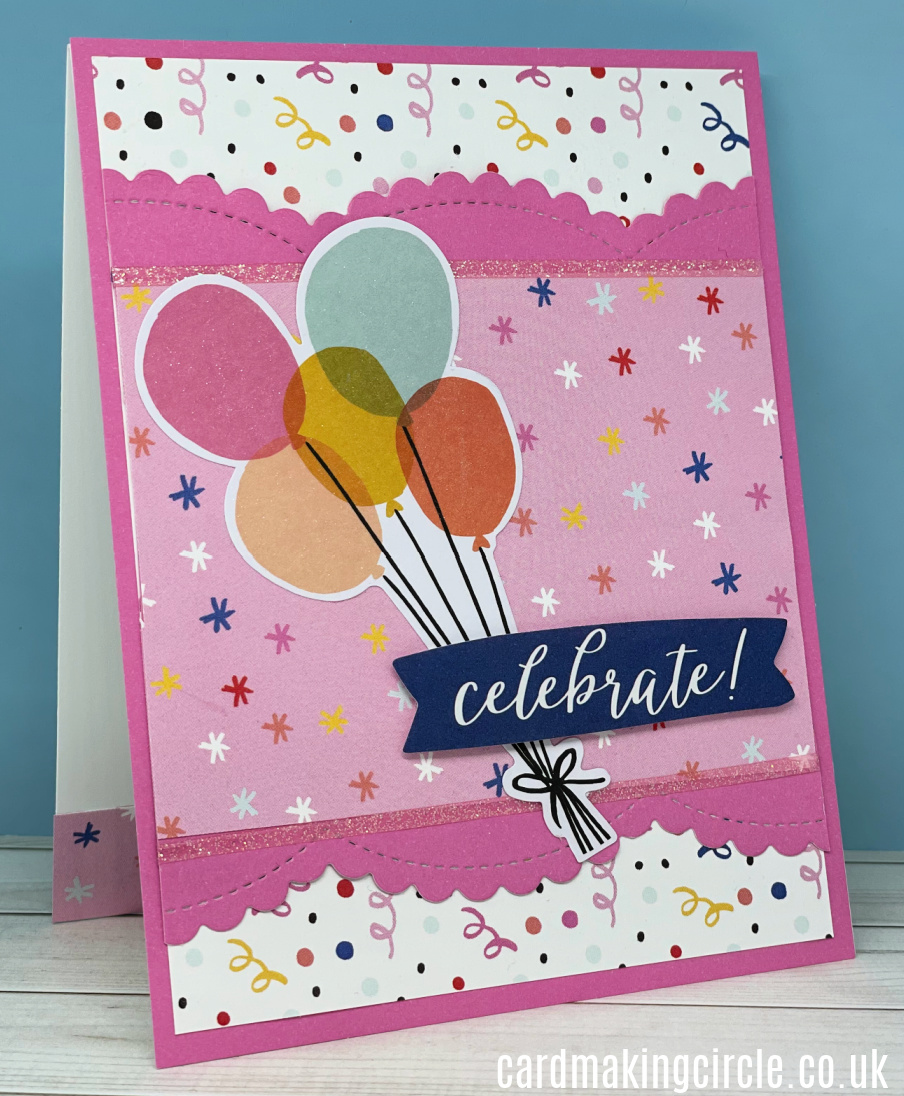
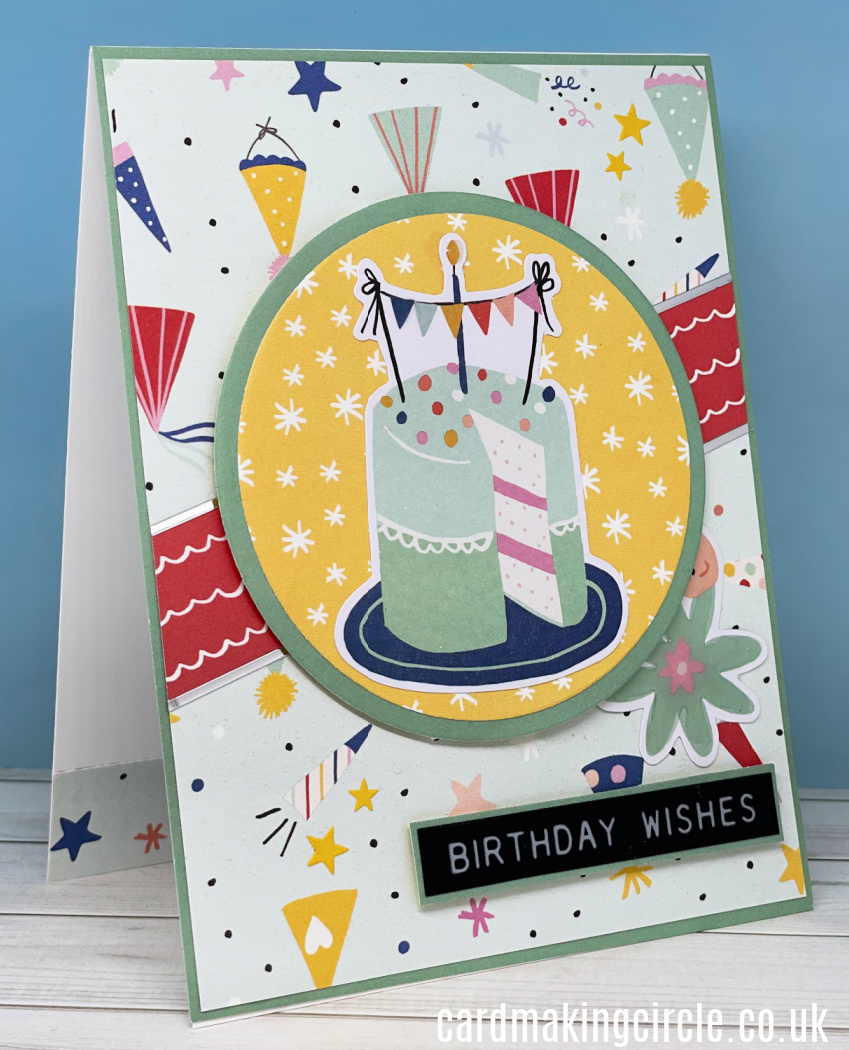
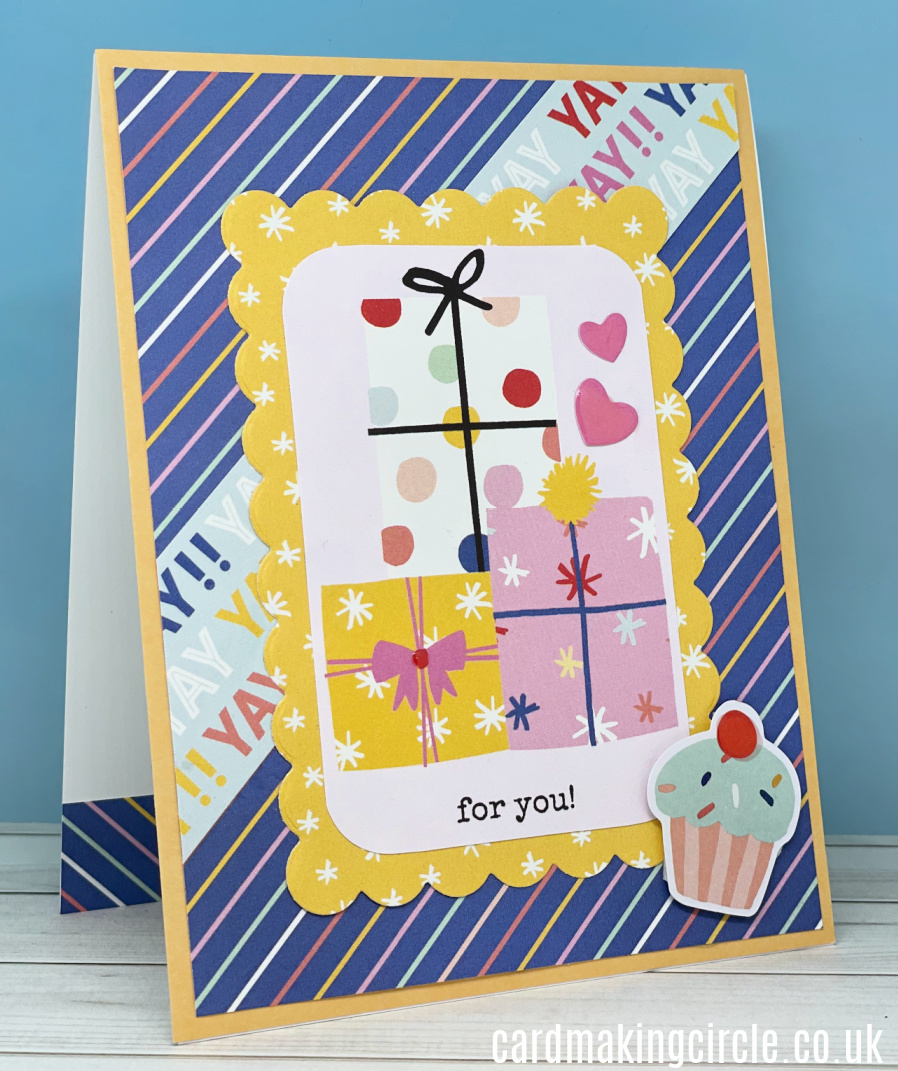
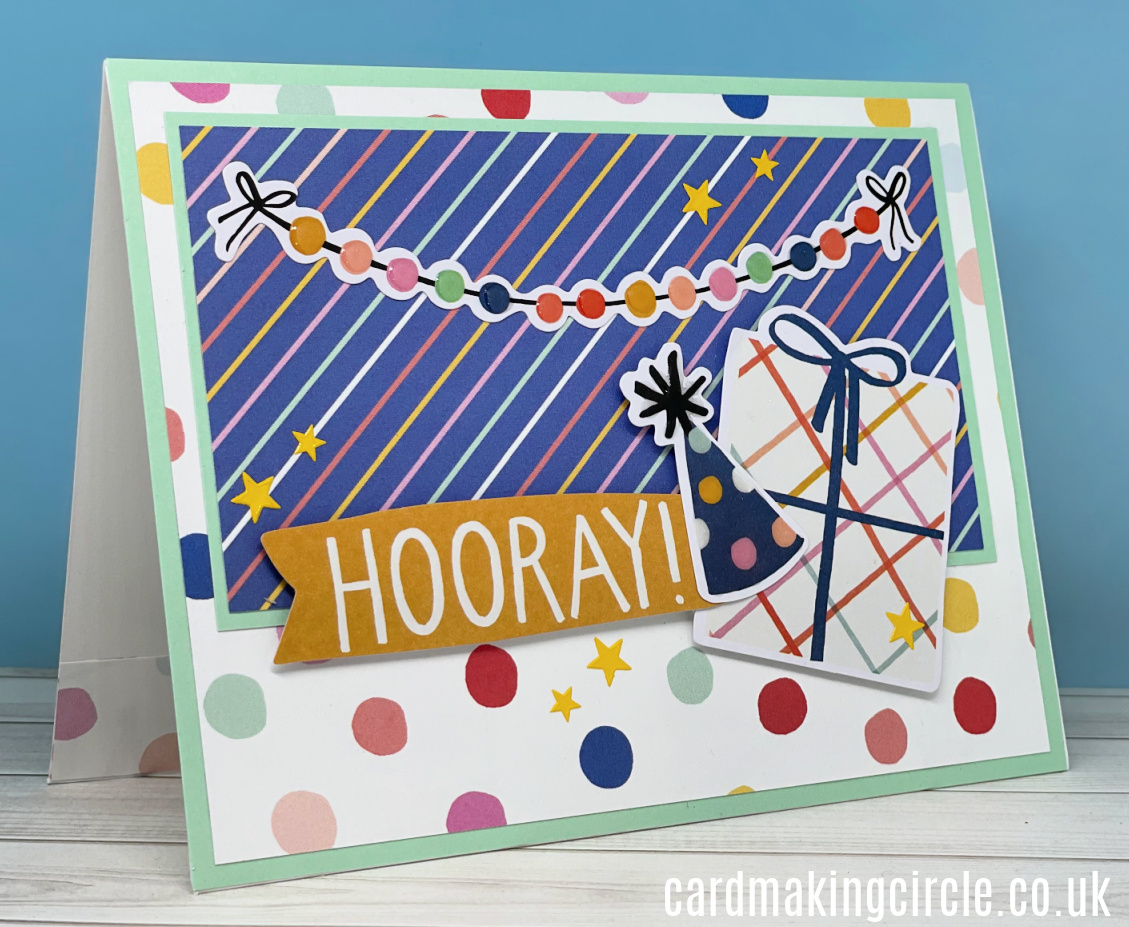
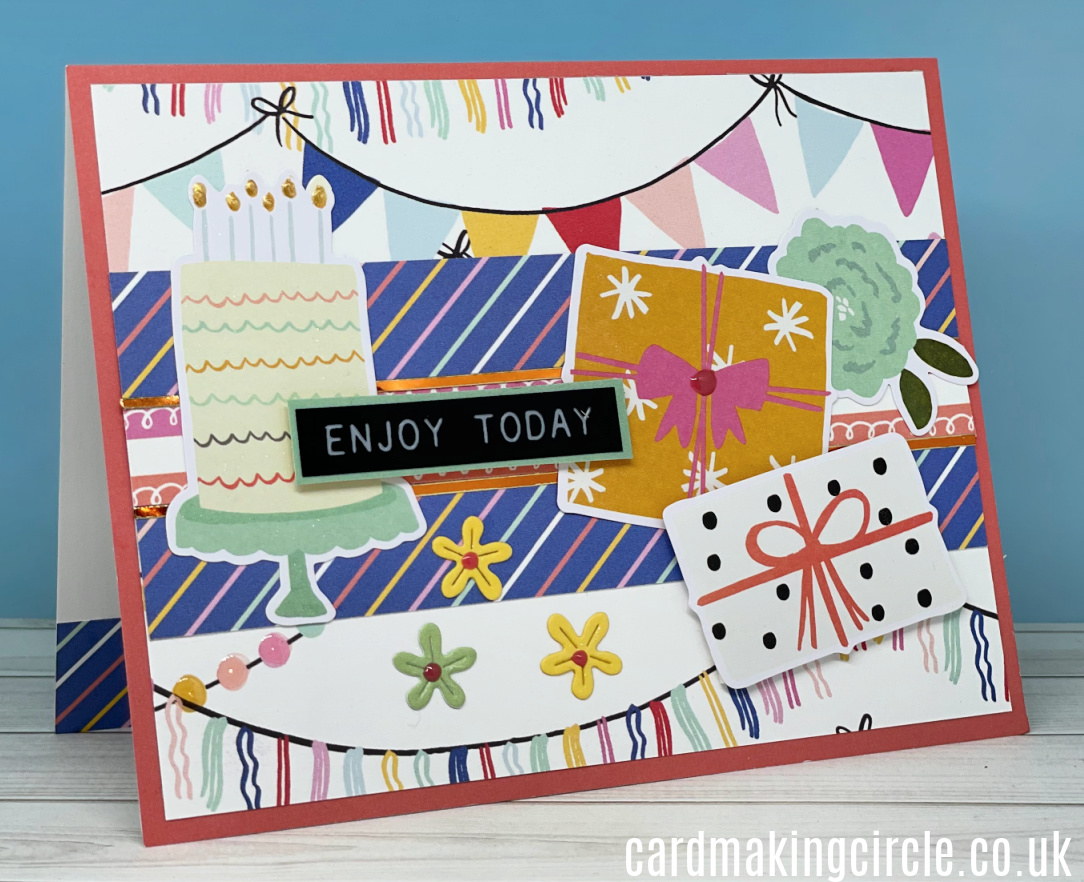
Whenever I need some quick birthday cards ideas I buy a new paper pad with matching ephemera.
I use these with my folder of card making sketches to create new card designs.
When flicking through my folder I find that a sketch sparks an idea or reminds me of a die that might achieve a similar effect. I very rarely follow a card sketch in its entirety.
So how do I start?
My method starts with the paper pad - this is usually a 6" x 6" pad or a 6" x 8" pad.
First I tear out all the pages laying them down in order on the table. As there are usually two of each design with an alternative design on the back I put these two together. Each side of the paper together.
This works well for some pads such as those from Echo Park. One side of the paper is busy and the other side complements it with a more subtle pattern.
I firmly believe in NOT reinventing the wheel! The pad designer worked hard to make sure all the patterns match so let's take the hard work out of card making by using their suggestions.
When using pads like this I use the subtle design as a bottom layer and the busy design on top.
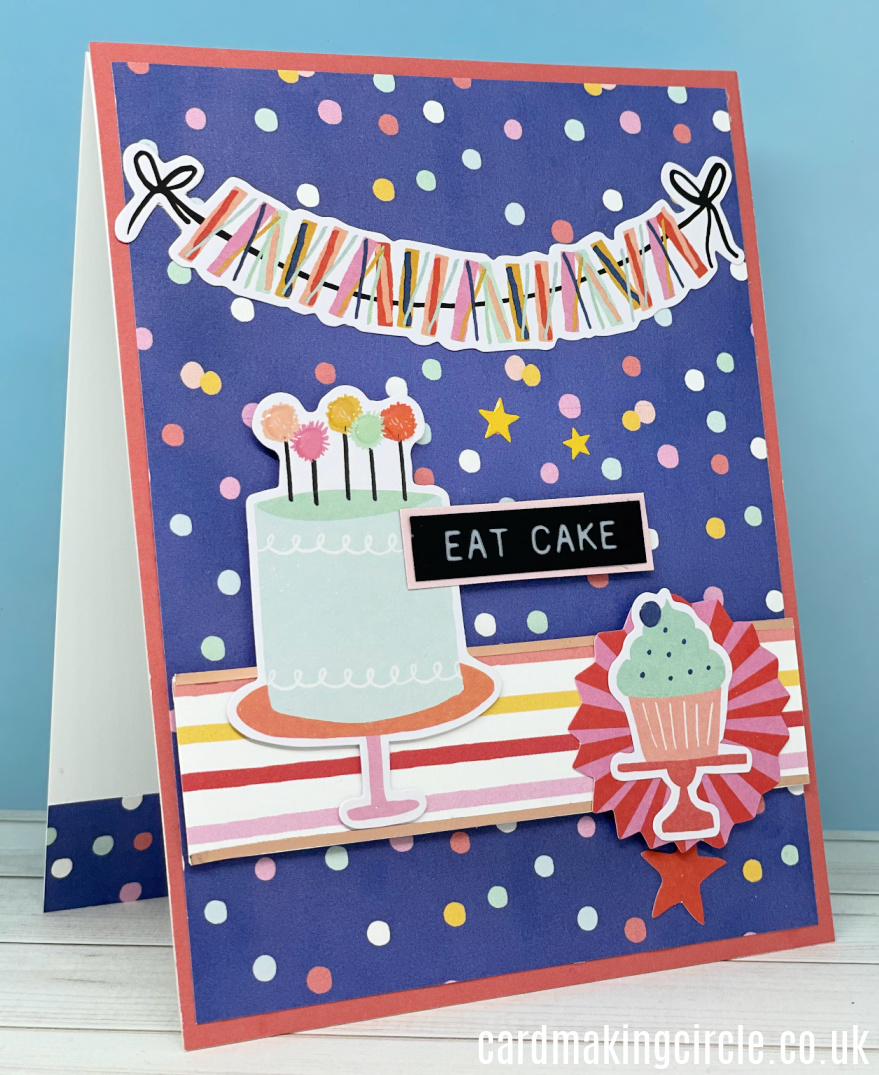
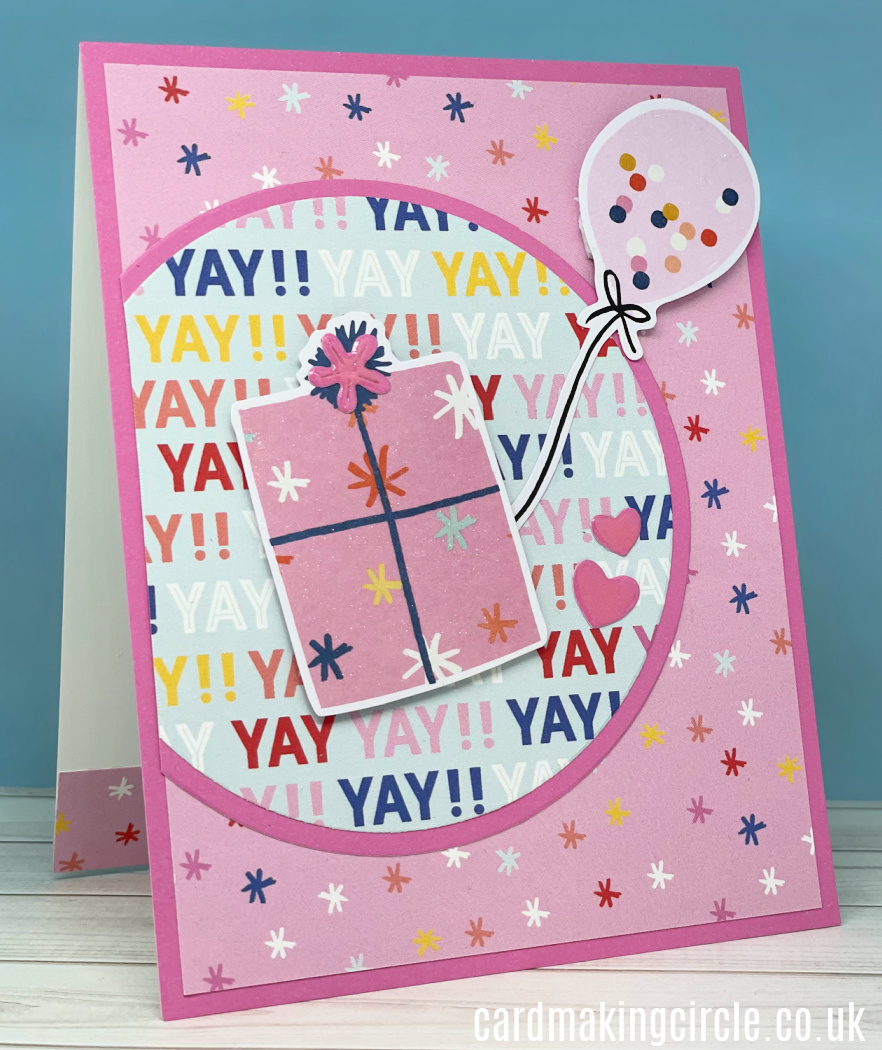
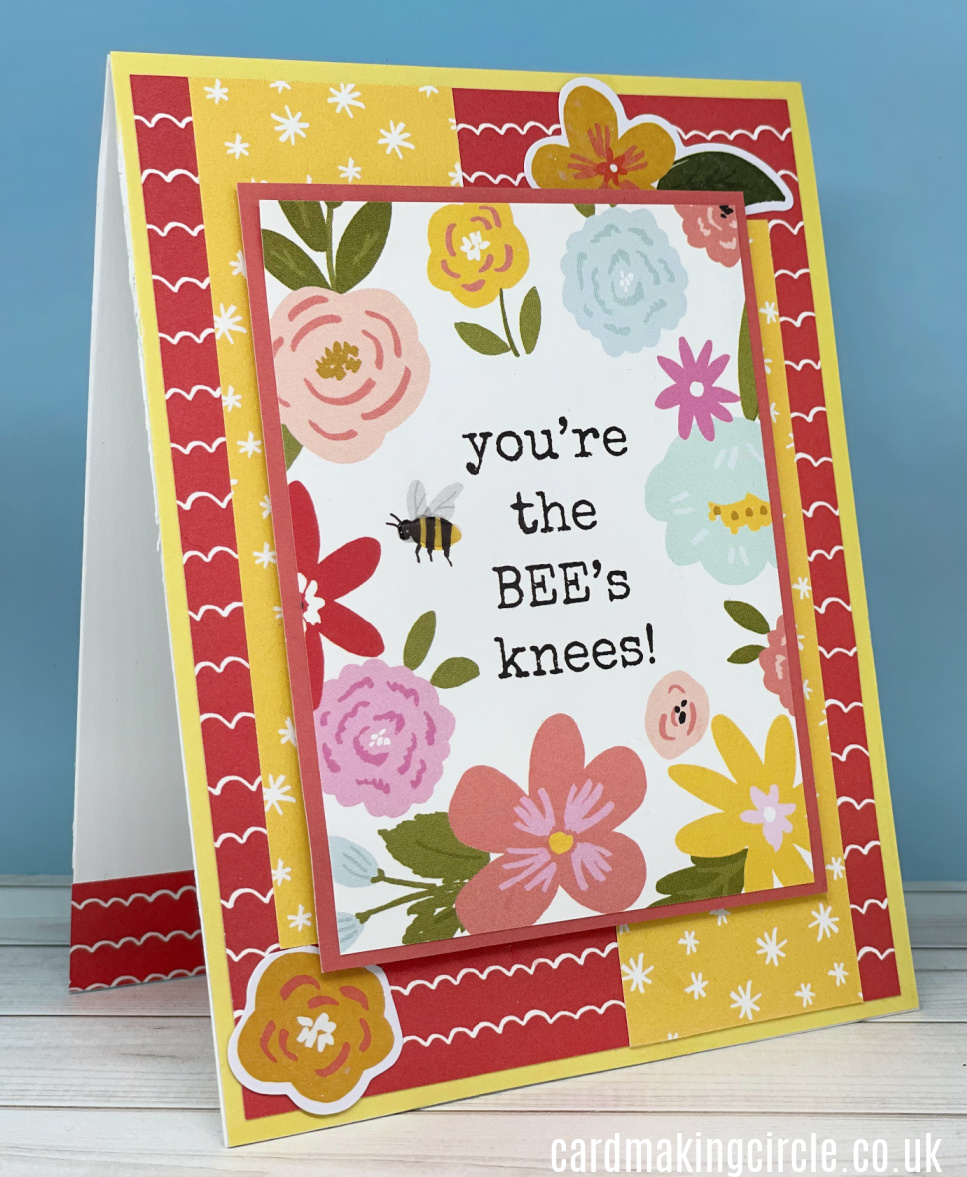
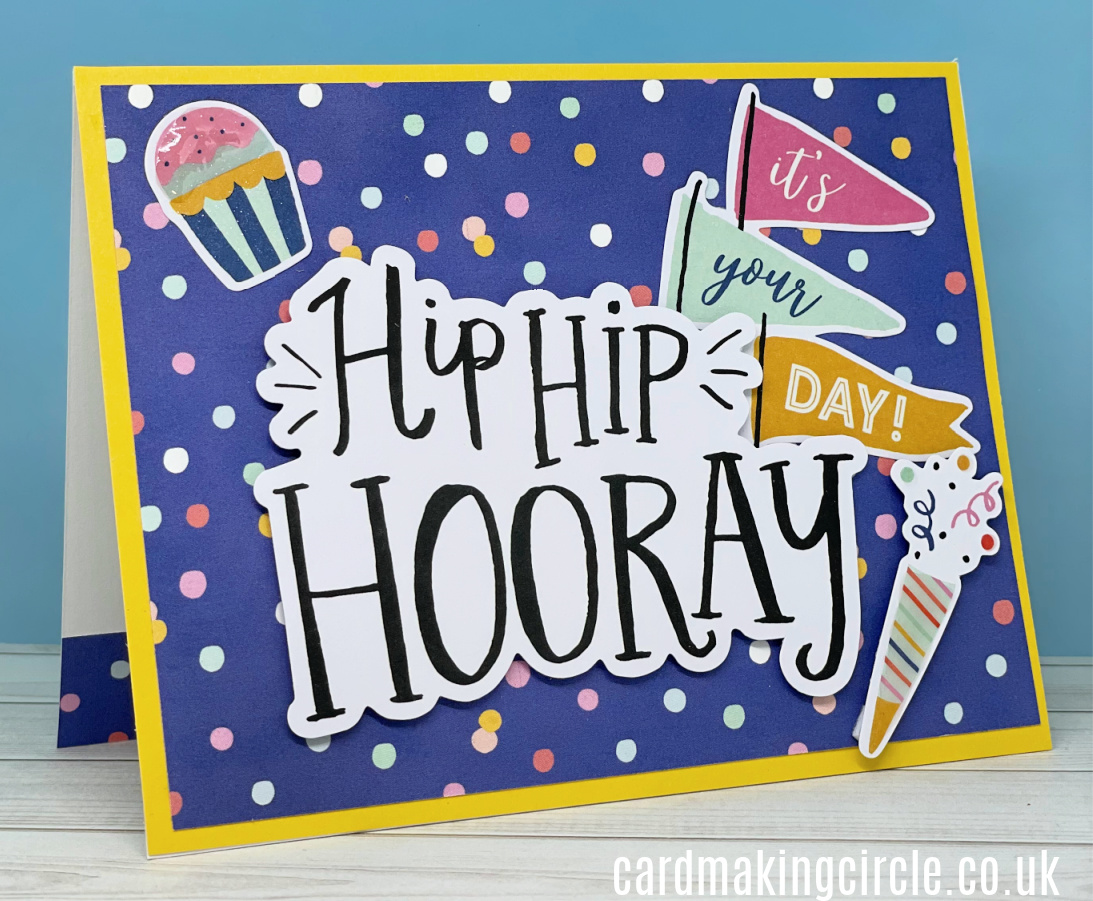
My choice of paper pad and ephemera for these cards is the "Celebrate!" set from Simple Stories.
I cut my base layers from plain coloured card to match the colours in the paper pack - always the size of the card base.
Next I lay out all the ephemera pieces putting them in groups - all the sentiments together, all the pictures together etc.
I gather together my trimmer, scissors, glue, sticky pads, dies and extra sentiments.
Running out of time to make your own Birthday cards.....
Take a look at my Printable Birthday Cards for instant download.
With everything laid out all I have to do is START!
The first card is always the hardest but once you get into the flow it just seems to roll.
I create the cards onto the base layer. Leaving the final gluing to the card bases to the end.
Pick your background patterned paper and use the reverse side for the accents or other layers.
Select your ephemera and sentiment to match the background patterned paper.
When I've created 10 card fronts I stop, clear up and wipe everything down.
With a clear desk I then add the card fronts to my card bases. When I need quick birthday cards I use pre-cut and scored cards.
For Portrait top folding cards I use Scored Vertical Cards in Neenah Solar White from Scrapbook.com.
And for Landscape side folding cards I use the card blanks and envelopes from Tonic Studios. The quality of these card packs is amazing. I wait until they're in the sale before restocking my supplies.
Once they are all together I lay them out again on the table and add some sparkle with Nuvo Aqua Shimmer pen and Nuvo Crystal Glaze. I prefer the Crystal Glaze to Glossy Accents - it's just what works for me!
Leave to dry - overnight if you have time just to make sure the glaze is set.
And that's it! Ten cards ready to go in ten individual designs.
Sentiments for Quick Birthday Card Ideas
I try to use the sentiments provided in the ephemera pack but these don't always fit in with your design or what you want to say.
So, for speed and efficiency I use prepared stickers. For these cards I used Tim Holtz Sentiment Label Stickers.
And Finally....
Do you have any quick birthday card ideas? If so, leave them in the comments box below....
