Sign up TODAY for Card Making News! Learn More >
FTC Disclosure - If you make a purchase via a link on this site, Card Making Circle may receive a small commission on the transaction.
Amazon Disclosure - As an Amazon Associate Card Making Circle earns from qualifying purchases.
All at no added cost to you. Thank you!
- Home ›
- Card Making Tutorials ›
- Triple Time Stamping
Triple Time Stamping
Learn about Triple Time Stamping and you'll be hooked into making these cards more often!
It looks challenging but once you know the measurements it is easy to understand.
You'll just love the way it all fits together to create a delightful card.
Step by Step
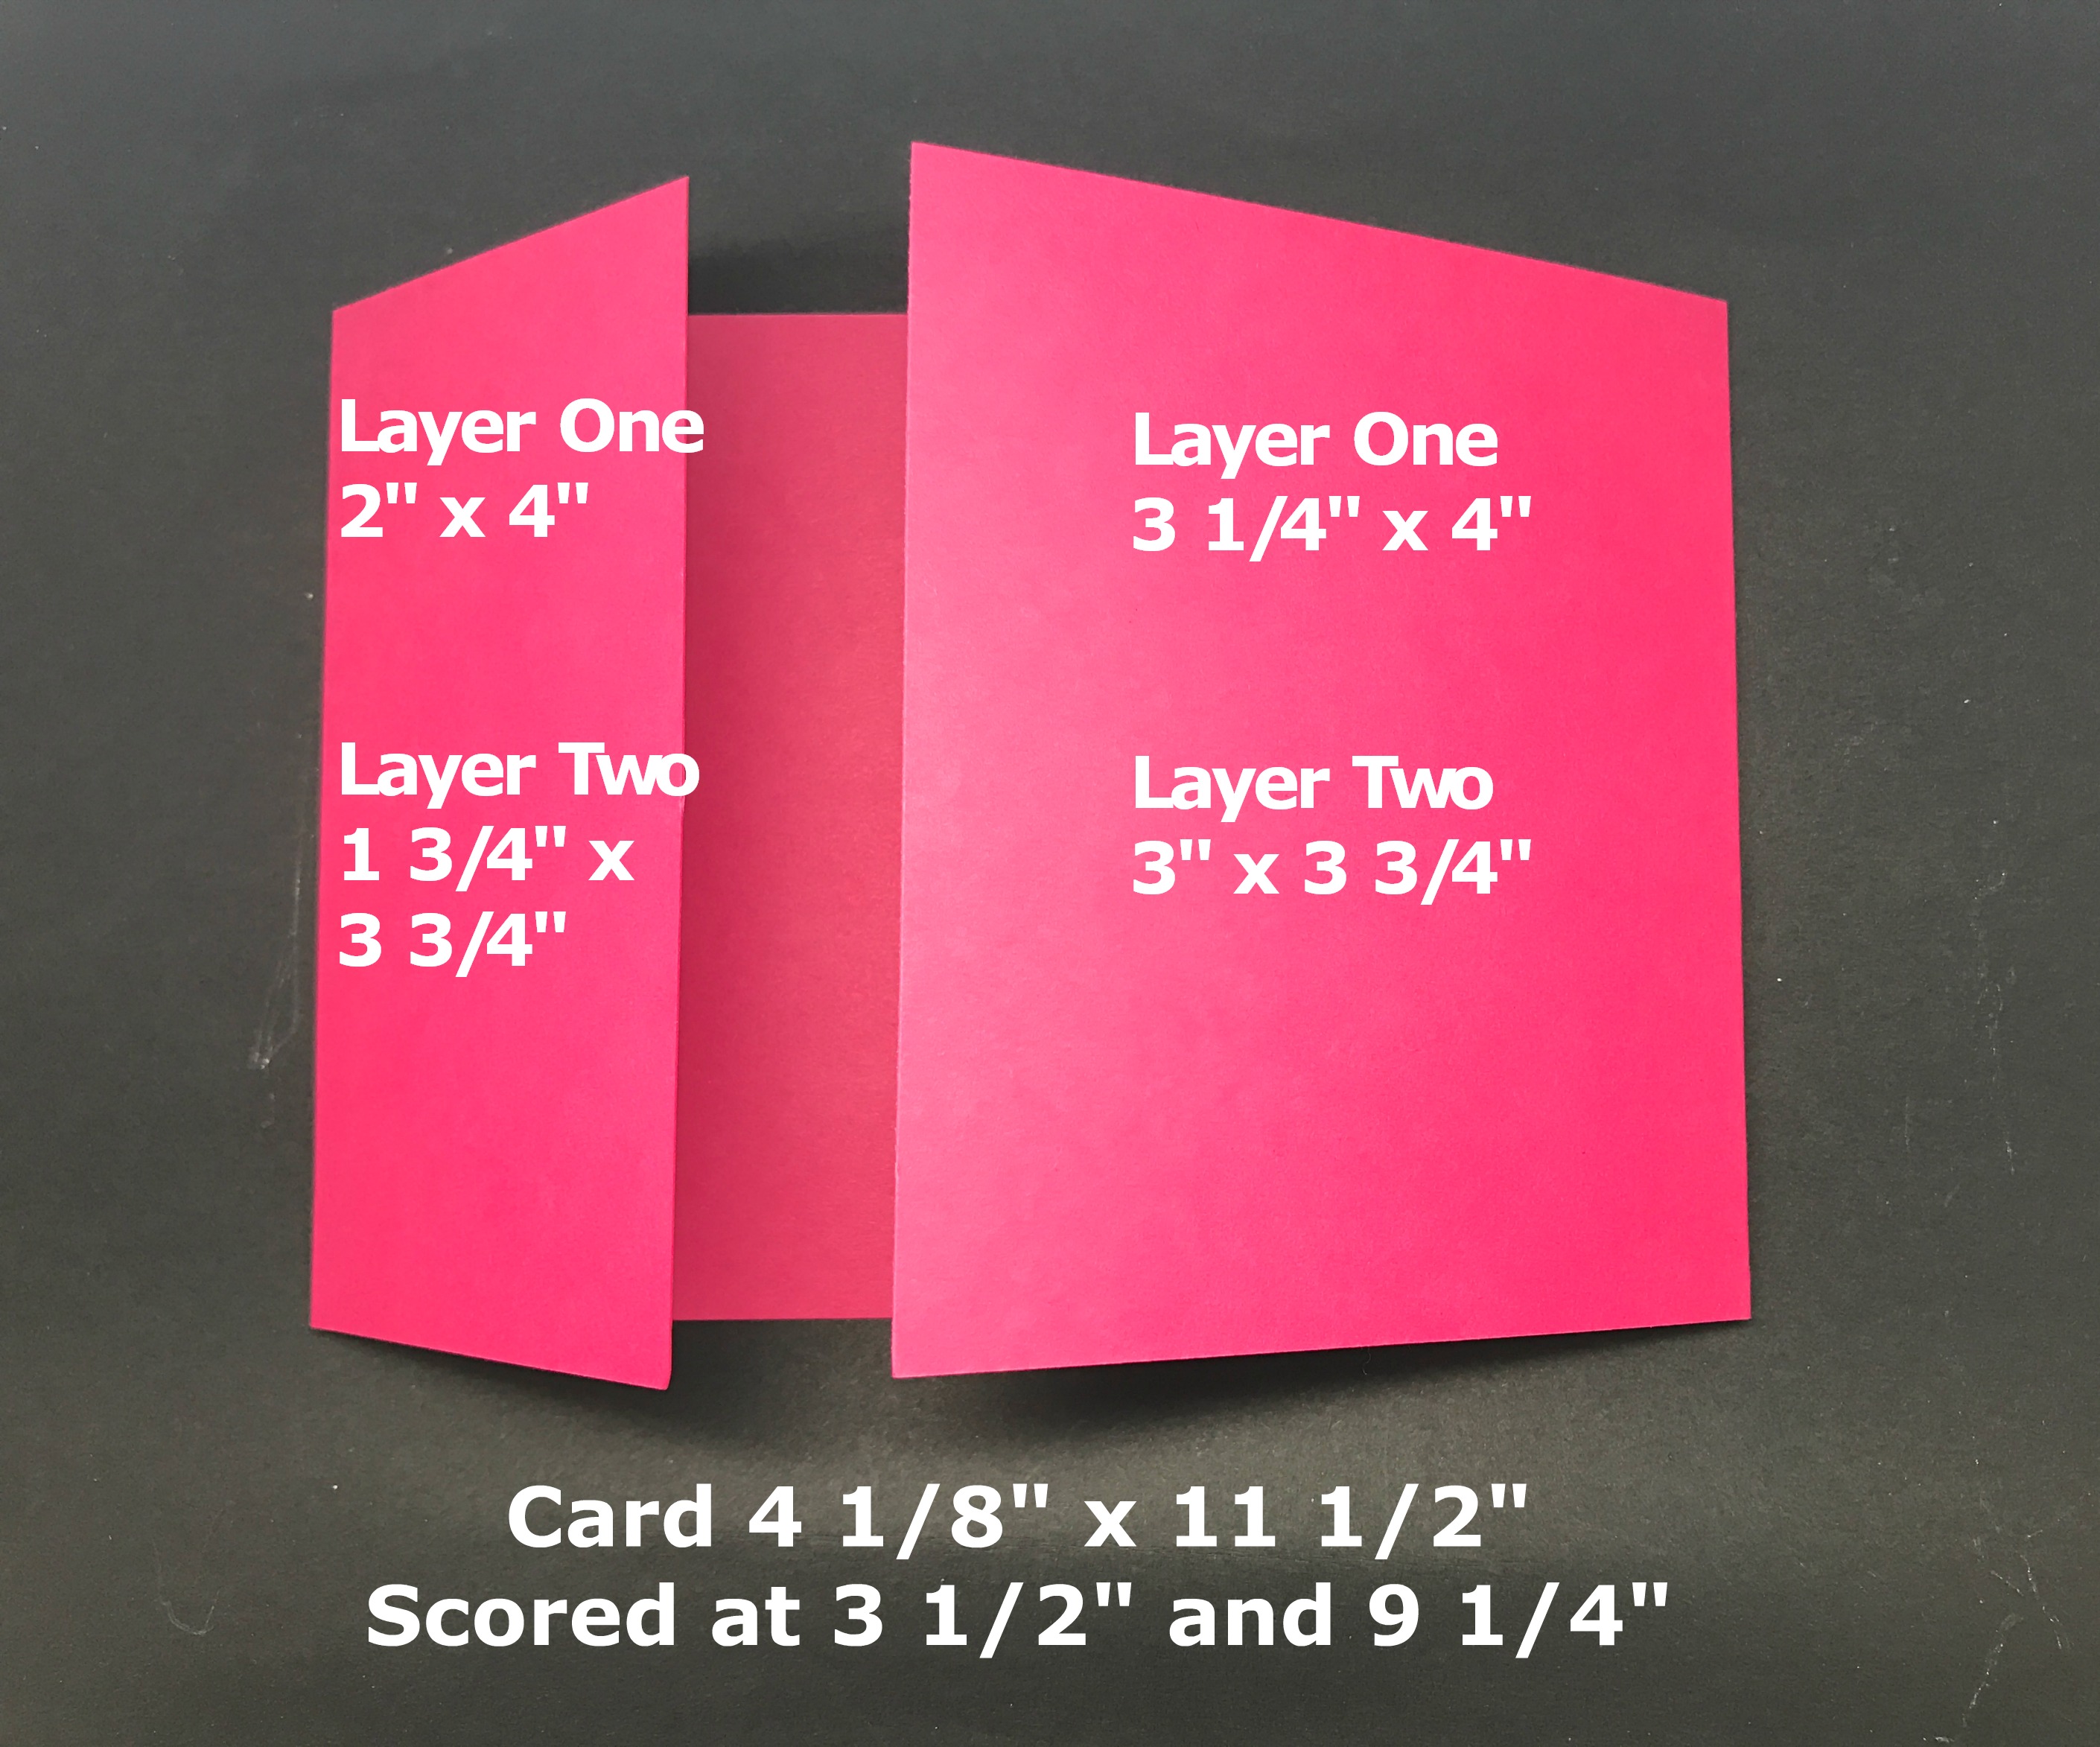
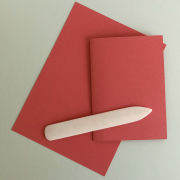
1. Cut a piece of card in half. Fold one half in half again with a bone folder to create your card base. The example here will make a portrait side fold card.
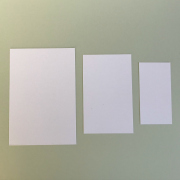
2. Using white or vanilla card cut three pieces for your layers:
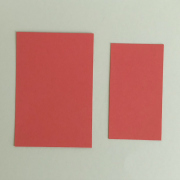
3. Cut two backing mats in a matching colouring to your card base. As a guide the backing mat should be larger than the layer by 1/8" to 1/4".
4. Layer your layers one on top of the other with the largest layer at the bottom. To position the layers I use a quilting ruler as this is transparent and the inches are marked in 1/8".
5. Use a small amount of repositional tape adhesive to fix them in place.
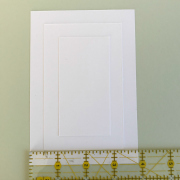
6. Create a repeating pattern over the layered card. Either stamp with different colours or colour a stamped image with your preferred colouring medium.
Large stamps create a more dramatic effect.
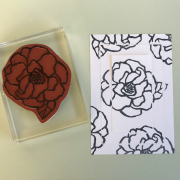
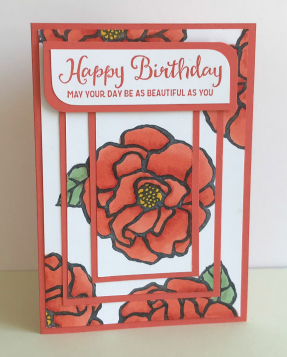
7. My example was stamped with black memento ink and coloured with alcohol markers (Stampin Blends).

8. Once complete add a backing mat to layer two and layer three.
It is now ready to be mounted onto your card base.
Add a sentiment using foam pads and embellishments.
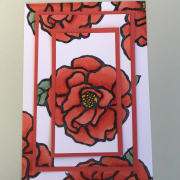
The finished card.....
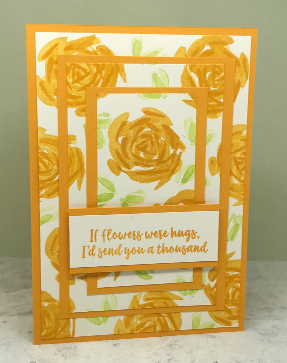
This card was created using the same method but with different stamps and colours.
More Triple Time Stamping
Now you have mastered the basics why not try some variations to create a new look.
Add a card making technique (or two) to transform your card. Here are a few ideas:
- Add foam pads to your second layer to make your card have more dimension.
- Heat emboss some of or all of your stamped images and use the emboss resist technique to colour your card.
- Home ›
- Card Making Tutorials ›
- Triple Time Stamping
