Sign up TODAY for Card Making News! Learn More >
FTC Disclosure - If you make a purchase via a link on this site, Card Making Circle may receive a small commission on the transaction.
Amazon Disclosure - As an Amazon Associate Card Making Circle earns from qualifying purchases.
All at no added cost to you. Thank you!
- Home ›
- Card Making Techniques ›
- Ink Smooshing
Ink Smooshing Techniques
for Card Making
If you are looking to create a background that's utterly original then have a go at ink smooshing.
Each background you make will be the only one of its kind. As it's impossible to completely recreate exactly the same look twice!
This versatile technique couldn't be easier:
- Choose two or three ink colours from water reactive ink pads such as Distress inks
- "Smoosh" the ink onto a blending or glass mat
- Spray with water
- Lay watercolour paper over the sprayed ink for a few seconds then lift and leave to dry
- When dry repeat the process several times for a more intense colour wash
Before starting your cards check out your card sizes and layers.
It's best to choose harmonious colours rather than complementary colours to avoid the ink mix turning a muddy colour.
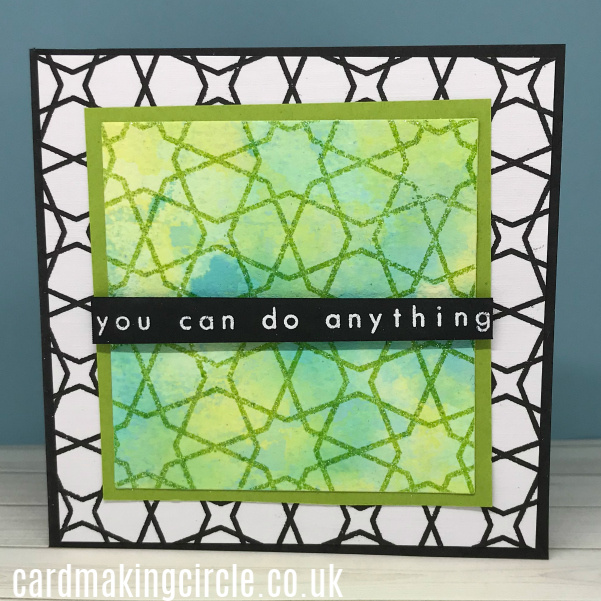
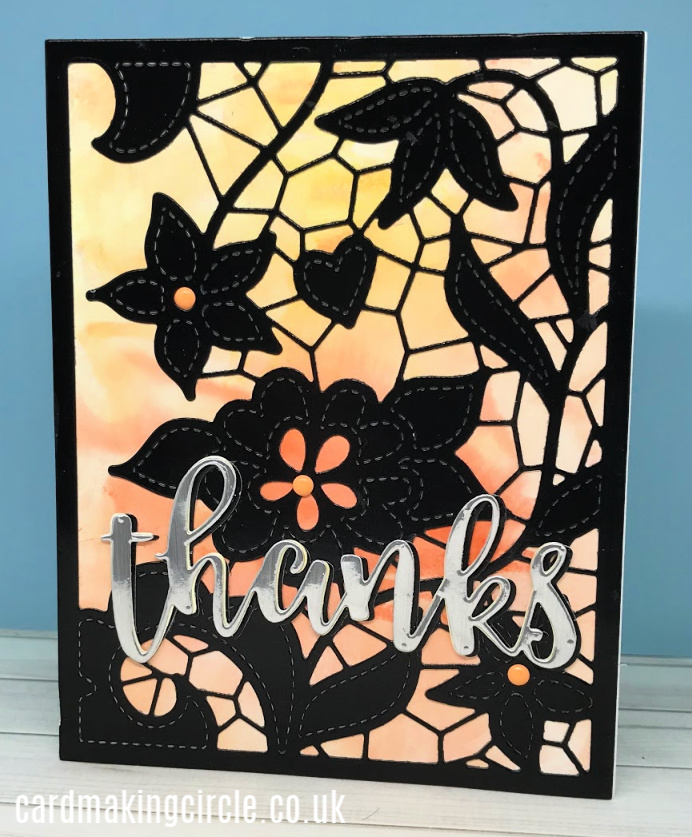
You can do Anything
This card uses a combination of Distress Oxide inks: squeezed lemonade, cracked pistachio and peacock feathers.
Smoosh several times onto watercolour paper, dry and smoosh again. Allow to dry.
Heat emboss Altenew's Moroccan Mosaic background stamp with WOW's Lime Rickey embossing powder.
Trim and mount on matching card.
Stamp the background using with black ink. Mount the smooshed card onto the background lining up the pattern.
Attach to a black card base and add a sentiment to complete the card.
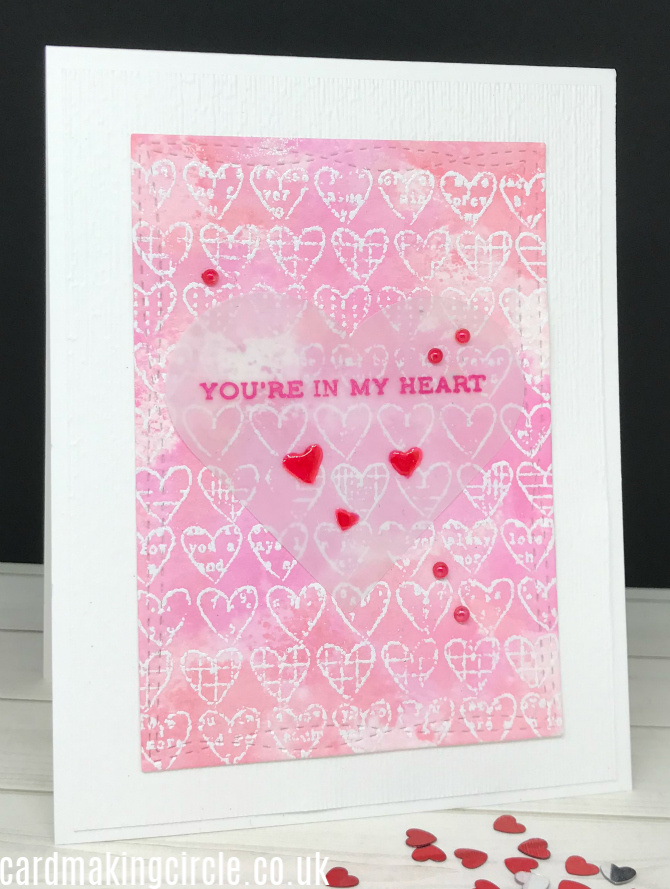
You're in my Heart
A Valentines' ink combination! Spun sugar, worn lipstick and picked raspberry Distress Oxide inks.
As with the previous card use the smooshing process repeat several times. Allow to dry.
Stamp Love (in the background) from Unity Stamps with embossing ink.
Heat emboss with with white embossing powder.
Die cut inked card with the Wonky Stitched Rectangles from My Favorite Things.
Trim and mount onto a textured white layer before mounting onto a white card base.
Heat emboss the sentiment onto a die cut heart from vellum. Add embellishments to finish.
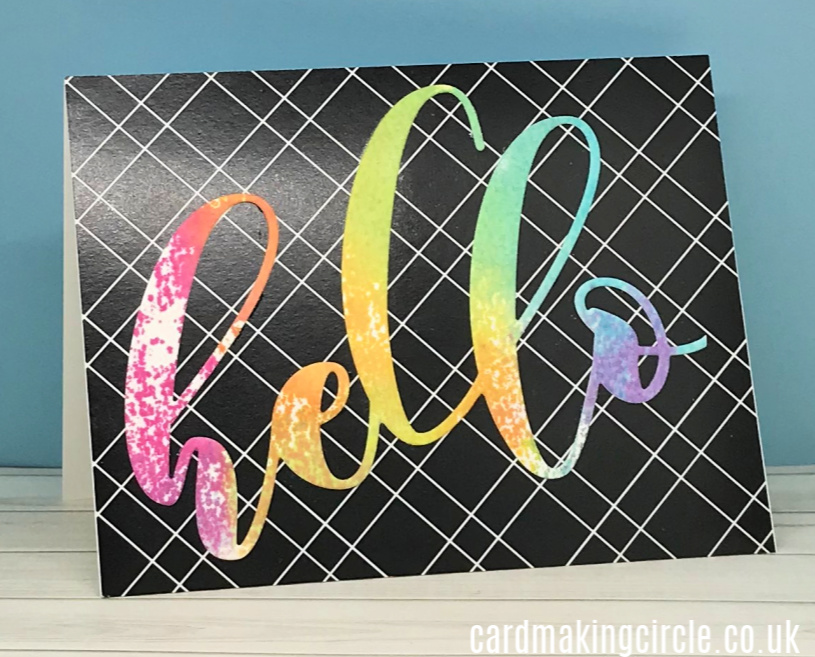
Hello
To create the rainbow effect I used a combination of Distress ink mini cubes. (picked raspberry, spiced marmalade, mustard seed, evergreen bough and peacock feathers).
Add the ink onto a blending mat in rainbow order. Spray with water, hold and lift gently to avoid smearing the colours too much.
When dry die cut with Altenew's Mega Hello die.
Glue the die cut to a piece of patterned paper. This example came from the Essential Black and White paper pack from Altenew.
Mount onto a card base to complete the card.
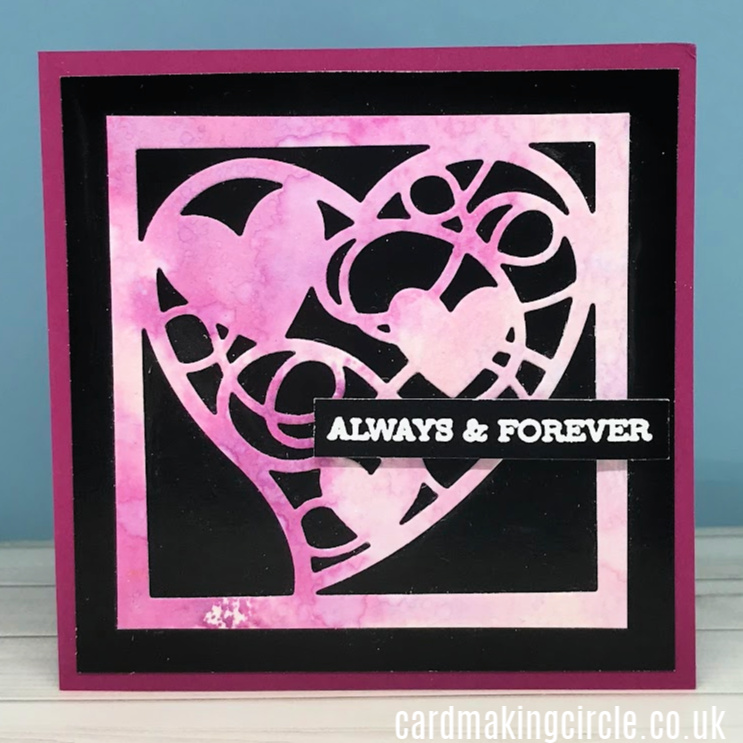
Always and Forever
Another Valentines' card! This time with the ink combination of spun sugar, milled lavender and seedless preserves Distress Oxide inks.
Die cut the dry inked paper with a heart die from Clarity Stamps. Add a touch of sparkle to the heart with Wink of Stella.
Mount onto shiny black card layer before mounting onto a matching card base.
Heat emboss the sentiment and add to the front of the card with foam tape.
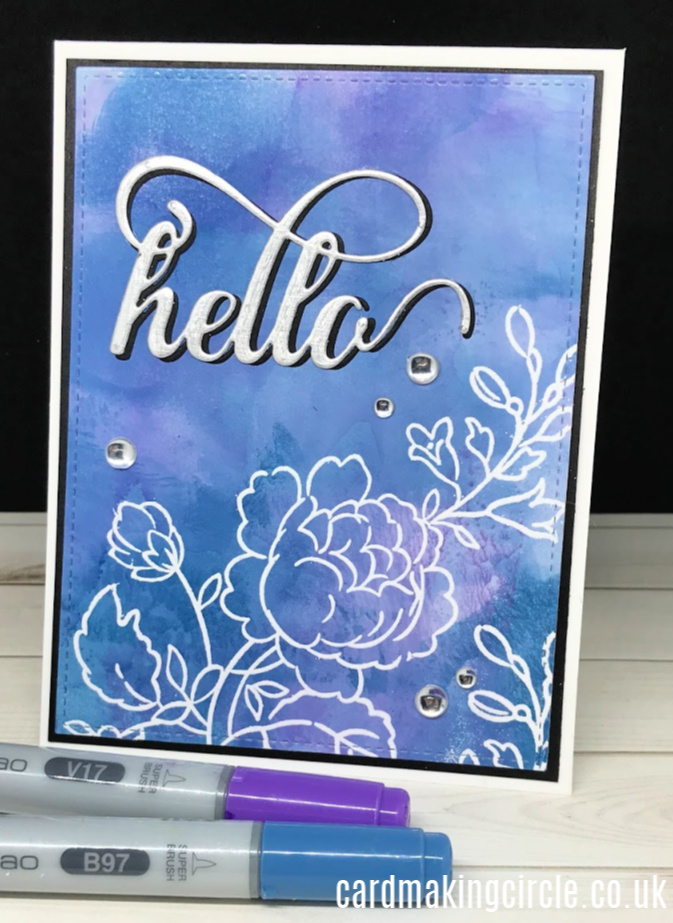
Hello - with Alcohol Markers
Now for something completely different!
On my recent "Magical Marker Techniques" with the Altenew Academy I learnt that you can also use alcohol markers for ink smooshing.
Instead of watercolour paper use glossy paper.
Lay down colour from the markers onto a blending or glass mat.
Spray with Isopropyl rubbing alcohol instead of water to mix the colours. Make sure you have adequate ventilation.
Lay down the colour quickly as the ink dries fast on the paper. Use the technique several times to layer the alcohol ink for more intense coverage.
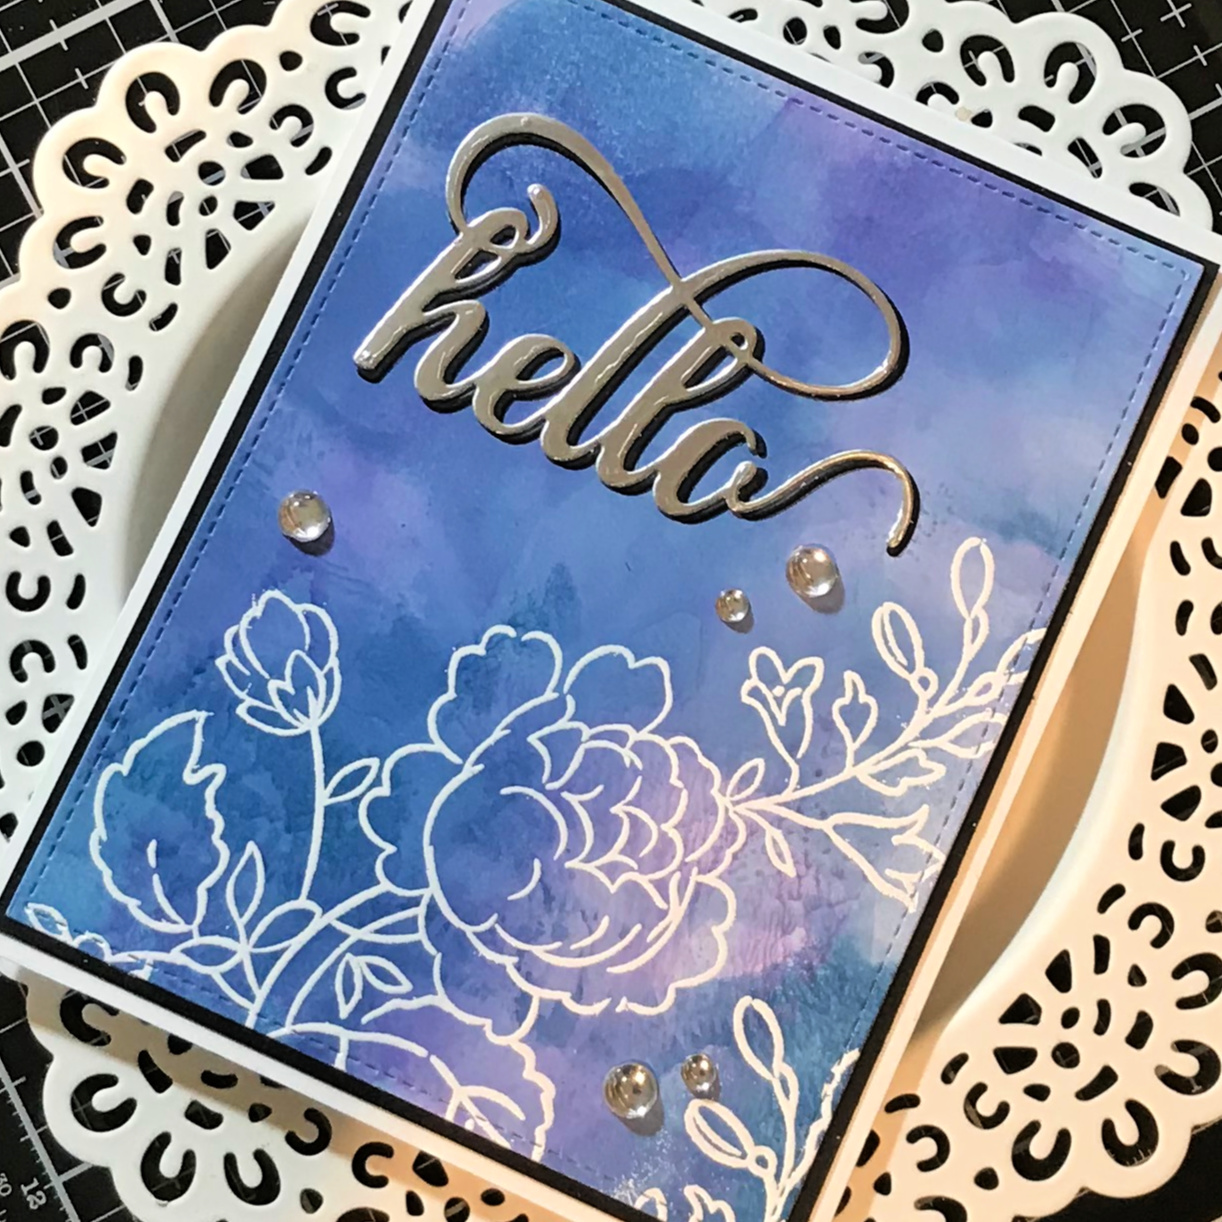
Stamp the large floral outline image from Handpicked Bouquet from Altenew with embossing ink.
Heat emboss with white embossing powder.
I mainly heat embossed from the back as I wasn't sure how the alcohol ink would react.
Die cut the inked card with a stitched rectangle die and mount onto a black card layer.
Attach to a white card base.
For the sentiment die cut the Fancy Hello die from Altenew twice. Once from black card and the other from silver card.
Glue the two die cuts together slightly off-setting the black hello at the back to create a shadow.
Attach to the card front.
Add embellishments to complete the card.
More Ink Smooshing Cards.....
- Home ›
- Card Making Techniques ›
- Ink Smooshing
