Sign up TODAY for Card Making News! Learn More >
FTC Disclosure - If you make a purchase via a link on this site, Card Making Circle may receive a small commission on the transaction.
Amazon Disclosure - As an Amazon Associate Card Making Circle earns from qualifying purchases.
All at no added cost to you. Thank you!
Poinsettia Christmas Cards
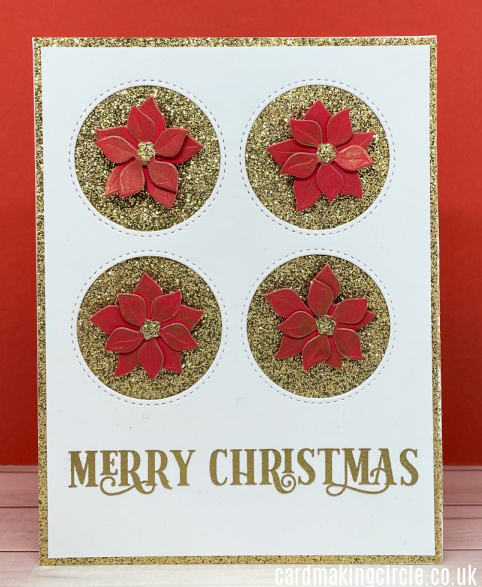
The red coloured leaves of the poinsettia brighten up our homes at Christmas. So, it's no surprise that poinsettia Christmas cards are popular too!
But did you know.... that the red "flowers" are actually leaves known as bracts. The real flowers are the the small yellow buds at the centre of the flower.
I thought I'll depart from the usual and create some of my poinsettia Christmas cards in unusual colours for unique designs.
Before starting your cards check out your card sizes and layers.
Click on any Image to see the cards in Gallery format
Perfect Poinsettias - Altenew
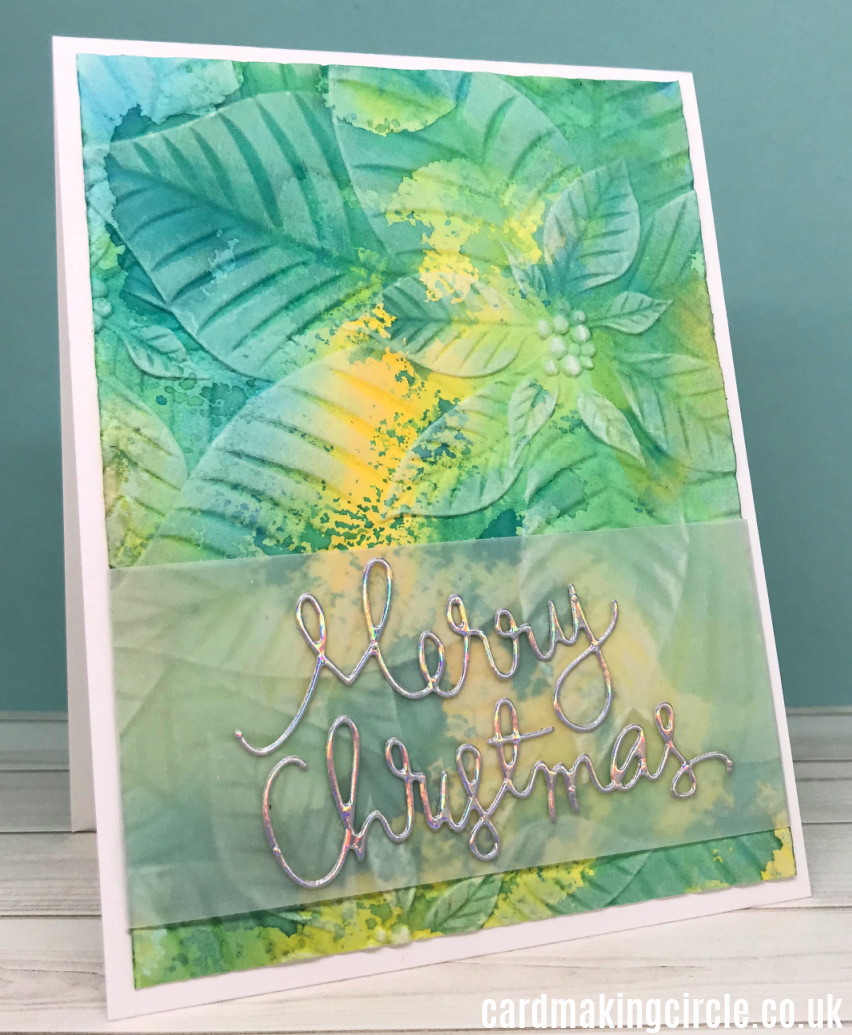
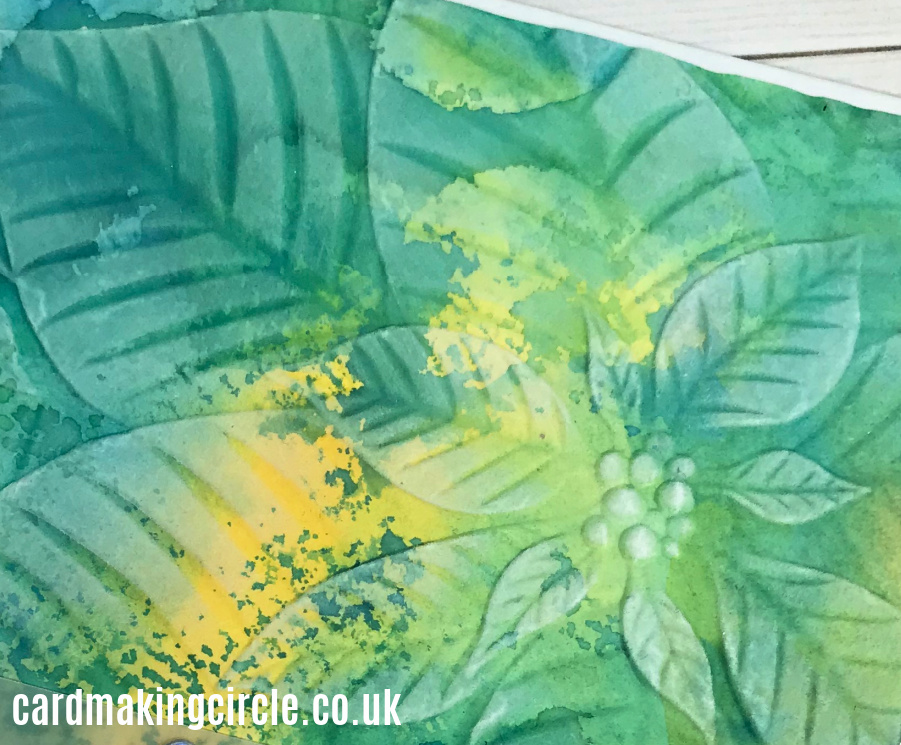
My first cards use the Perfect Poinsettias 3D embossing folder from Altenew. The depth of the images is truly amazing.
I first ink smooshed watercolour paper with distress oxide inks (wild honey, twisted citron and cracked pistachio).
Once dry I dry embossed the paper with the embossing folder.
The card needed a little "extra" so I very lightly smeared white pigment ink over the raised areas to highlight the leaves. Then left to dry - this takes a while as it's pigment ink.
To complete the card I die cut a "Merry Christmas" sentiment from Simon Says Stamp in silver card and glued to a strip of vellum.
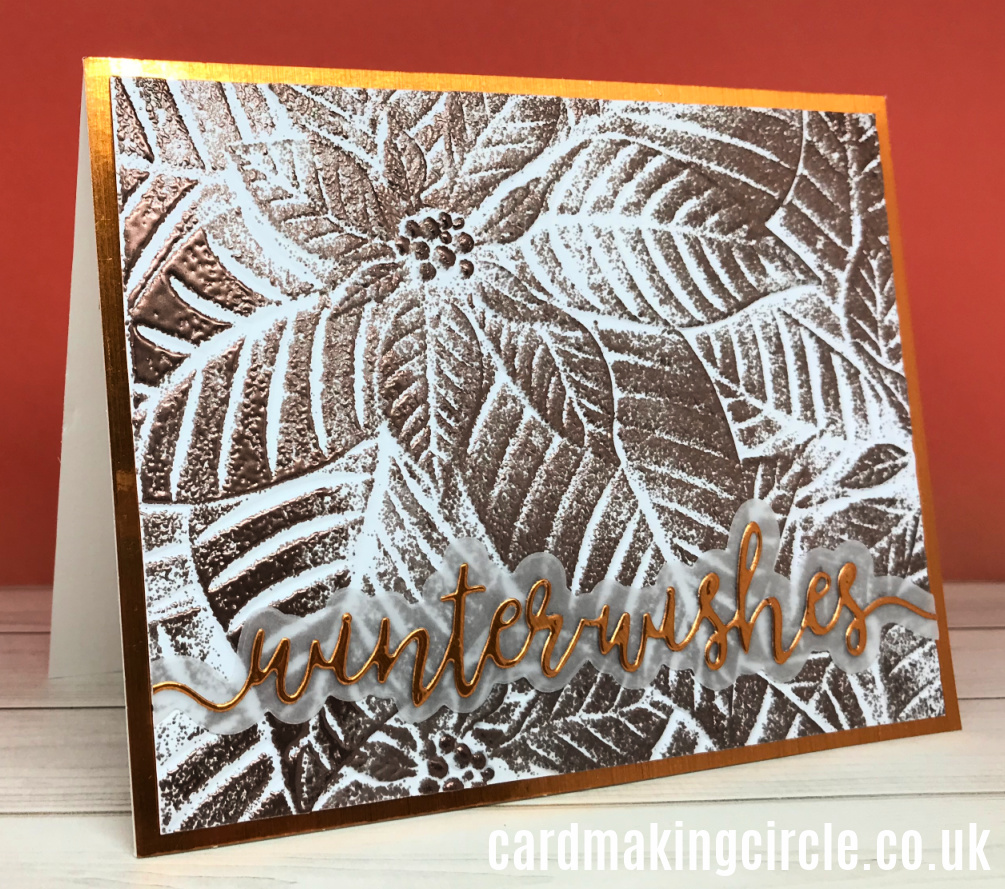
Staying with the same embossing folder but a completely different look.
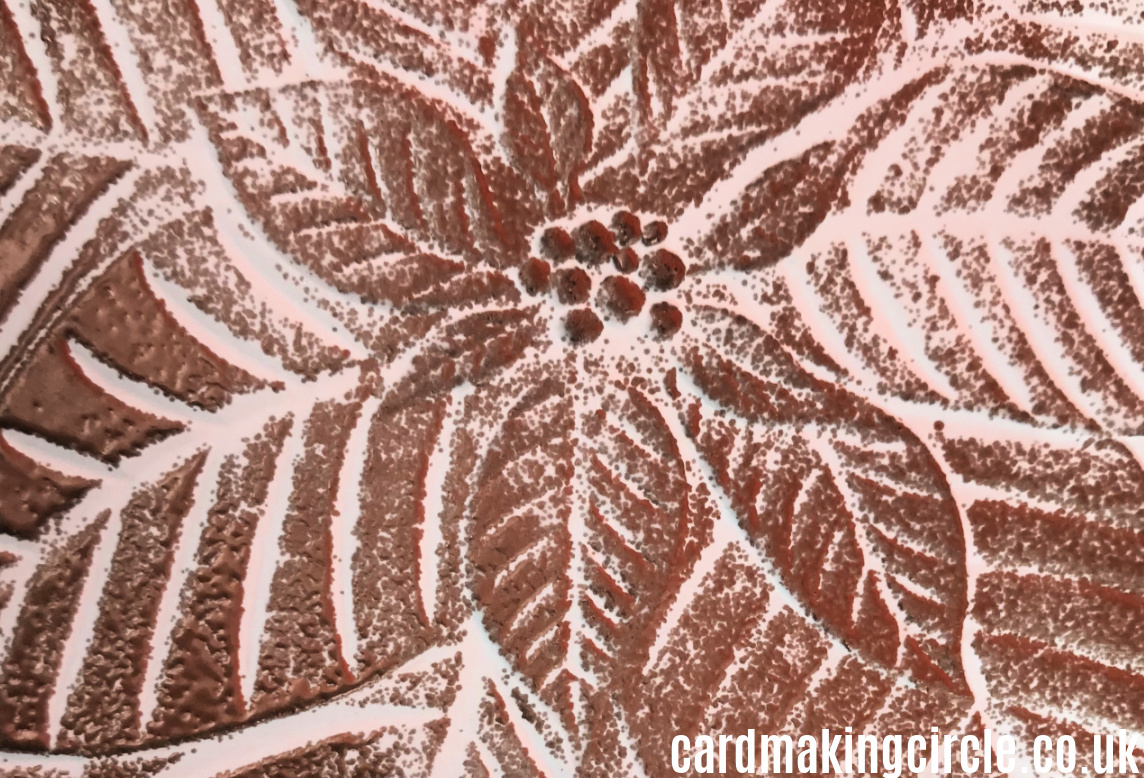
After dry embossing the image in white card I gently ran over the raised areas with Versamark embossing ink. Then heat embossed with copper embossing powder.
It produced a wonderful shimmery effect especially when you turned the card to the light.
As I didn't want to hide too much of the embossed image I used a small thin die cut sentiment from Tonic with a vellum shadow.
The final touch was a background layer of copper card before adhering to the card base.
Poinsettia Background - Simon Say Stamp
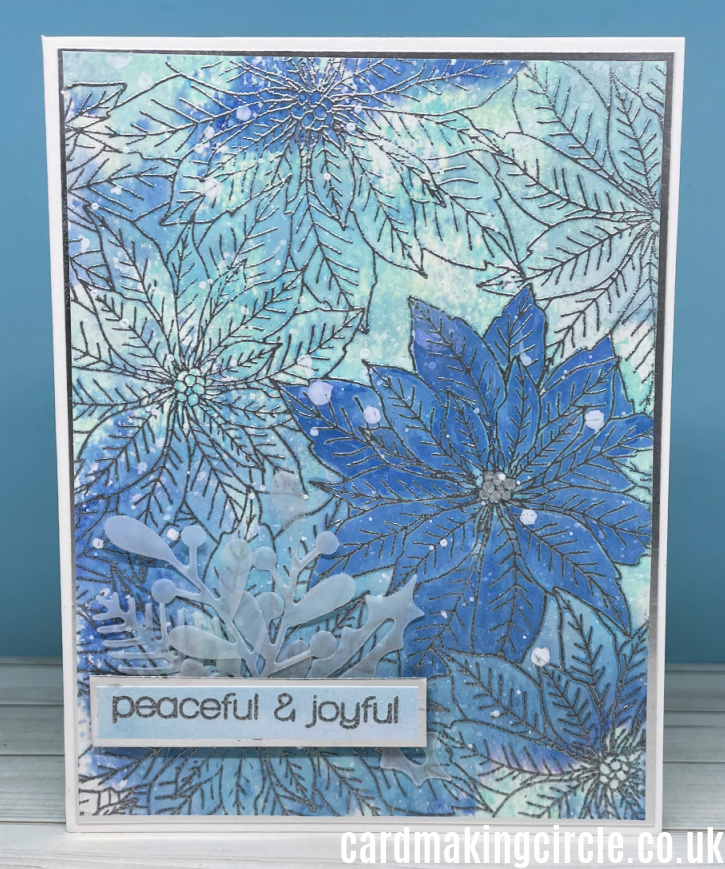
More ink smooshing with prize ribbon, salvaged patina and speckled egg distress oxide inks. I used a large piece of watercolour paper so I could make several cards.
Once dry I stamped the Poinsettia Background from Simon Says Stamp with embossing ink and heat embossed with silver embossing powder.
Distress inks are they are water reactive so I used the prize ribbon to paint one of the poinsettias.
I added a few die cut elements from the Christmas Foliage set and a sentiment from Simon Says Stamp.
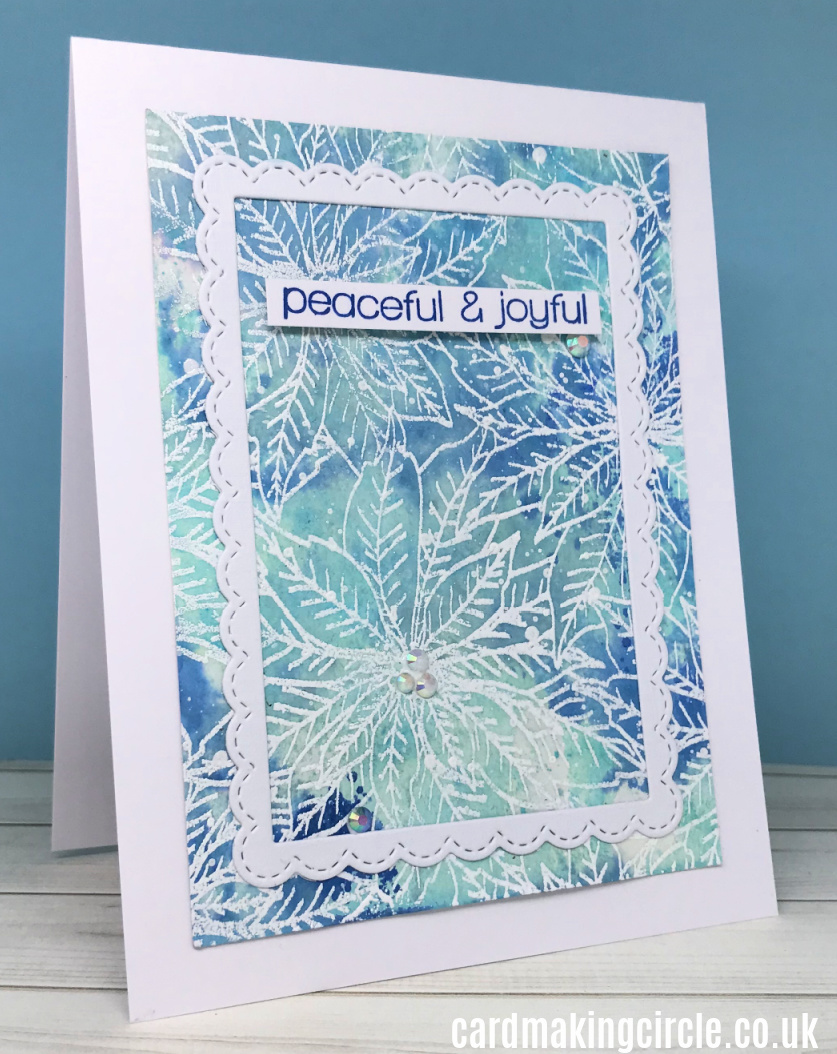
Using another part of the ink smooshed paper I created a second card with a completely different look.
For this card I ink embossed the background in white embossing powder.
To intensify the distress inks I rubbed distress micro glaze over the card.
I added a stamped sentiment from Simon Says Stamp and a die cut white frame from Sunny Studios.
Poinsettia Stencil - Tim Holtz
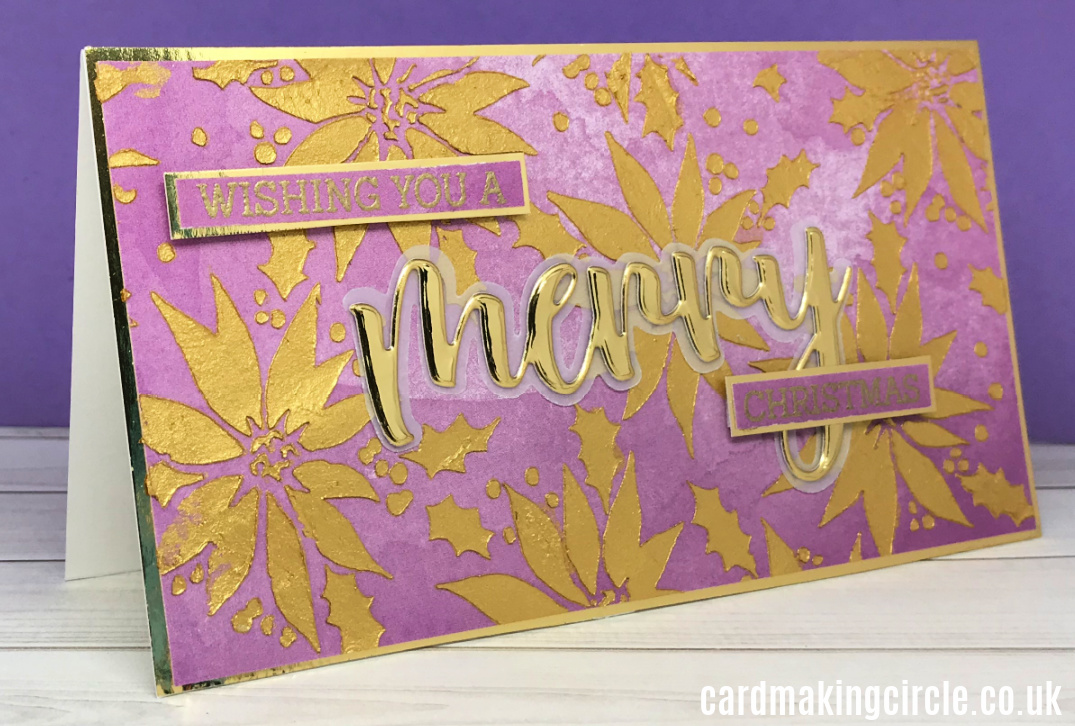
My final cards use the Poinsettia layering stencil from Tim Holtz and mixed media techniques.
For both cards I used sheets from the 6" x 6" Lawn Fawn watercolor wishes paper pad for the backgrounds.
I stencilled Gold Nuvo embellishment mousse across one sheet.
Once set I cut this to size and added a die cut "Merry" and heat embossed sentiments from Honey Bee Stamps.
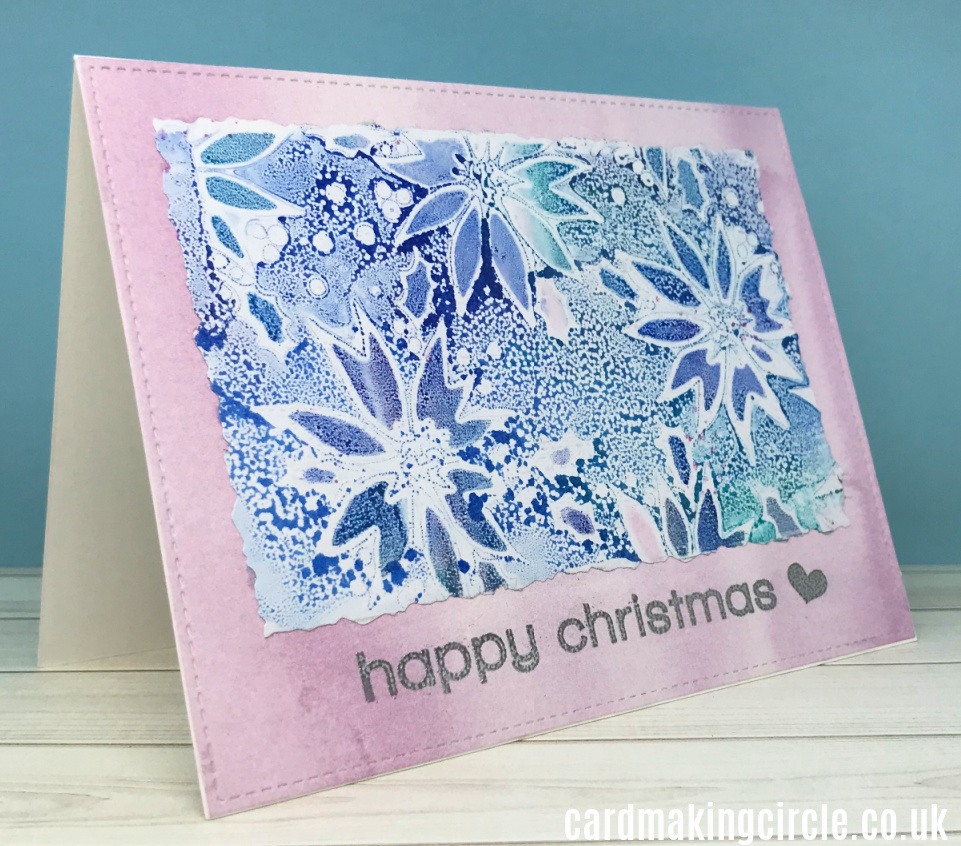
My final card was the result of hours of playing with a 3" x 5" gelli plate. I have tons of prints just waiting to be made into cards!
Instead of acrylic paints I used distress oxide inks to create interesting effects. After completing the gelli printing session I trimmed each print with deckle scissors.
I mounted the print onto a sheet from the watercolour paper pad and added a "Happy Christmas" from a Simon Say Stamp stamp set.
It was great fun creating with a gelli plate - the time just vanishes! If you haven't tried it I recommend it as it's so random and relaxing.
More Poinsettia Christmas Cards
