Sign up TODAY for Card Making News! Learn More >
FTC Disclosure - If you make a purchase via a link on this site, Card Making Circle may receive a small commission on the transaction.
Amazon Disclosure - As an Amazon Associate Card Making Circle earns from qualifying purchases.
All at no added cost to you. Thank you!
Snowflake Cards
Do you remember making paper snowflakes as a child? Each one had a different pattern depending on how you cut your paper.
Well it's just the same in nature - every snowflake is unique within its six sided design.
In card making we can create snowflake cards using stamps, stencils, punches, dies and embossing folders.
Ours may not be unique but we can capture their beauty with different colours and materials.
And by using glimmer paper, glitter and sparkly embellishments we can create a crystalline and frosty appearance.
Now let's make a start.....
Before starting your cards check out your card sizes and layers
Click on any Image to see the cards in Gallery format
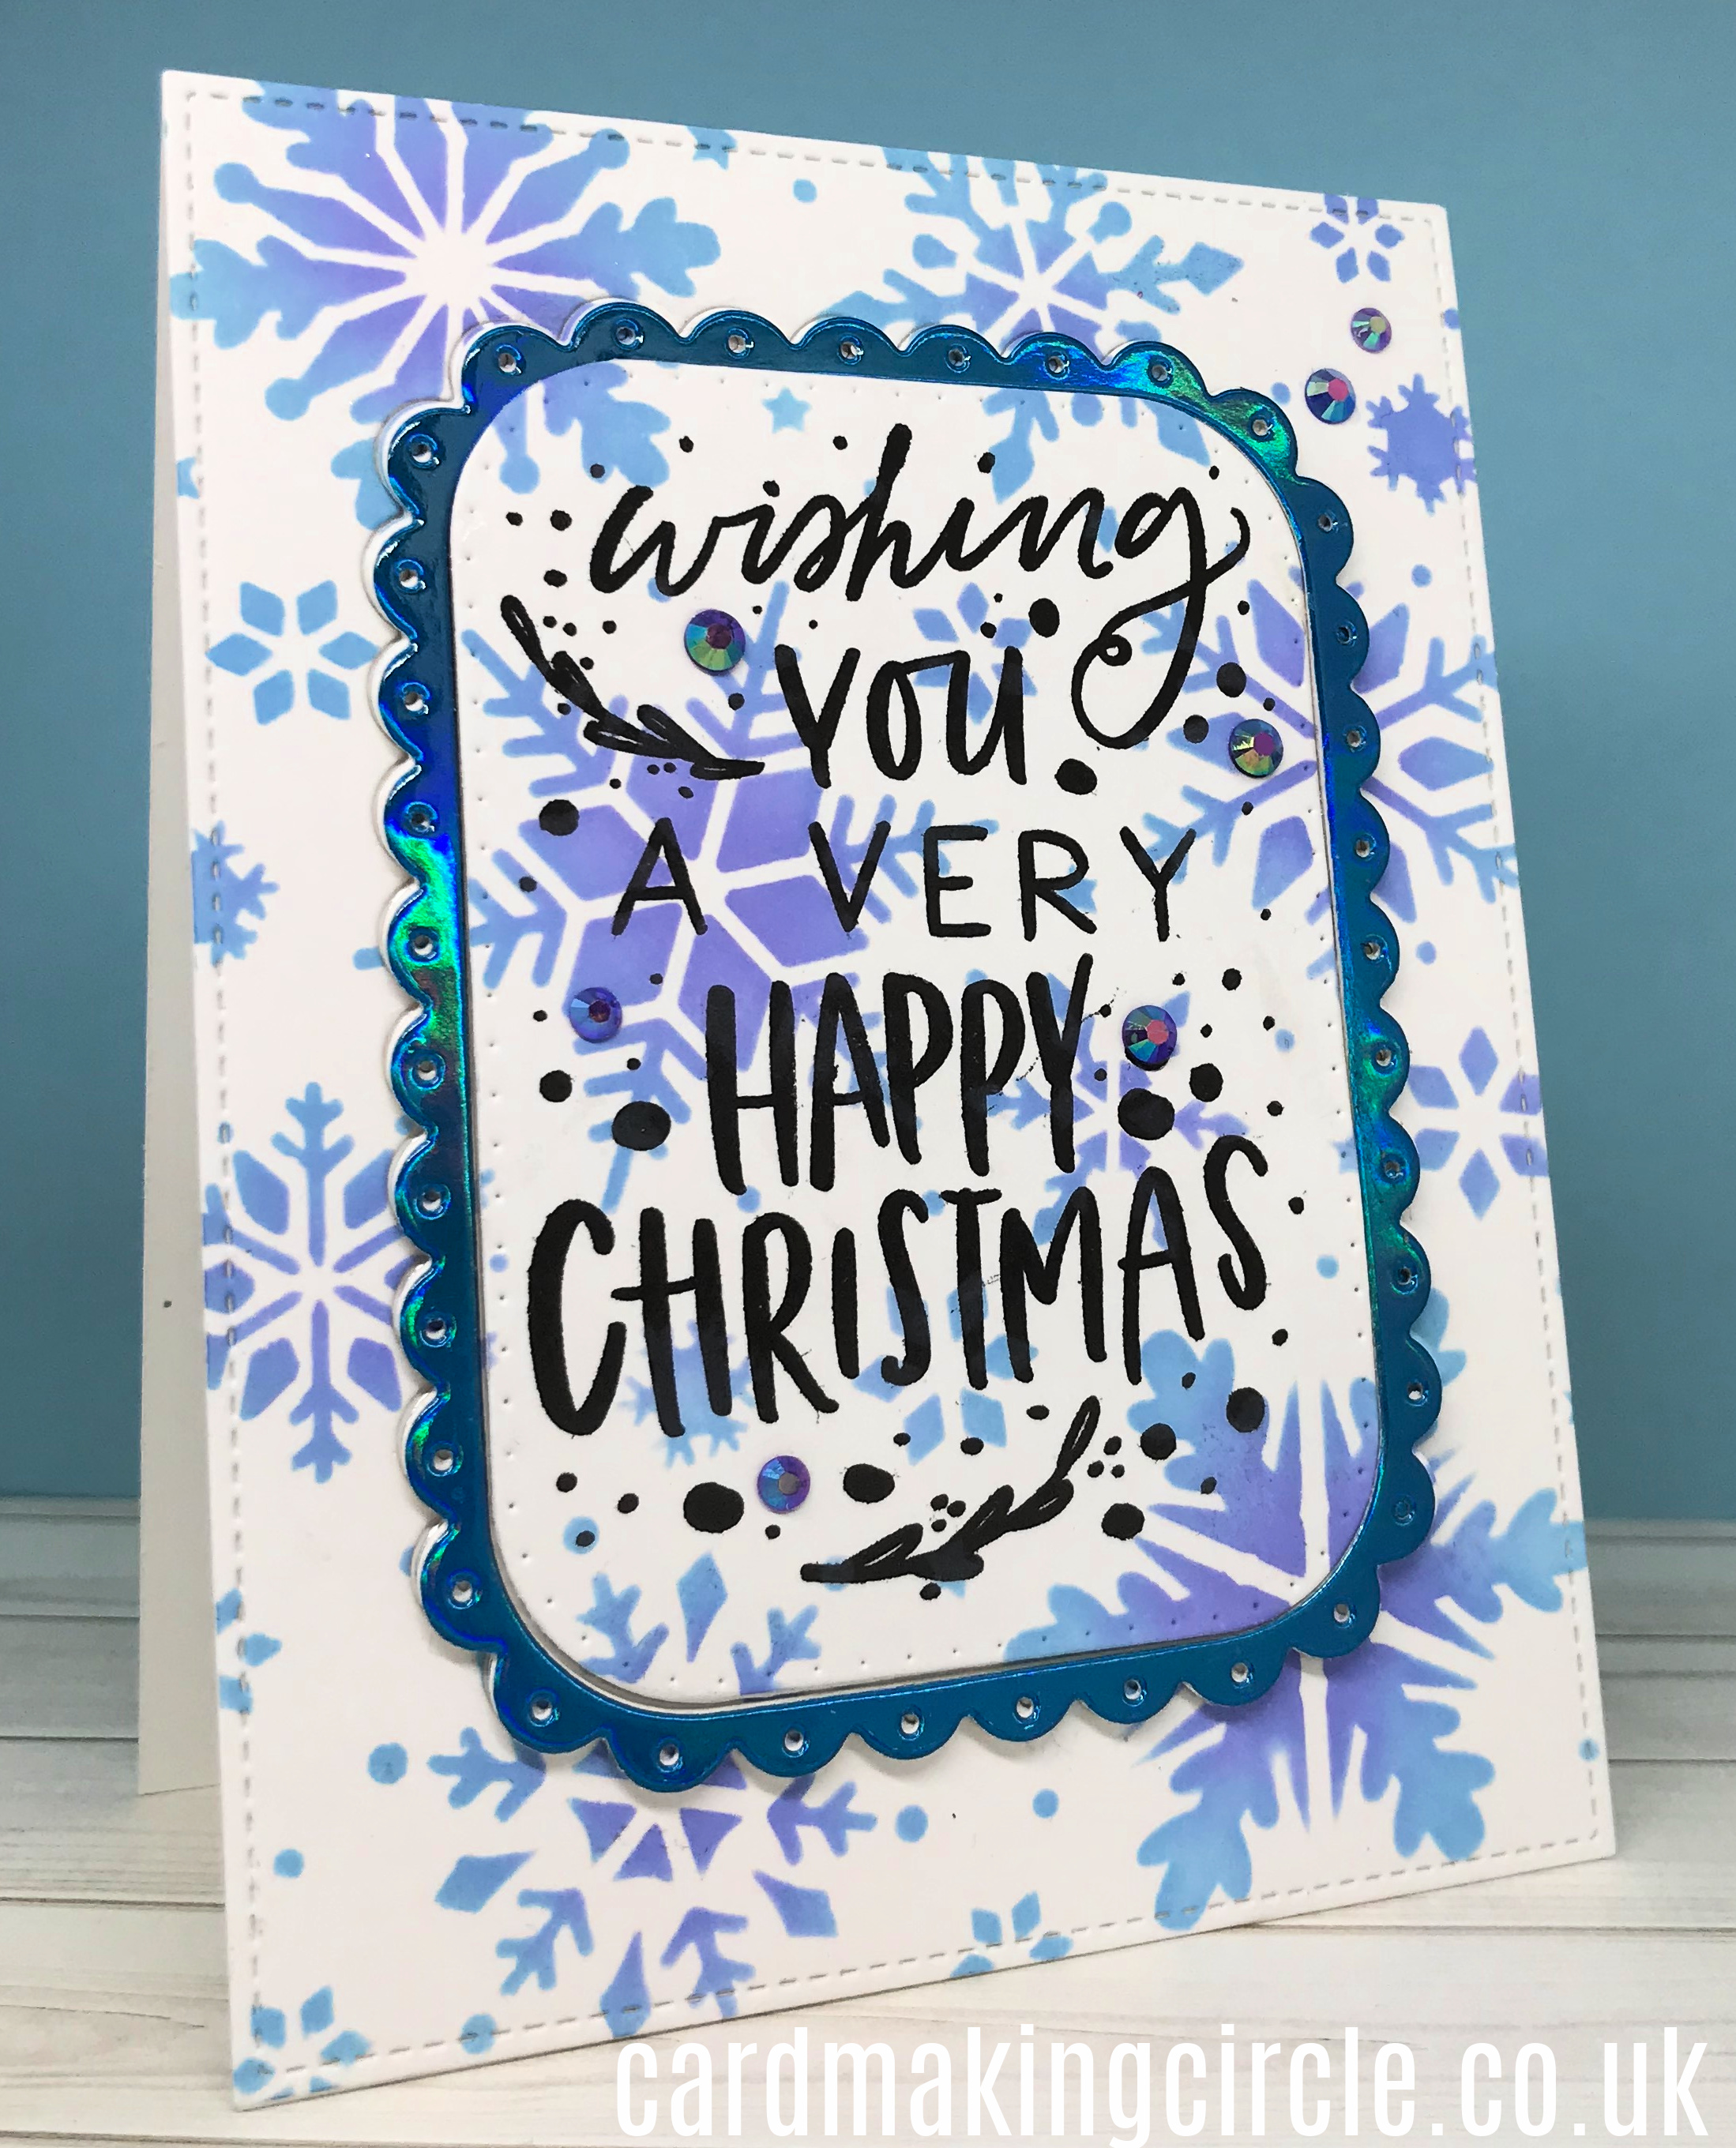
Wishing You a Very Merry Christmas
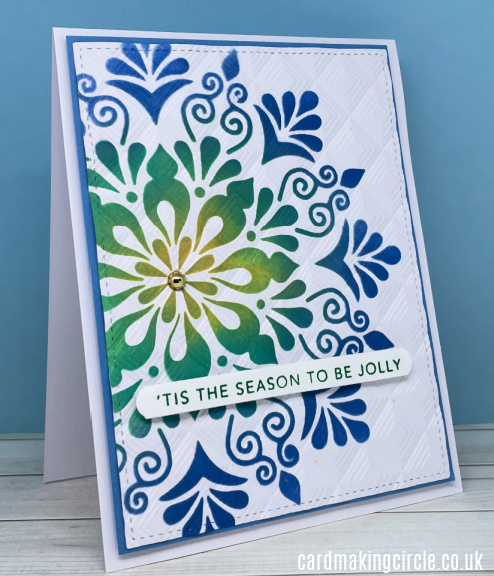
The first card was created with the snowflake stencil from Tonic Studios.
Ink blend through the stencil with tumbled glass and shaded lilac distress oxide ink. A beautiful combination of colours.
When dry, I stamped a sentiment from Honey Bee stamps and used the coordinating die to cut the shape.
Now to add some dimension...
Cut 3 more shapes from scrap white card and one from mirror card.
This die shape splits into two parts - a centre panel and a decorative border.
Stick 3 of the die cut pieces of each part together. On the fourth layer add the die cut centre panel and the mirror border.
Trim or die cut the snowflake surround and add to a card front.
Reposition and glue the decorative edge and finally add the centre panel to complete the card.
Joy
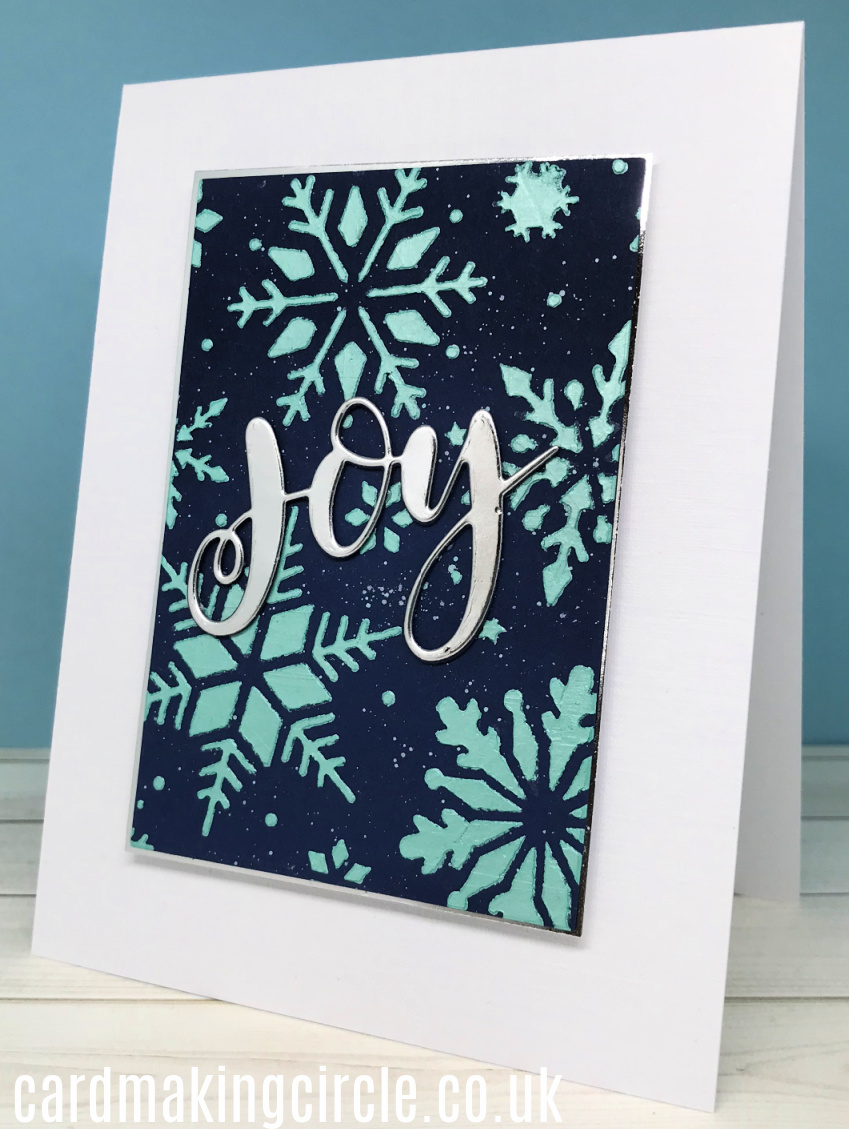
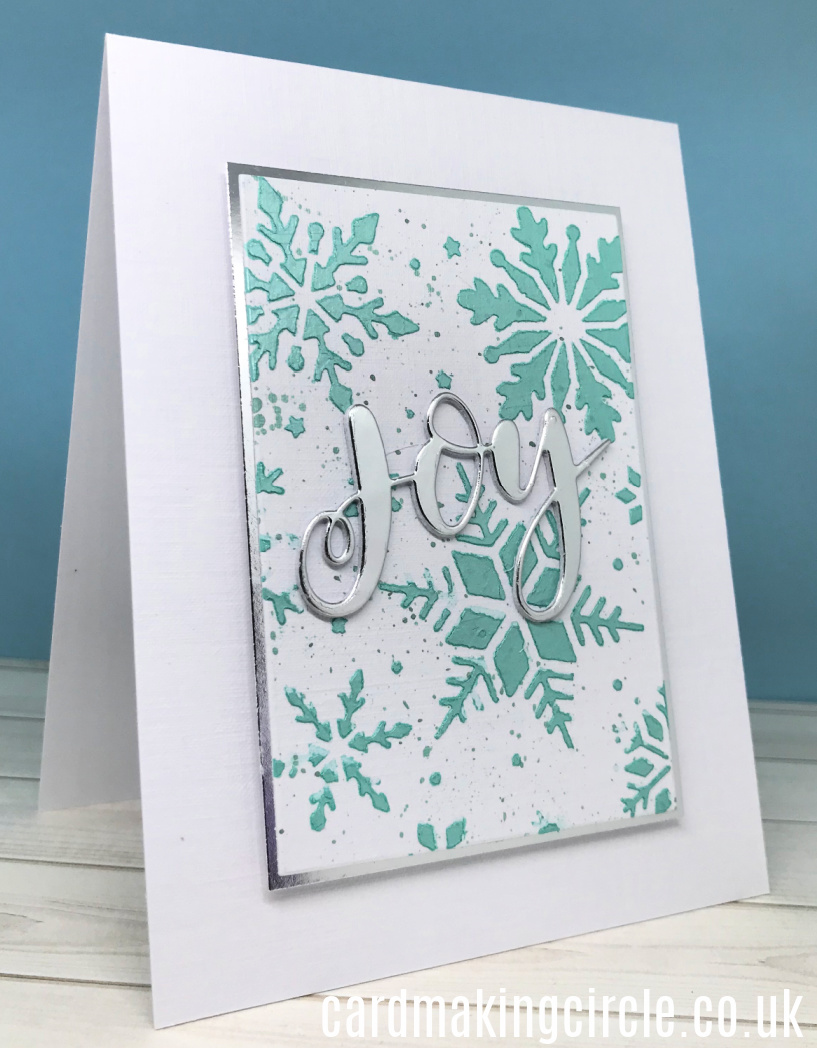
The next two cards were created in the same way. They were also created using the snowflake stencil from Tonic studios.
For these cards I added texture to the cards with Aquamarine Nuvo embellishment moose. This was applied evenly over the stencil and card with a palette knife.
Remove the stencil from the card straight away and wash the palette knife and stencil in water.
As the embellishment moose is a water based product add a small amount to a palette or glass mat and mix this with water. Use this mix to add splatters with a brush.
Wait at least an hour or two for the moose to dry completely before trimming to size.
Mount onto mirror card and add fun foam to the back for dimension.
For the sentiment I used a simple "Joy" die from My Favorite Things (MFT) stamps. Die cut this 3 times for each card using silver mirror card for the top layer.
Glue the die cut pieces together and add to the front panel.
Centre and attach the front panel to a card base creating a very clean and simple snowflake card.
Which background colour do you prefer - white or navy?
Let it Snow
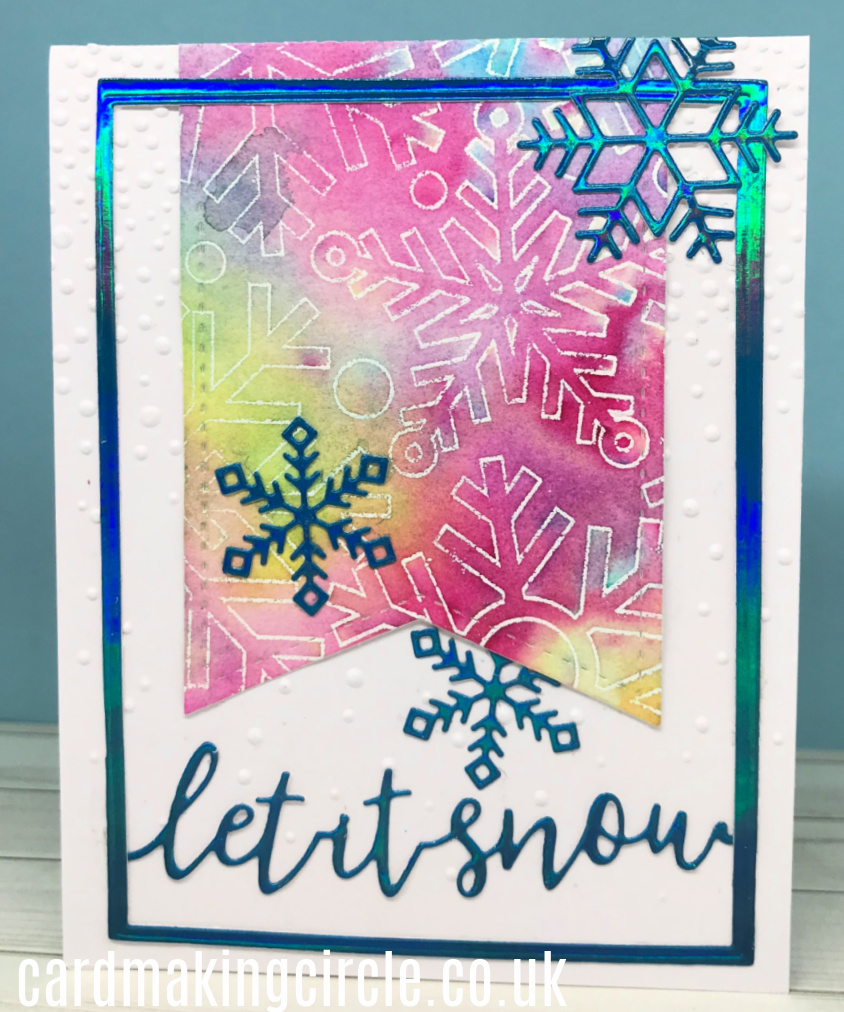
The starting point for this card was the mirror card frame. This was left over from another project and I just couldn't throw it way!
Carrying on the scrap theme the banner was cut from a shimmer powder project. It uses the outline snowflake stamp from Simon Says Stamp.
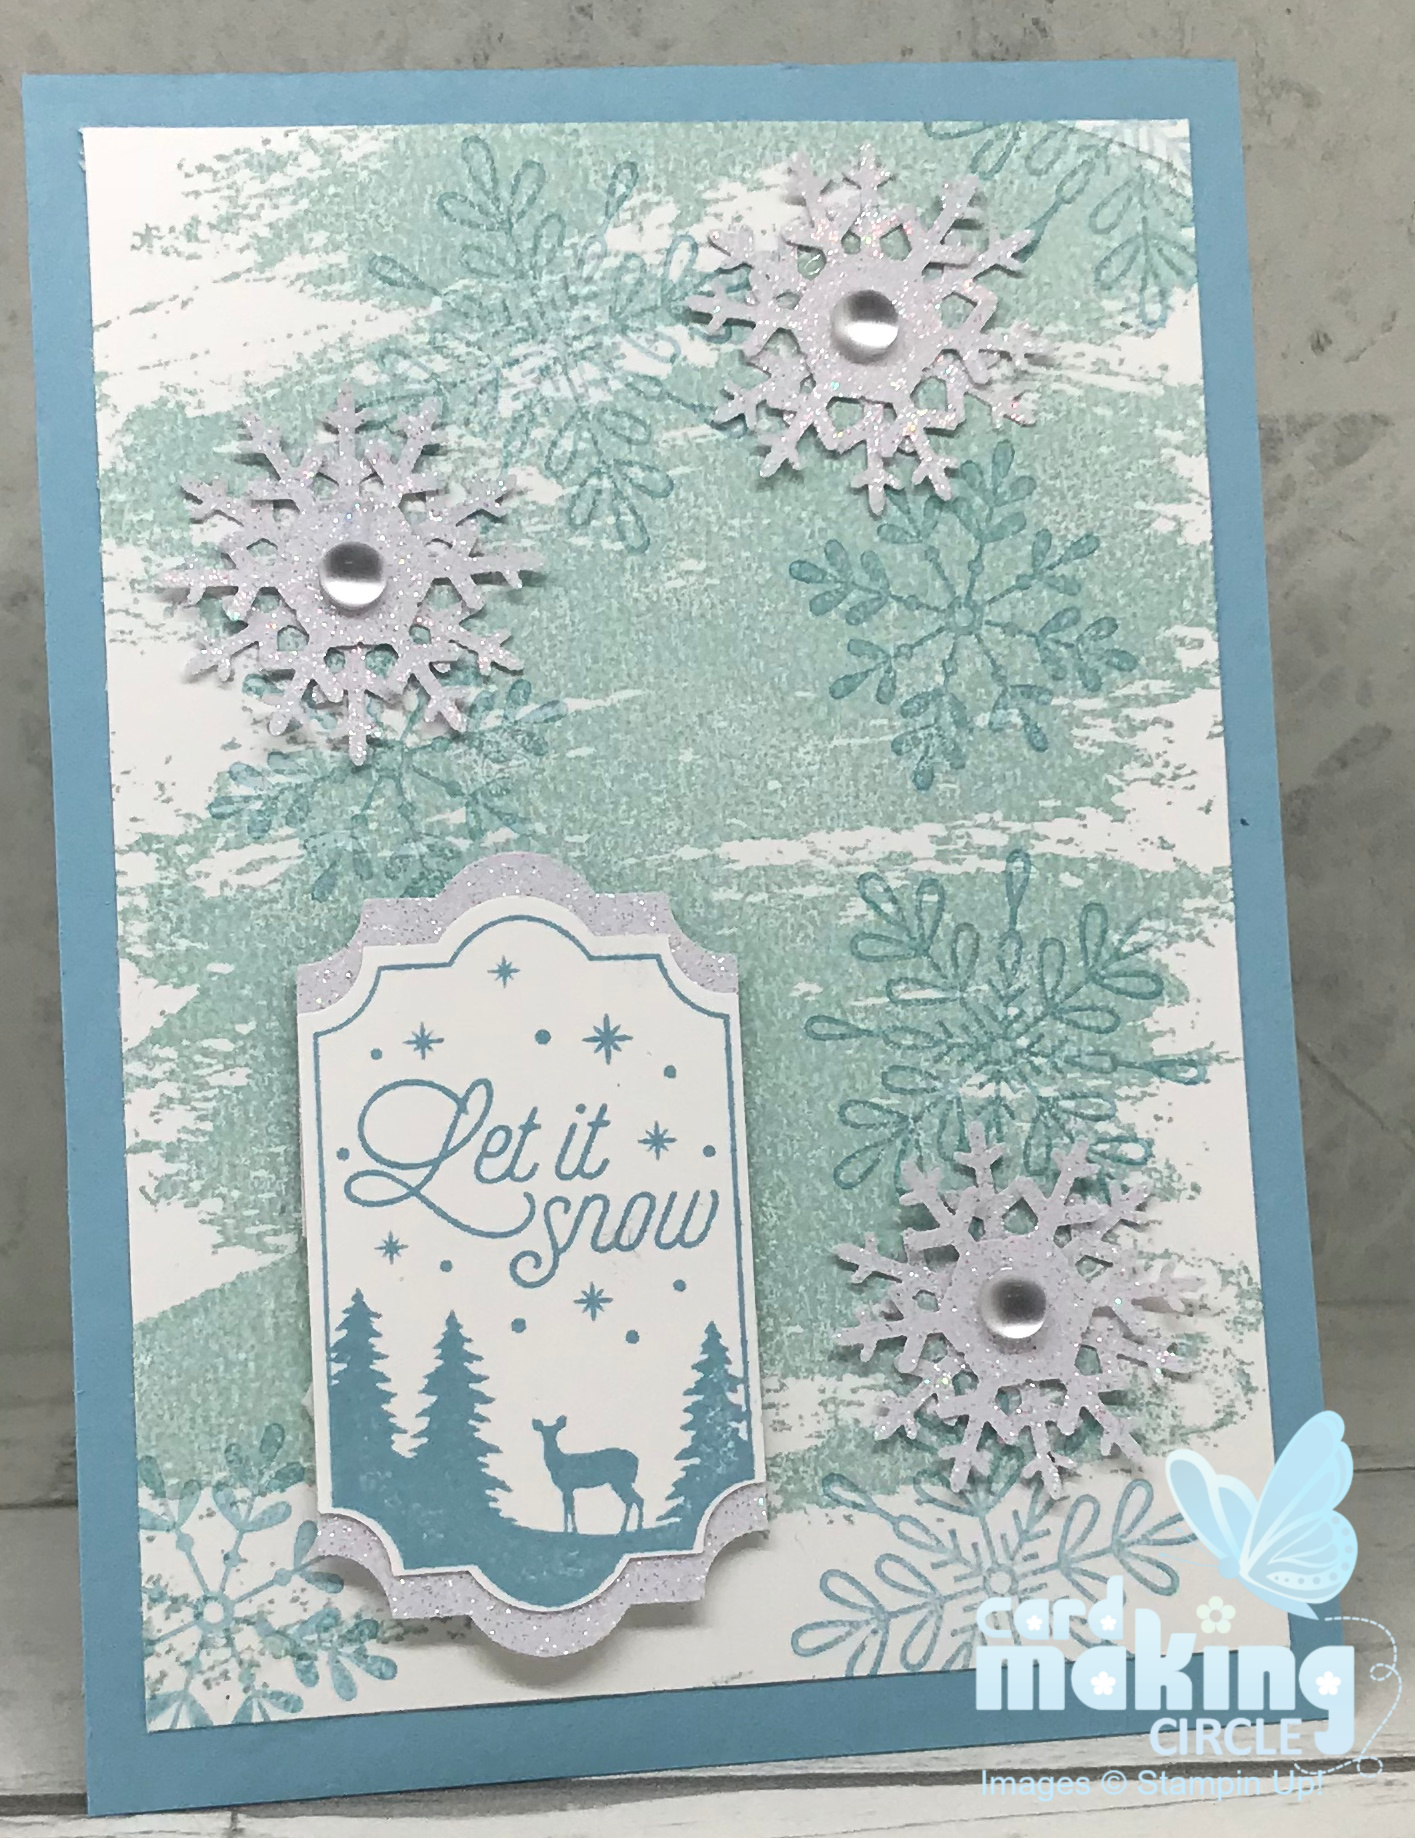
The snowflake die cuts were from MFT Stamps and the Let it Snow sentiment from Tonic Studios.
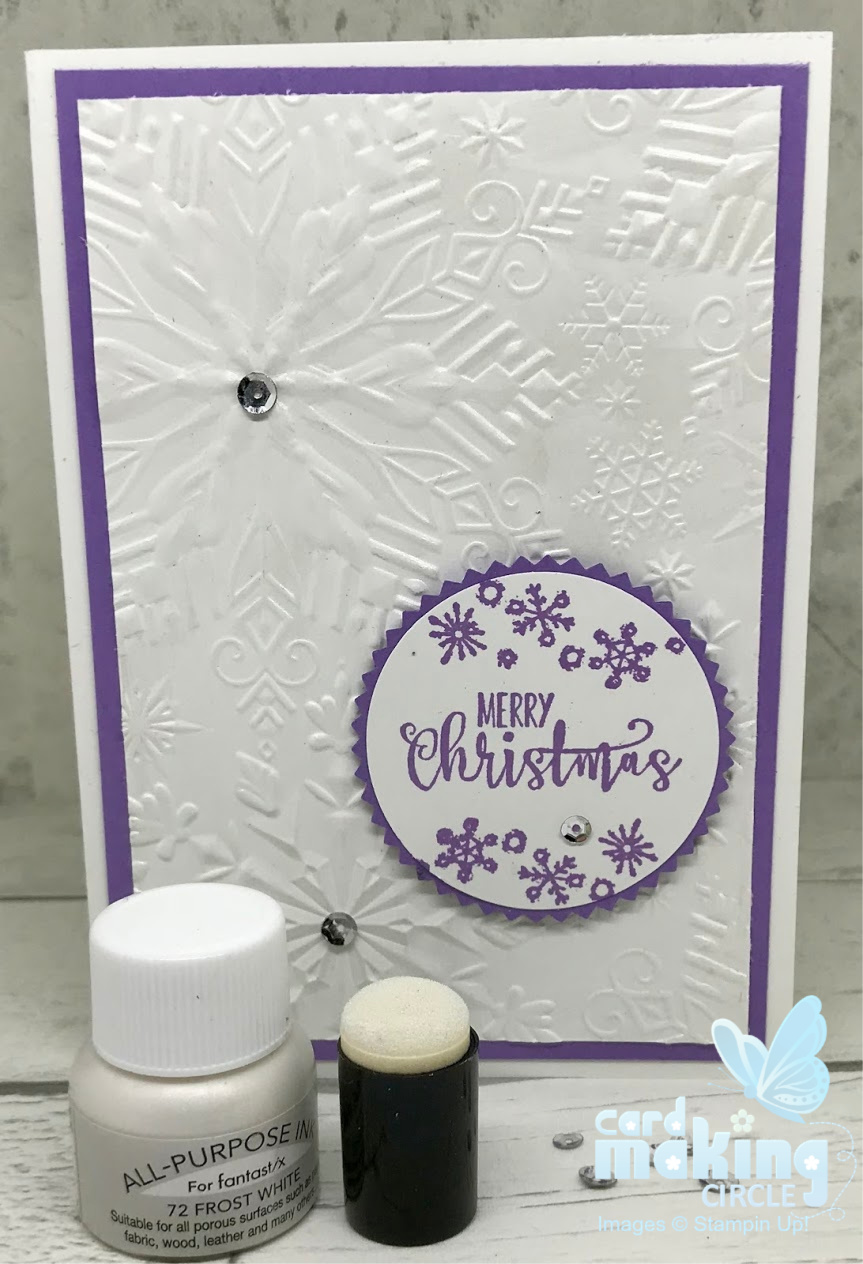
To bring everything together I used a snow falling embossing folder to create a back panel. All the pieces were added to the back panel and mounted onto a card base.
It's strange the things that give us inspiration. This time it was my reluctance to waste any of this gorgeous mirror card that has been a staple of many Christmas cards this year.
Download Snowflake Colouring pages from our Crafters Circle.
