Sign up TODAY for Card Making News! Learn More >
FTC Disclosure - If you make a purchase via a link on this site, Card Making Circle may receive a small commission on the transaction.
Amazon Disclosure - As an Amazon Associate Card Making Circle earns from qualifying purchases.
All at no added cost to you. Thank you!
Stencils for Card Making
Stencils have become a must have tool for the craft room as they are easy to use and cheap to purchase.
Stencils for card making are made from a thin lightweight plastic and are usually sized 6" x 6", International A5, A4 or 12' x 12".
Images or shapes are cut out of the plastic leaving spaces in the plastic sheet.
The stencil is attached to your card or paper before applying ink, paint or other mediums through the holes in the stencil sheet.
The standard method is to attach the stencil to your card with washi tape/painters tape or to use a re-positionable spray glue.
I'm not a great fan of the re-positionable glue as I always find bits of glue left behind!
I now use the Wendy Vecchi Make Art STAY-tion as it's like having another pair of hands. The stencil and the card are held securely on a magnetic board with 4 strong magnets.
(I have the 12' x 12" but you can purchase a smaller version).
A big advantage is that you can remove the bottom two magnets to have a peep at your stencilling underneath. With the card and stencil held tight by the top magnets it's easy to return into position to continue working if you need to do a bit more.
Different Types of Stencils for Card Making
Single Layer Stencils
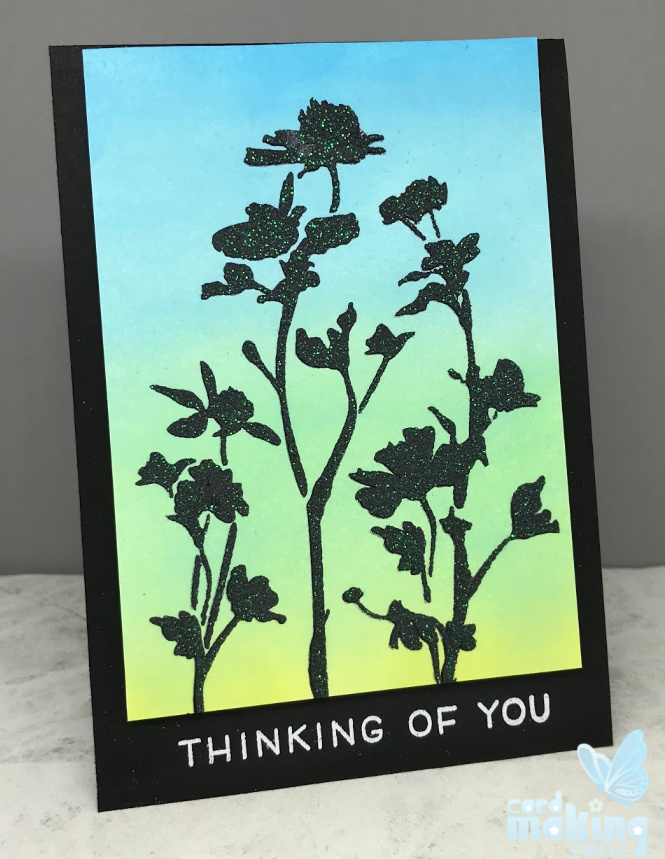
Single layer stencils create an image(s) that is complete. In this card I used the wildflower stencil from Tim Holtz with an embossing paste over an ink blended background.
A single layer stencil can be used to create a background or the focal point of the card in one or multiple colours.
Layering Stencils
Layering stencils take your stencilling to another level as it enables you to create more texture and depth to your image.
The different layers might be on a single stencil sheet or there may be multiple sheets to create a single image.
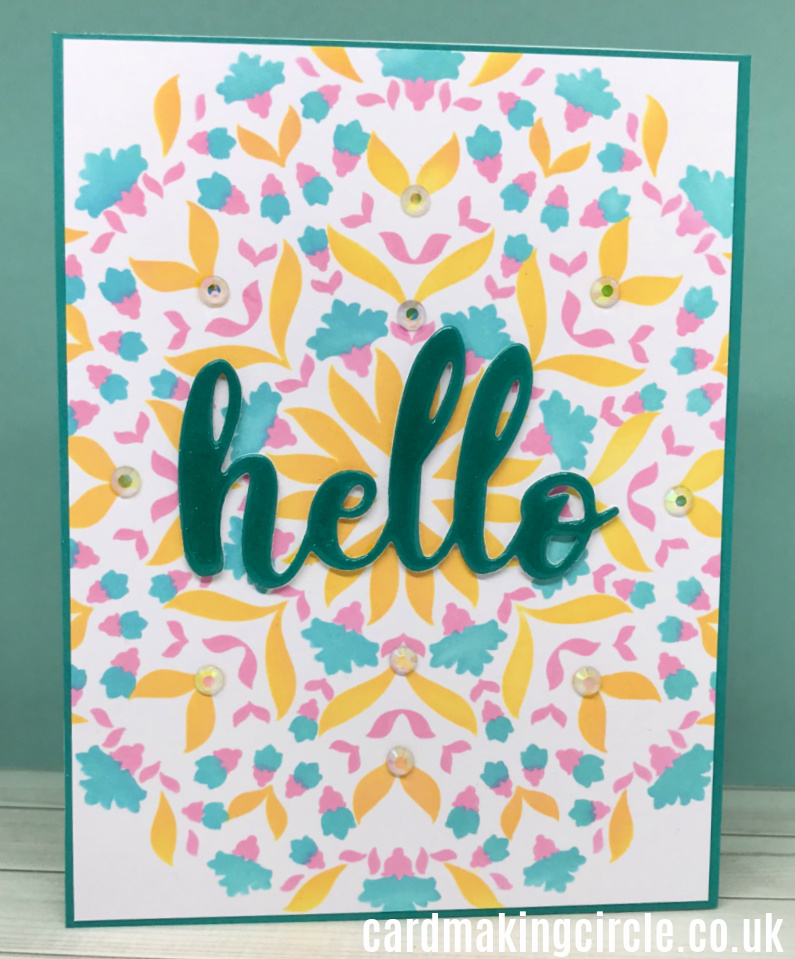
With this card I used the mandala build a set stencils from Altenew. There are three stencil sheets to create this image that you use one at a time.
When layering different colours it's important to make sure that you can layer one colour on top of another without creating a hot mess.
I used distress oxide ink which are opaque and allowed each layer to dry before blending on the next colour.
Colouring Stencils
Colouring stencils are designed to be used with a coordinating stamp set.
They offer a quick way to add colour to your image especially if ink blending. Stamp your image outline and use the stencil to colour with your chosen medium.
Depending on the image you can also use two different mediums.
Masking Stencils
Masking stencils are thinner than the normal stencils to enable you to stamp over them without leaving a gap.
They may be sold as an add-on to a coordinating stamp set or may be a a shape such as circles, rectangles or squares for creating ink blended backgrounds.
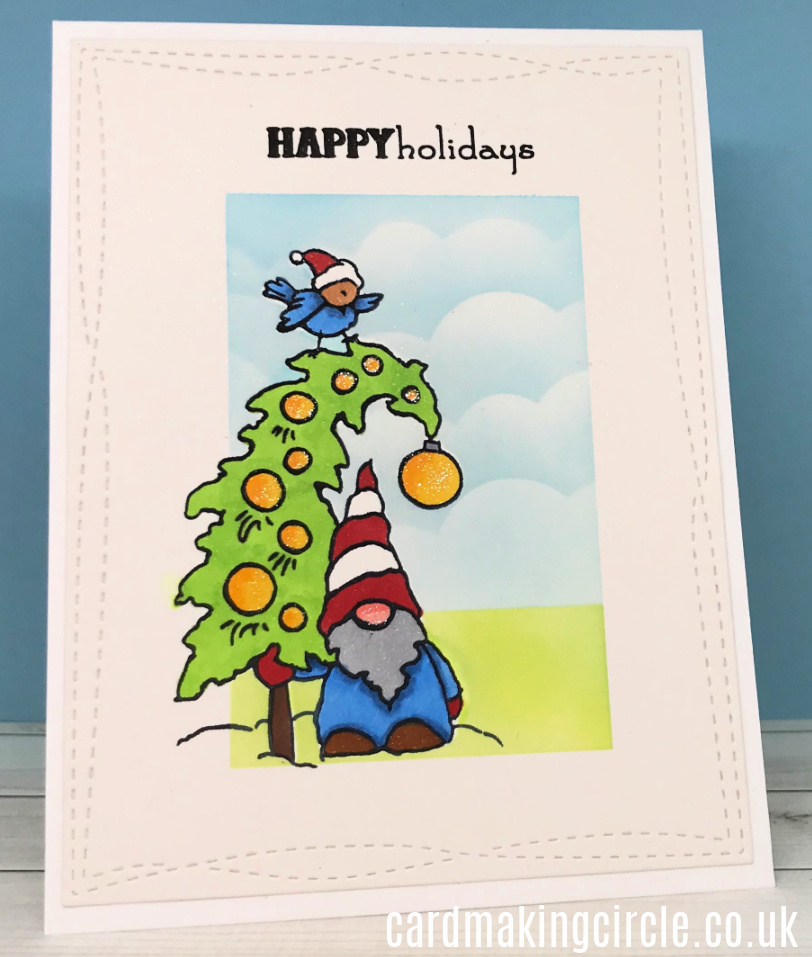
The card below was created with the rectangle masking stencil from Taylored Expressions and the cloud stencil from My Favorite Things (MFT Stamps)
If you dislike fussy cutting masking paper (like me!) masking stencils are a real bonus.
They are sold with both the positive and negative image which allow you to colour both the image and the background.
A great add on to your craft stash if you enjoy making scene cards with lots of masking.
What to know more about stencils for card making?
Check out different stencilling techniques to create awesome cards.
