Sign up TODAY for Card Making News! Learn More >
- Home
- Card Making Ideas
- Wedding Anniversary Cards
Wedding Anniversary Cards
Retailers quickly picked up on the commercial benefits of extra gifts and card sales each year.
So, not to miss out on potential sales they invented names and gifts for each year of marriage. That's business for you!
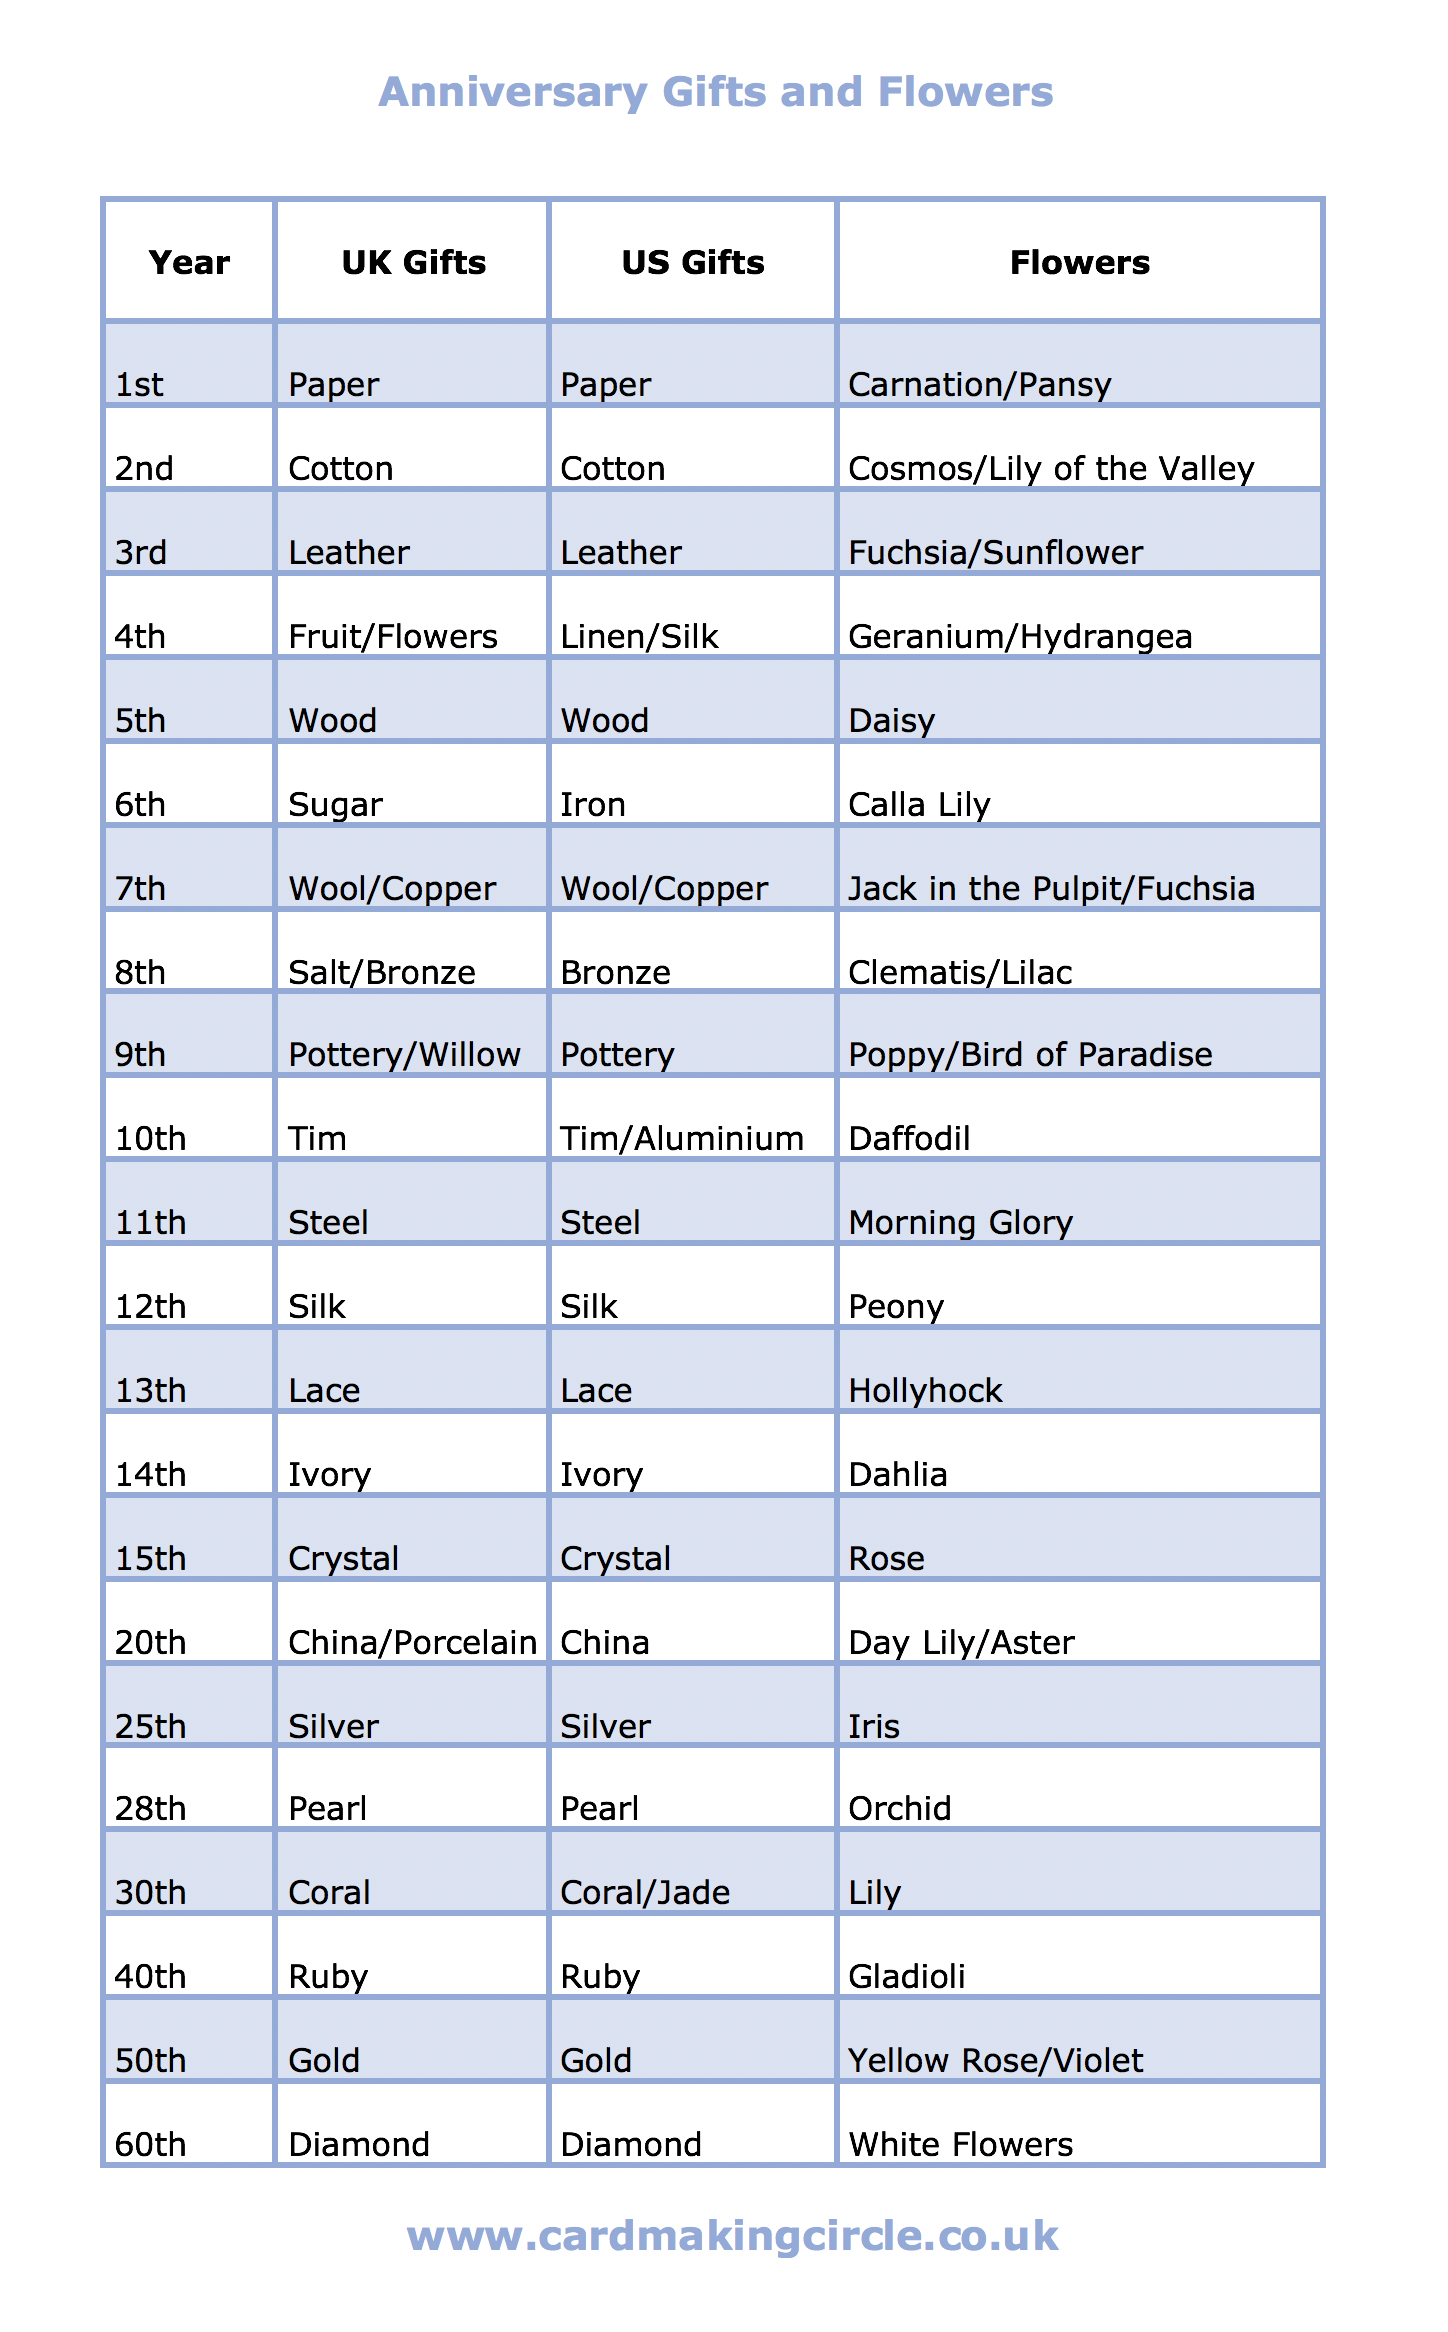
The symbolic gifts and flowers do vary a bit depending on where you live.
Here's a summary of the main anniversaries.....
Whatever you give or receive, it is delightful to recognise the years you have had together.
So, let's celebrate the good times shared......
By making unique wedding anniversary cards.
Before starting your cards check out your card sizes and layers.
25th Wedding Anniversary Card
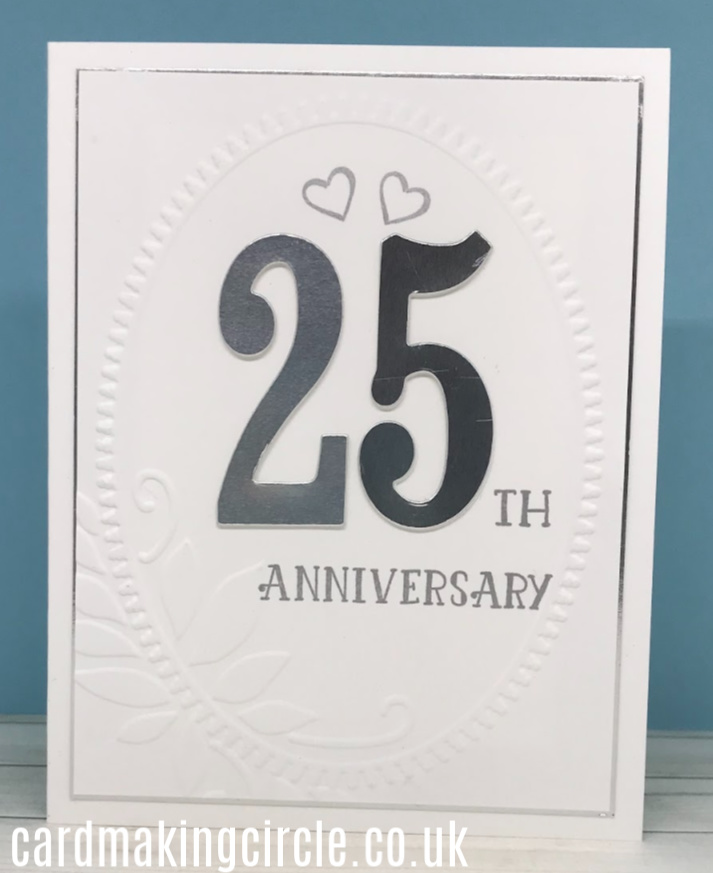
This clean and simple card was created with an old embossing folder from Sizzix.
Dry emboss the floral oval with white card.
Die cut both the "2" and "5" three times - once from silver card and twice from white card. Layer together to provide dimension. Attach to the embossed card.
Stamp or write with a gelly roll silver pen the "th" "Anniversary" and hearts.
Attach the embossed layer to a layer of silver card for a frame. Remembering to cut out the middle to use on another card. It's too precious to waste!
Complete by adding to a white card base.
General Anniversary Cards
Card One
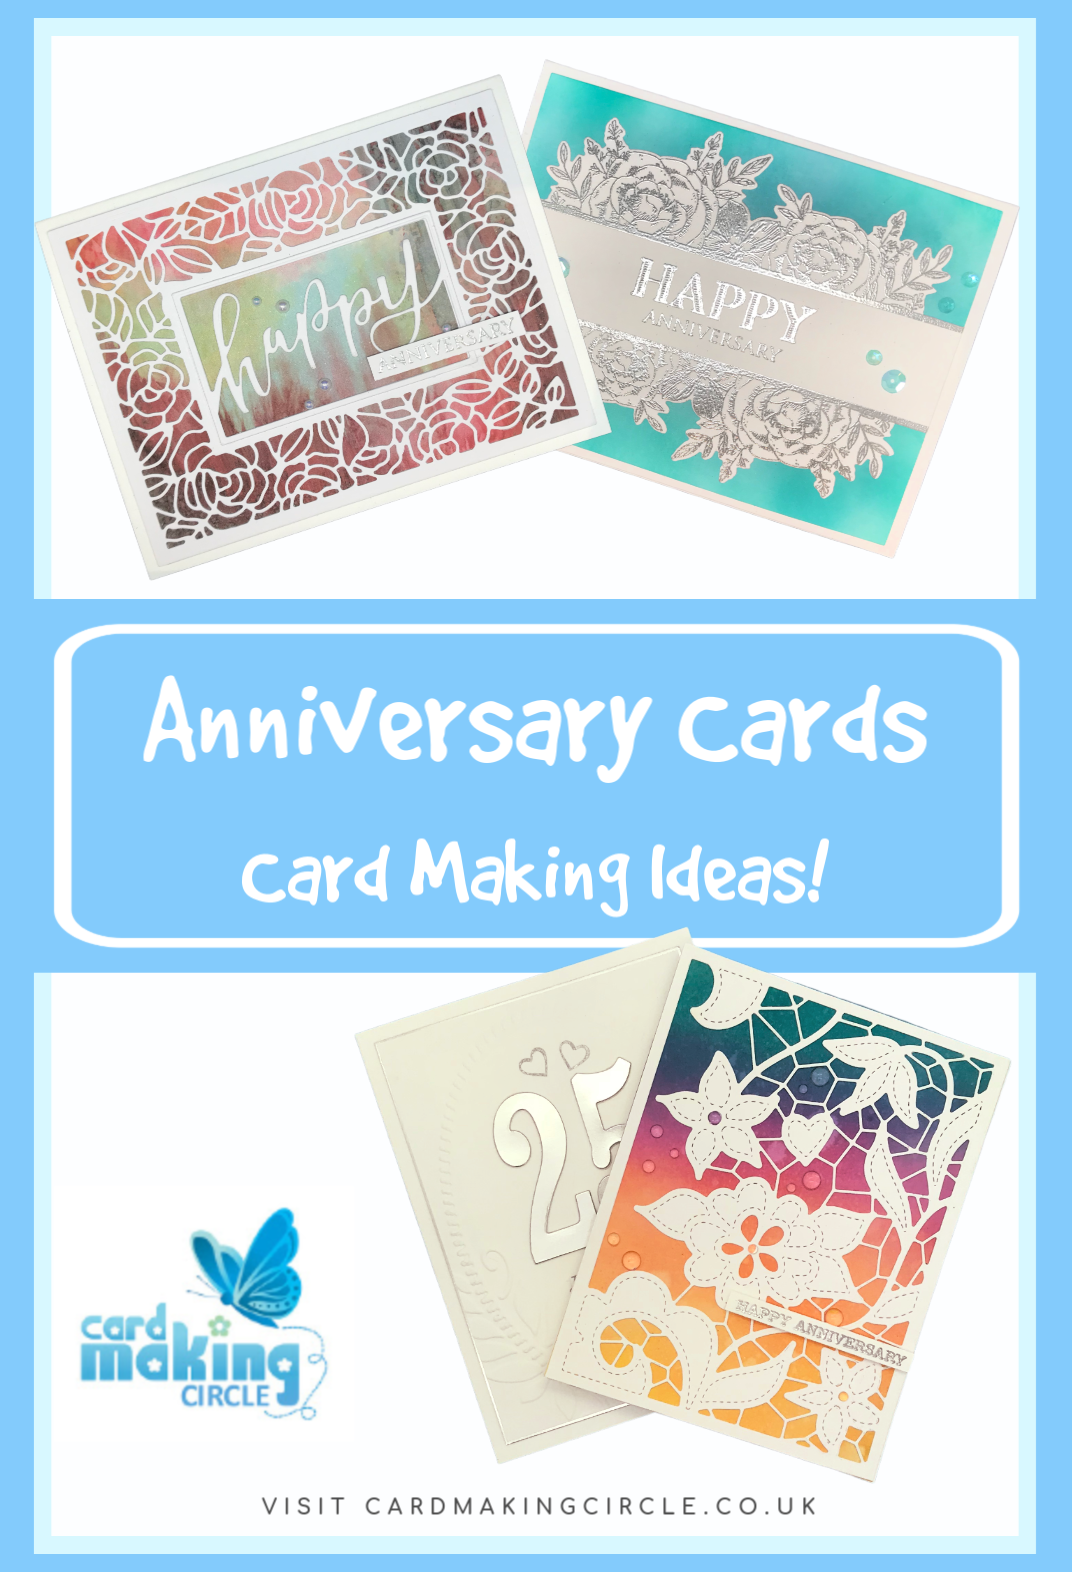
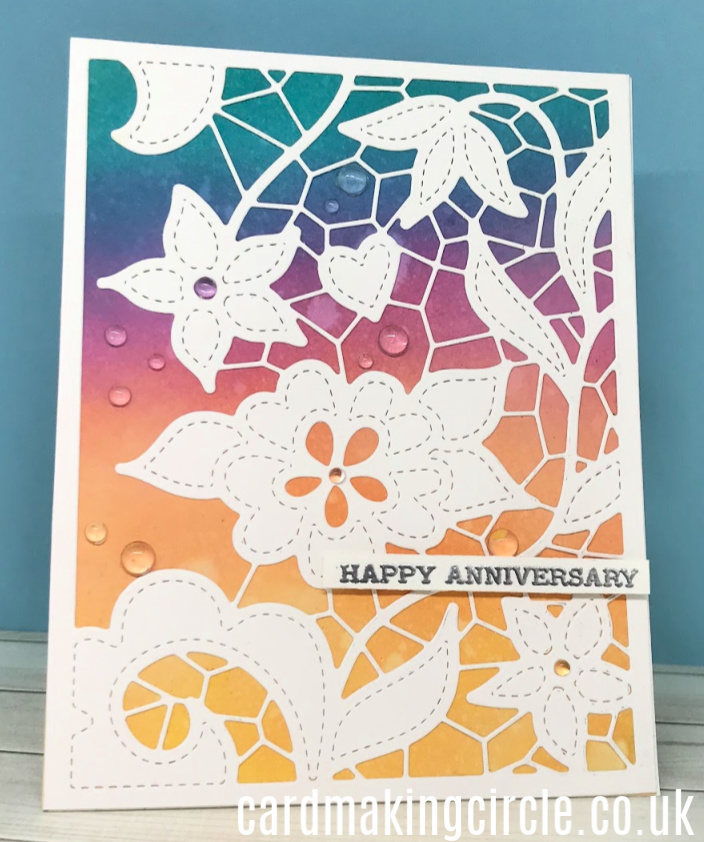
If you don't know the anniversary year create a rainbow card!
Ink blend with distress inks in rainbow order on a card layer. I used cracked pistachio, picked raspberry, spiced marmalade and wild honey. Sprinkle or spray with water to add a bit of texture.
Die cut the top layer from the beautiful Doodled Lace cover die from Altenew.
Attach to the blended layer. Trim off any excess at the sides.
Add both to a card base.
Complete with a sentiment and the raindrop embellishments from Lucy's cards. This are transparent so the colour of the ink blending shows through.
Card Two
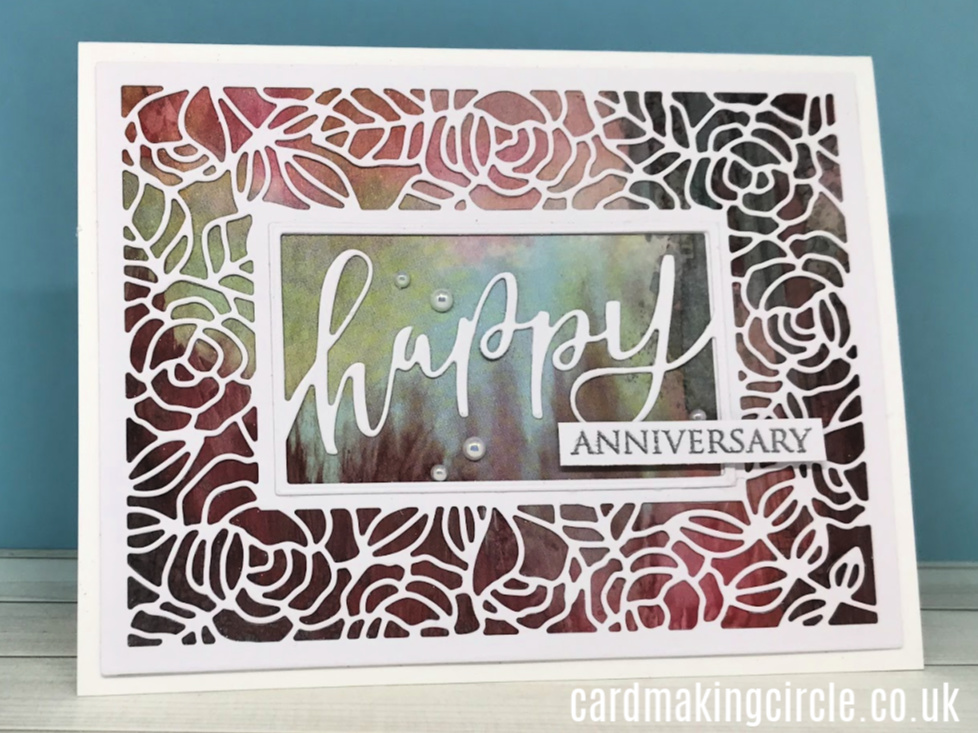
This striking anniversary card was a quick card to assemble.
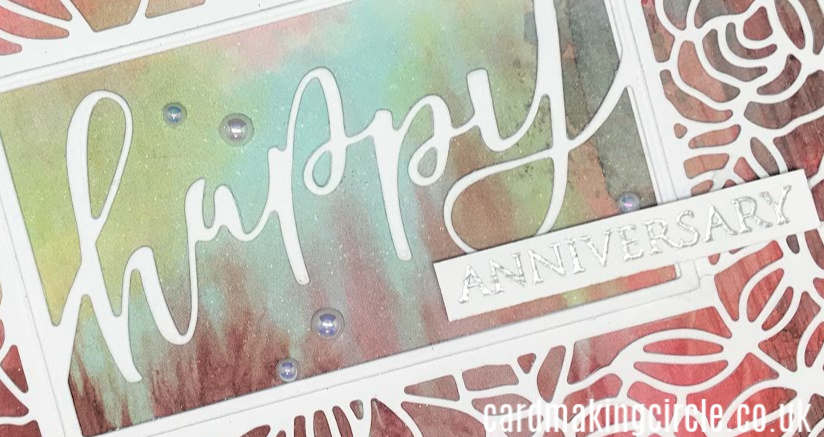
Die cut the outer frame from the Framed Roses Cutting Plate and the inner frame from the Happy Framed Script die. Both from Taylored Expressions.
Mount these onto a background. Here I used designer card from Clarity Stamps.
Heat emboss an "Anniversary" sentiment with silver embossing powder.
Add foam tape to the back of your completed layer and add to a card base to complete the card.
Card Three
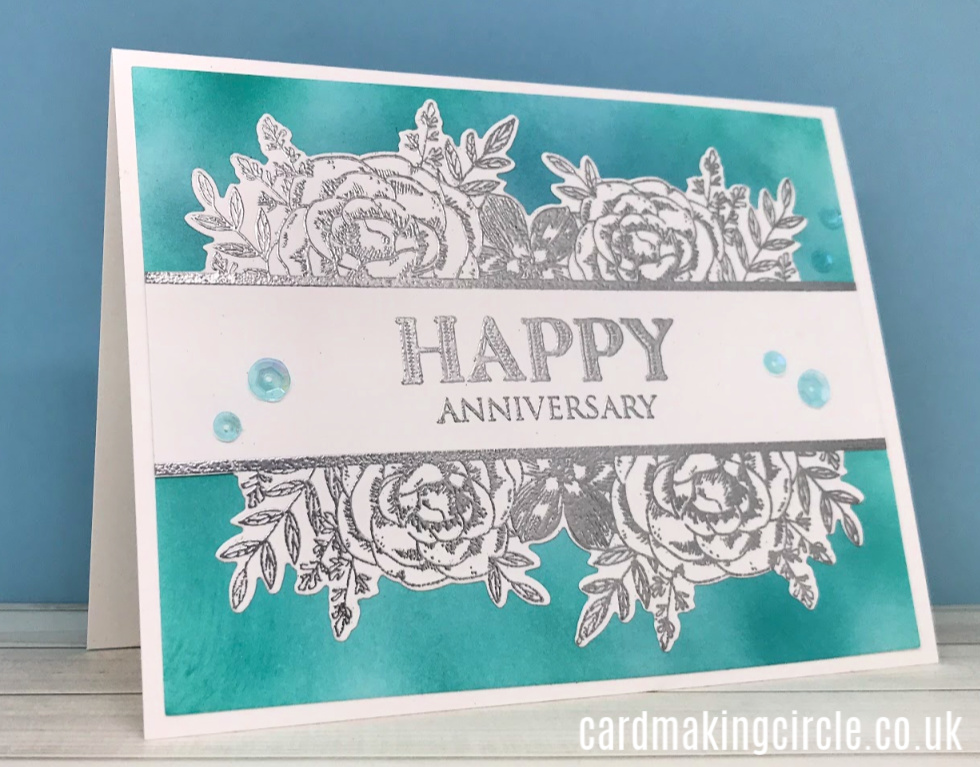
The third card is a clean and simple design using the Flip the Floral stamp set and die from Taylored Expressions.
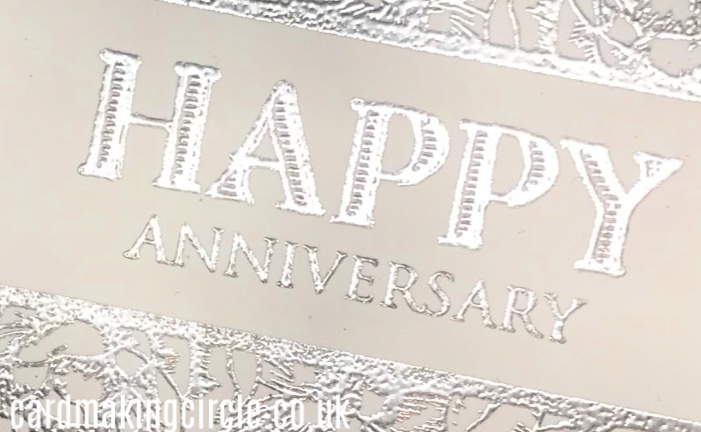
Position the floral border on your card layer and stamp with Versamark embossing ink. Heat emboss with silver embossing powder.
Turn your card 90 degrees and re-stamp and heat emboss the floral border.
Stamp and heat emboss the sentiment between the two borders.
Die cut the floral border with the coordinating die. This is an outline border die cutting around the flowers.
Create a background on a card layer by ink blending with distress ink. Trim to size.
Attach the border section to the background layer and attach to card base.
Add sequins to embellish the card.
More Wedding Anniversary Cards
- Home
- Card Making Ideas
- Wedding Anniversary Cards
