Sign up TODAY for Card Making News! Learn More >
FTC Disclosure - If you make a purchase via a link on this site, Card Making Circle may receive a small commission on the transaction.
Amazon Disclosure - As an Amazon Associate Card Making Circle earns from qualifying purchases.
All at no added cost to you. Thank you!
- Home ›
- Card Making Techniques ›
- Inlaid Die Cutting
Inlaid Die Cutting
for Card Making
Inlaid die cutting is a fun and innovative way to create an imaginative design.
Simply replace a die cut section of a card layer with the another die cut using the same die in a different colour.
The new die cut lies inside the negative space of the original die cut creating a flat continuous design. It's especially effective when you use contrasting colours.
It's best to start practicing with simple images with large die cut elements.
Before starting your cards check out your card sizes and layers.
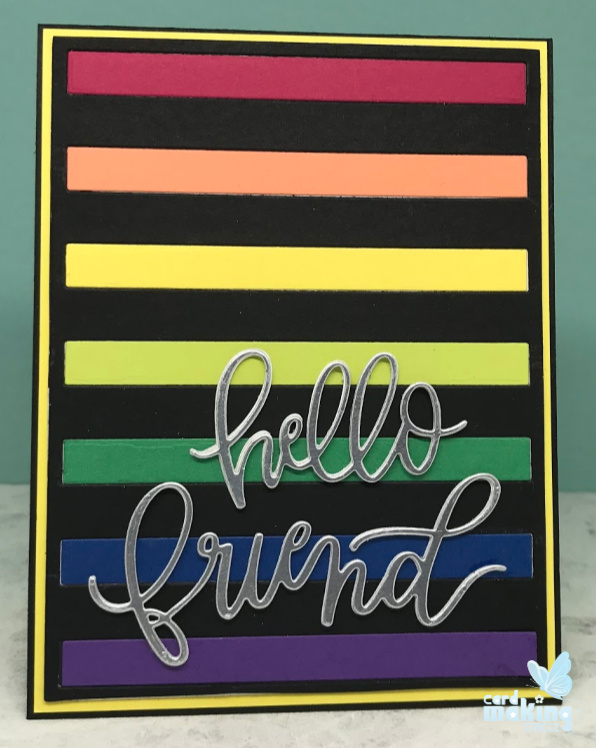
Rainbow Card
The black base layer for this card was die cut using the Bold Stripes cover die from My Favorite Things.
I simply replaced the black cut out strips with coloured card. Cutting out the strips with scraps from a section of the die.
To complete the card I die cut the "Hello Friend" three times and glued together to provide some dimension.
I was left with a pile of die cut strips so waste not want not these too were made into a card!
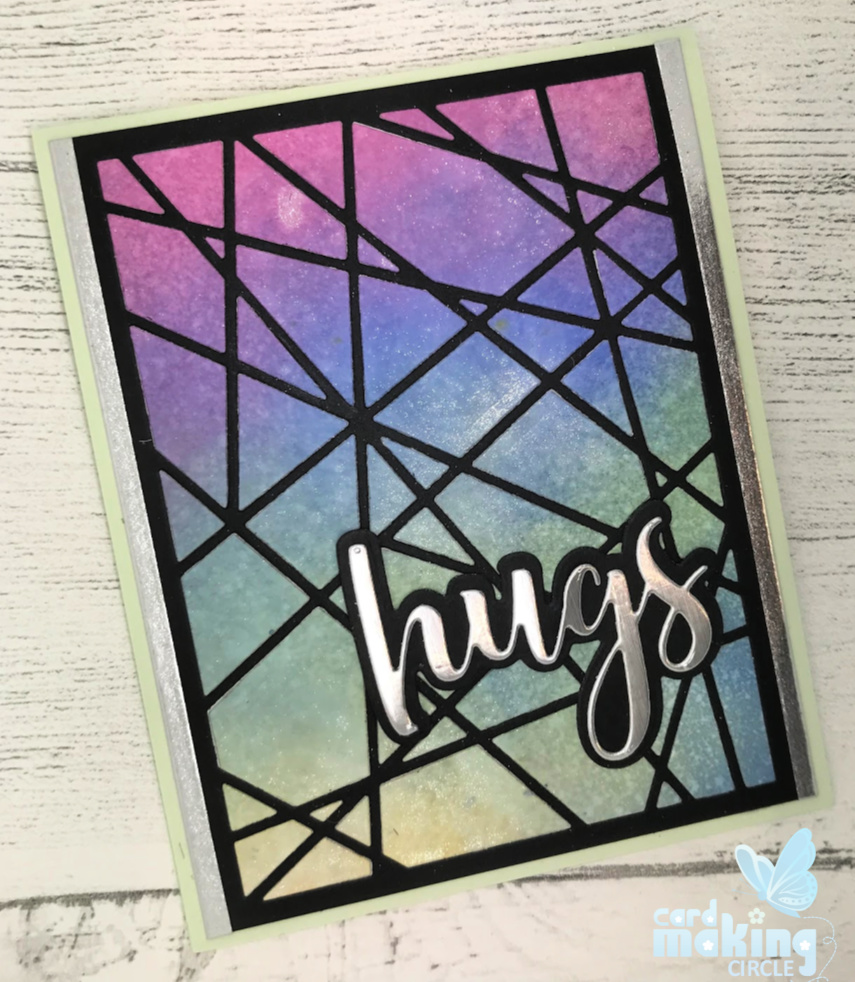
Hugs Card
For this card the black base layer was cut with a Spellbinders Glass Effect die.
For the background insert layer blend four Ranger Distress oxide inks (scattered straw, twisted citron, blueprint sketch and seedless preserves) onto white card. Spritz the card with water to create a mottled effect.
When dry spray with a shimmer spray for a sparkly finish.
Die cut the blended background layer with the Glass Effect die taking care to keep the die cut inserts in place.
Stick the black die frame to card using a liberal amount of tape runner so there is sticky between the "glass" surrounds.
Carefully transfer the pieces from the background layer to the die cut frame - just like a jigsaw. A bit fiddly but I got there in the end!
Complete with a die cut sentiment of your choice.
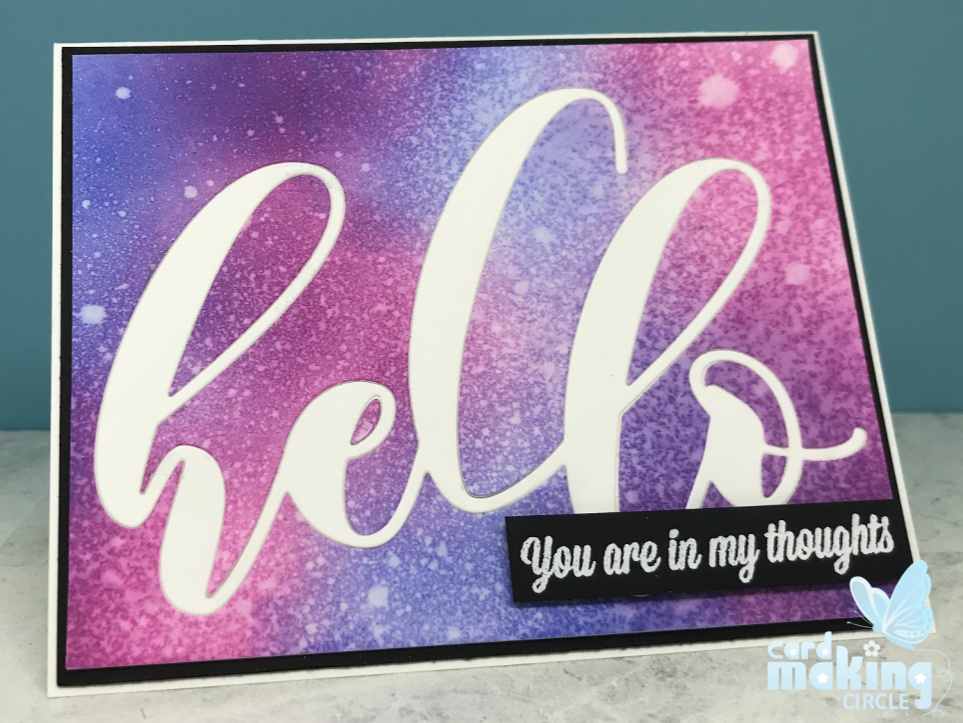
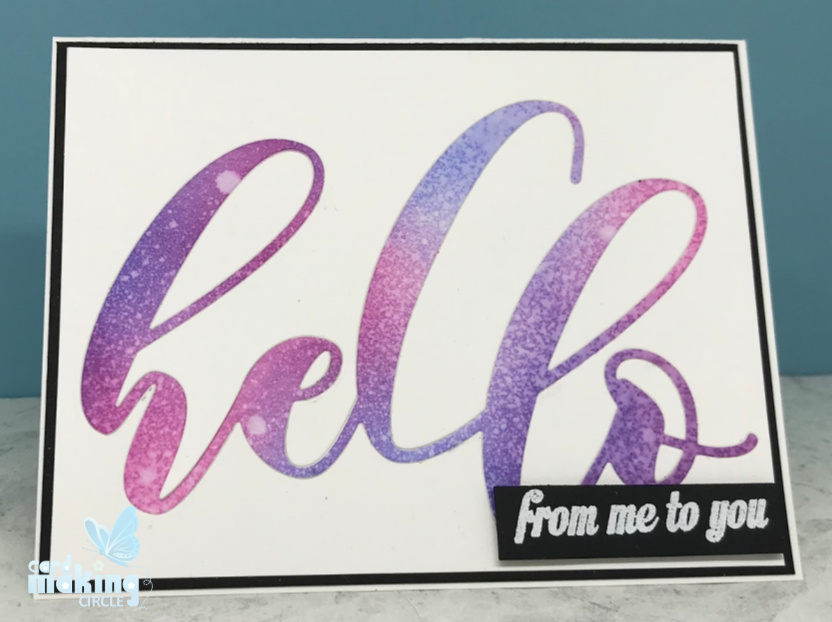
Hello Card
The Mega Hello die from Altenew really packs a punch!
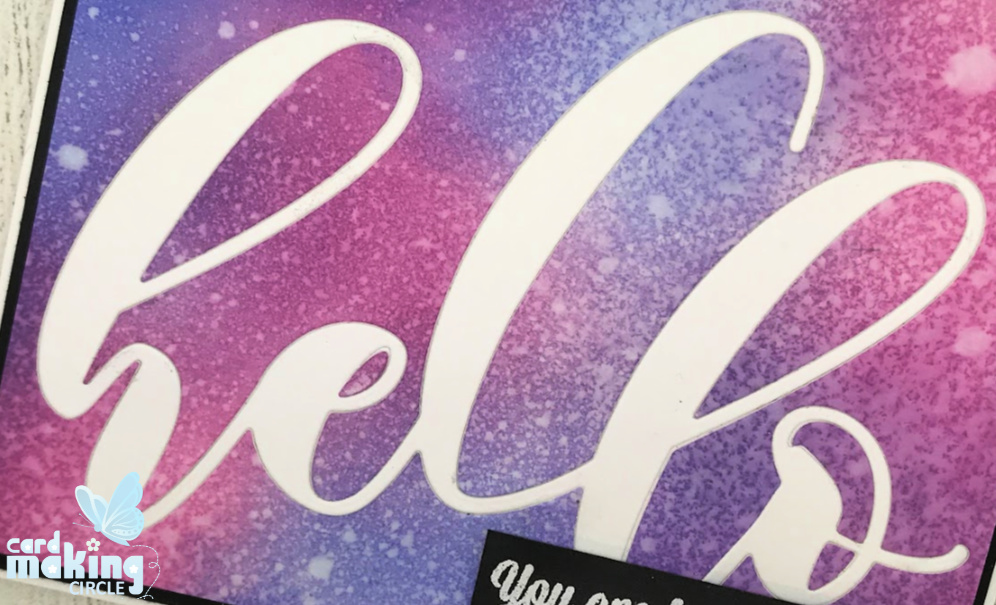
It was used to die cut the "Hello" sentiment from a blended base layer.
The base layer was created using Ranger Distress oxide inks (mermaid lagoon, blueprint sketch and seedless preserves) and sprayed with water.
A second "Hello" was die cut from white card and glued into the negative space on the blended base card.
The remaining "hello" was used to create another card using the negative space on the white card.
Both were completed with sentiments heat embossed with white embossing powder on black card.
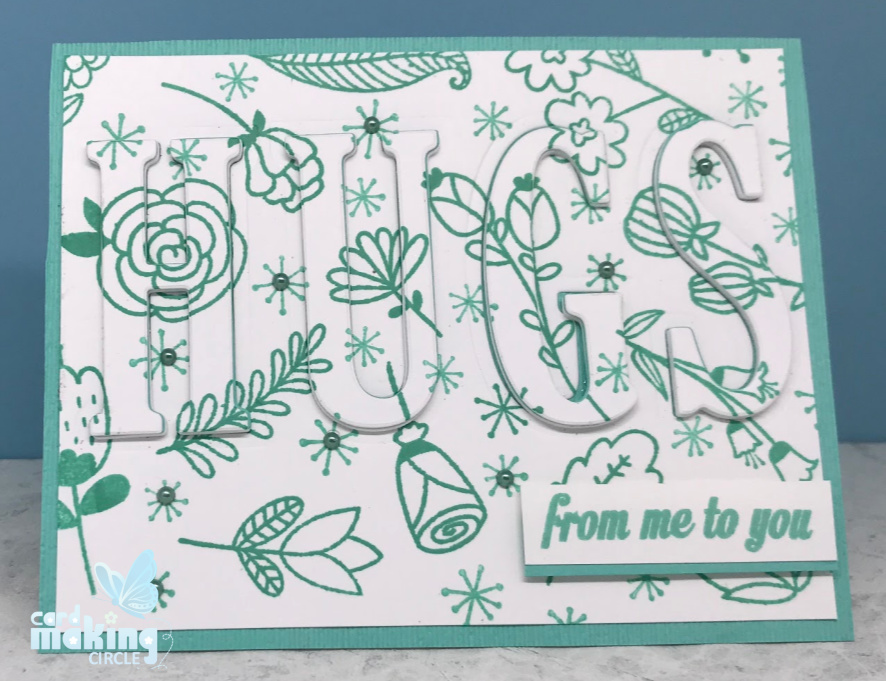
Eclipse Technique Card
The Eclipse technique is a variation of inlaid die cutting.
Instead of a flat front layer the die cuts are raised from the negative space.
To raise the images or letters either:
- Cut multiple images (3 or 4) and glue together or
- Adhere foam pads or fun foam
This monochromatic card uses the Hello Sunshine stamp set from Altenew.
Individual stamps were stamped around a white card layer to create a background of flowers and leaves.
Large letter dies were lined up straight on the stamped card layer and die cut with the die cutting machine.
Glue the stamped card onto a card layer so there's a back to the card.
Extra letters were die cut and glued to each letter to create dimension. The top layer to show the stamped letters.
Glue the stacked letters into the negative space on the stamped card making sure that the pattern lines up.
Complete with a stamped sentiment.
There are lots of short words you can use for this technique......Hi, Hey, Love, Hope, Snow, Noel, Joy are just a few.
Inlaid Die Cutting Tips
- Try using patterned paper or a background stamp to create your die cut layer.
- Save all your die cut pieces as you may need them to fill in gaps. For example with letters you'll need the middle of the "o's" or "e's".
- Look at your current stash of dies to see which ones could be used for this technique. You might be surprised as to how many you could use.
- Save the negative spaces and space die cuts for future projects.
- Use number die for birthday cards
- Home ›
- Card Making Techniques ›
- Inlaid Die Cutting
