Sign up TODAY for Card Making News! Learn More >
FTC Disclosure - If you make a purchase via a link on this site, Card Making Circle may receive a small commission on the transaction.
Amazon Disclosure - As an Amazon Associate Card Making Circle earns from qualifying purchases.
All at no added cost to you. Thank you!
- Home ›
- Card Making Techniques ›
- Masking Techniques
Masking Techniques for Card Making
Masking techniques are used to cover up or block off part of your card or image
It's a way of protecting an area from ink when stamping or blending.
In its simplest form, masking with low tack tape can create a straight line or a frame.
Masking an image before stamping another image gives the appearance of one image in front of another. This creates the illusion of depth in a one layer card.
So, what do you use?
- Post-it notes or Post-it tape are readily available though make sure the notes are fully sticky on the back.
- Masking paper (Inkadinkado) has a better all over "stick" and is reusable.
- Masking fluid is useful for small images.
Whatever you use, masking is an essential technique to add to your card making armoury.
Now let's look at some card examples....
Before starting your cards check out your card sizes and layers.
Simple Masking Techniques
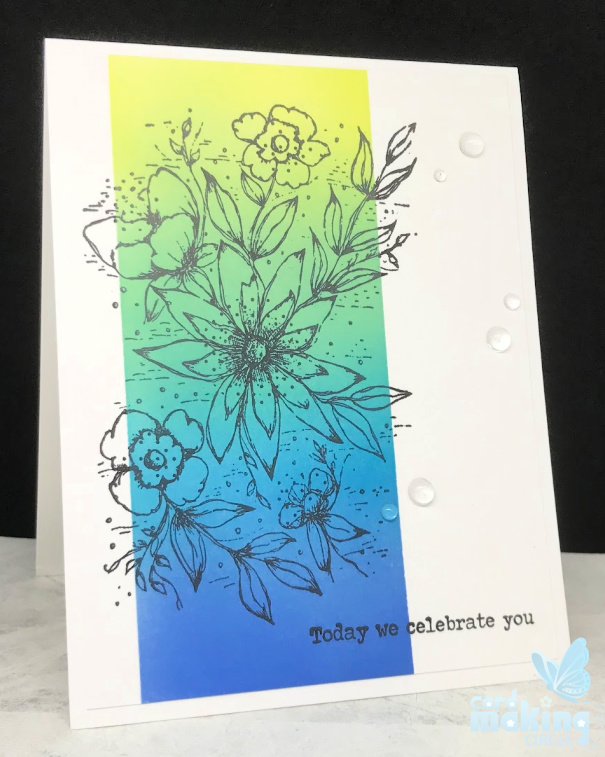
Today We Celebrate You
The first card uses the "Every Single Day" stamp set from Unity Stamps.
Mask a section of the front layer vertically with 1" post-it tape.
Ink blend three or four complementary colours with ink.
I used twisted citron, cracked pistachio, salty ocean and blueprint sketch Distress Oxide inks.
Remove post-it tape.
When dry stamp image over blended area. Add a sentiment to complete the card.
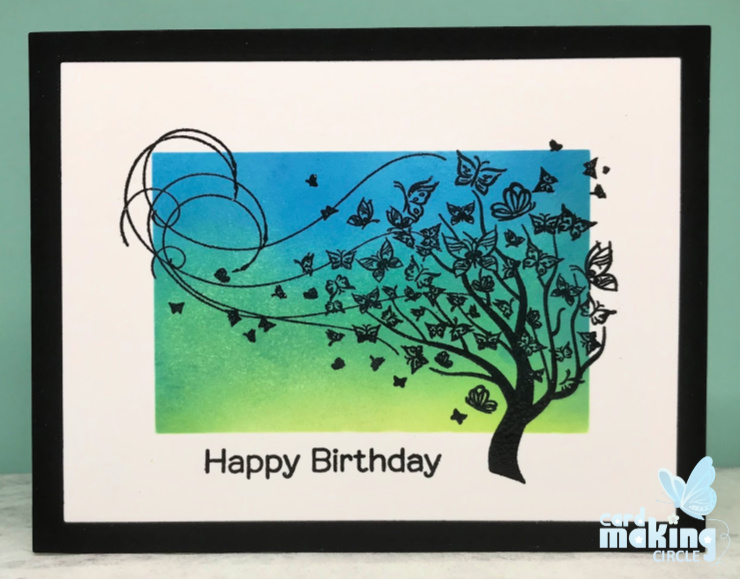
Happy Birthday
This card was created with the "Tree Blowing Butterflies" from Crackerbox and Suzy Stamps.
First use 1" post-it tape to create a frame mask on all four sides.
Ink blend the remaining blank rectangle.
I used twisted citron, cracked pistachio, mermaid lagoon Distress Oxide inks.
Stamp image and sentiment with either Versamark embossing ink or a black pigment ink such as Versafine Onyz Black.
Heat emboss with black embossing powder or clear embossing powder if a black pigment ink is used.
Complete with a frame made from black card with layering rectangle dies.
Take it One Step Further....
Using multiple masks is a great way to create an interesting scene or to tell a story with your card.
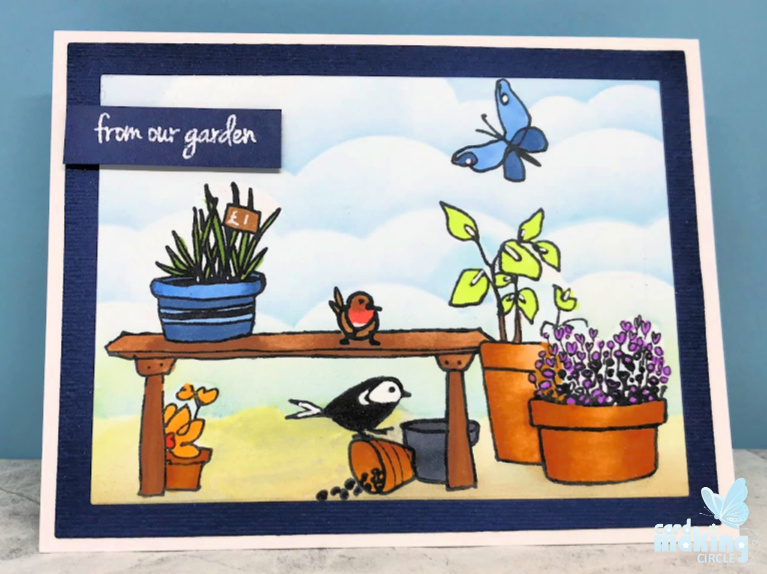
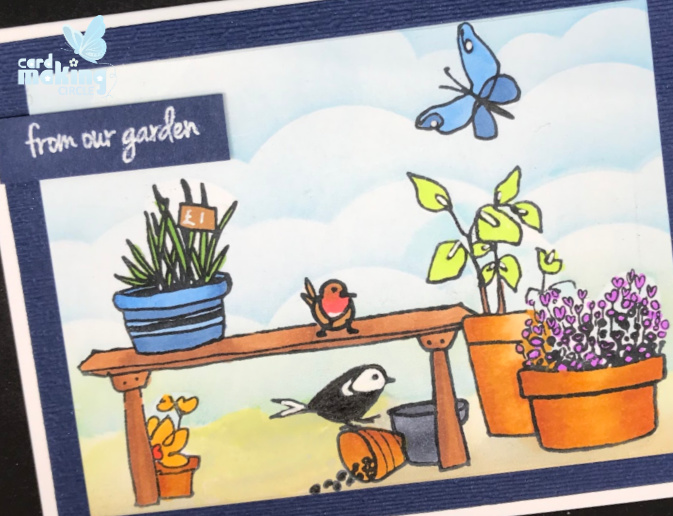
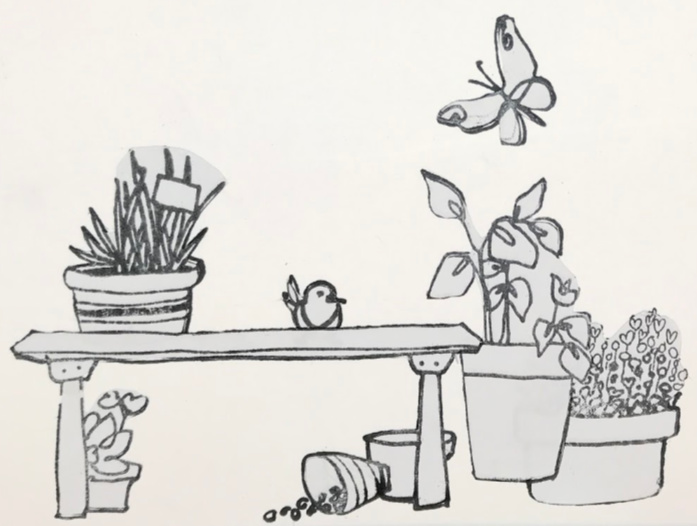
From Our Garden
The garden scene was created using the Garden Grow stamp set from Altenew.
First plan out your layout to identify the order of stamping.
Remember the golden rule...Start with the image you want in front.
Stamp and mask your images to create your scene using the steps below:
1. Stamp the front image onto your card front.
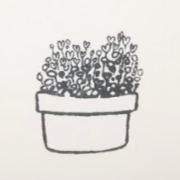
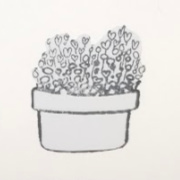
2. Stamp the front image onto masking paper or sticky post-it note.
Cut out the image on the stamped line to prevent any gaps between the images.
Stick the cut mask over your front image.
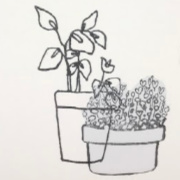
3. Stamp the back image over the masked image.
4. Remove mask to see the completed images.
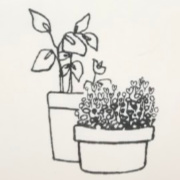
Continue with your stamping and masking to create your picture.
Place masks over all images.
Blend background. I used a cloud stencil with tumbled glass Distress Oxide ink for the sky.
With the background complete remove all the masks and colour the images with your preferred colouring medium.
Mistakes happen! But there is always a solution - adding a black bird (magpie?) covered my card making boo boo!
Finally, mount onto a card base and add a sentiment to complete the card.
- Home ›
- Card Making Techniques ›
- Masking Techniques
